“Hey, the City looks almost bearable from up here.”
Annotated Walkthrough, 1:
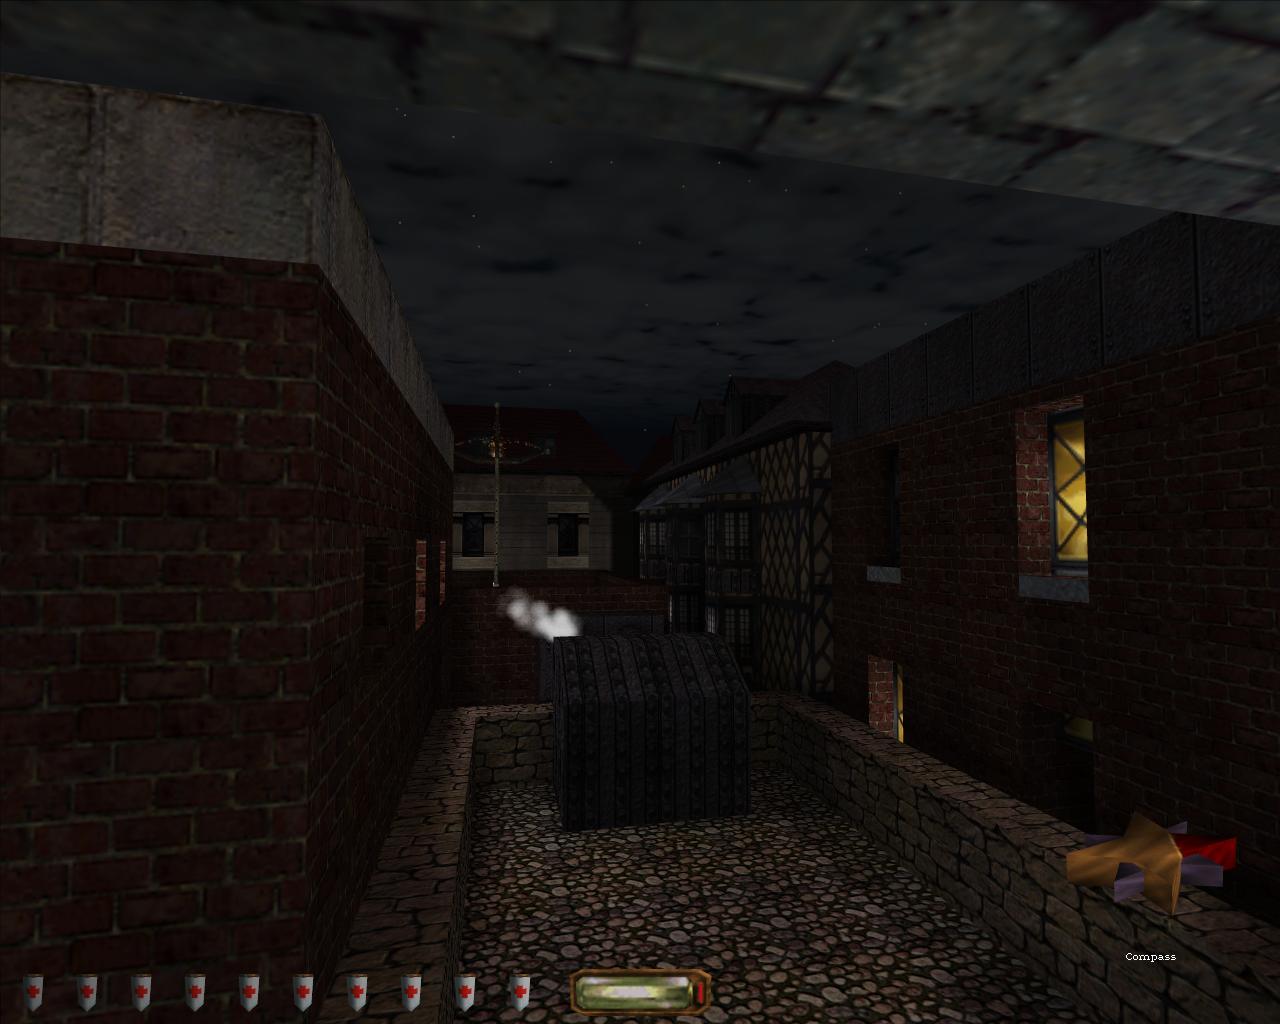
From the moment it starts Life Of The Party feels different from the rest of Thief II. Everything is brighter, the surrounding walls no longer tower above you, even the sky seems closer.
Some familiar elements remain, the constant industrial drone that pervades every level, the sounds of civilization layered over it. Somewhere to the right somebody is snoring heavily, while footsteps can be heard ahead of you though something is a little off, they sound close but there is nobody in sight. Those footsteps are indeed ahead of you, but also below you, several floors down, at street level.
For the first time you start a level with neither your objective in view nor the sound of Garrett musing over the task at hand. It isn’t until you’ve moved to the edge of the Bell Tower, upon who’s upper floor you start, that Garrett makes his opinions known and even then it’s more cynical commentary than meaningful advice. You will need to scale the pipework on the opposite roof before he will make any suggestions regarding the best way to proceed. The suggestion to “follow the road north” is an almost cryptic one as there is an inaccessible building to your north and the road in question is aligned east to west.
Though initially confusing, the advice is good. It will be difficult to keep Grandmauden Road in view at all times on your way to Angelwatch but it will serve as a landmark by which to orientate yourself as you make your way along the Thieves’ Highway.
Looking down to the street below highlights this level’s inversion of the traditional relationships of space and height; no longer are the buildings of the City towering over you. It is a liberating view of what has until now been portrayed as a uniformly oppressive and restrictive environment. The buildings that once stood as obstacles during your flight from the Crippled Burrick (in Ambush!) are now the very means by which you’ll traverse the city.
Even before reaching this point there have been opportunities to stray from the path. To the left of the Bell Tower a ledge leads to a secret room containing a handful of gold coins and some Water Arrows. While following the snoring takes you to a small room where a liveried guard appears to be sleeping off the effects of a bottle of wine, some more loot can be retrieved from his unsecured footlocker. Heading in either direction very quickly leads to a dead end, but it won’t take long before the routes available will begin to diverge much more significantly.
Having used the pipes to cross Grandmauden Road there is another brief diversion available to you. A ladder on the left descends to a rooftop occupied by a pair of generators, the noise from which it is difficult to ignore. There is an open window in the building to the north, the guard within alternating between facing the roof and the room itself. The window ledge is just high enough to be climbed onto, though if you fail the sounds of your clumsy footsteps are certain to alert the guard even though the ambient noise from the two generators should have been enough to mask any sounds you may make.
Unfortunately the implementation of audio within the Dark Engine is such that even when you think they should background sounds are often not loud enough to completely drown out the noise you make. Occasionally frustrating this also works in your favour at times, as Noisemaker Arrows and other forms of audible distraction can still be employed in noisy areas. Any sound effects associated with the player or other functional elements within the world are always higher in the mix than ambient sound effects. This ensures they are always readable, even in circumstances where environmental sounds could realistically be expected to drown out all other noise.
Climbing, or mantling, is one of a number of secondary techniques within Thief II that extend the standard inputs to increase the scope of Garrett’s movement options. By approaching a low wall, or window ledge, and holding down the jump button while moving forward you can mantle up onto the wall. It’s not always straightforward, you will need to ensure that your view is centred correctly or you will miss the mantle attempt and inevitable make noise as you jump ineffectually against the wall. Extending this technique is the ‘running jump-mantle’, by running towards a wall and holding down jump at the last moment it is possible to grab the edge of the wall and pull yourself up. As well as being useful for reaching areas too high for the standard mantle it can also be used to scale walls on the other side of the gaps. A very useful skill in Life Of The Party, where a number of ledges can only be reached by leaping between buildings. The third of these secondary movement techniques is the ‘crouch-drop’ which is as simple as it sounds. By crouching and walking off a wall it is possible to land without making a sound, though care needs to be taken as when landing from a ‘crouch-drop’ you will automatically stand up again.
Development of these movement skills greatly increases the playable space of the level. Though the majority of locations can be reached through reliance on the standard move set, the directed graph that defines the relationship between accessible and inaccessible, safe and hostile, spaces is altered as each of the secondary movement mechanic are learnt. Two locations that were once only accessible via a third location can now be moved between directly, while routes that once restricted backtracking now become bidirectional.
The presence of these secondary movement mechanics highlights an often overlooked aspect of the Thief games. Despite their name the actual act of thievery is not where the focus of the game systems lie, what you do when you reach the loot is secondary to the means you employ to get there. Thief is a game about movement through space, and the manipulation of that space to increase its relative safety or hostility. As such in terms of its mechanical focus some of it’s closest modern contemporary are not the superficially similar Splinter Cell series which has a greater focus on the tools at your disposal, but rather Mirror’s Edge a game very explicitly about movement through, and therefore mastery of, space. The commonality of the mechanical and aesthetic experience between these two apparently disparate games will become clearer as your progress through Life Of The Party.
If you are unwilling or unable to climb onto the window ledge, there are other options. Positioned directly above the window is a wooden roof support, a good target for a Vine Arrow, and if you are willing to look for one there are plenty of crates and similar objects throughout the level. Whatever method your choose to gain access to the room, timing it to ensure the guard’s back is turned requires either judicious use of a scouting orb or a fair degree of luck. Whether the stack of coins within is worth the effort of attaining it depends on the difficulty setting and your own preferences regarding the acquisition of loot.
Watching over your actions, from a window in a building to the north is a hooded figure, a Keeper, who will have disappeared once more when your emerge from the room. This is not the only member of his Brotherhood to be found on this level though he does manage to be the more subtle of the two.
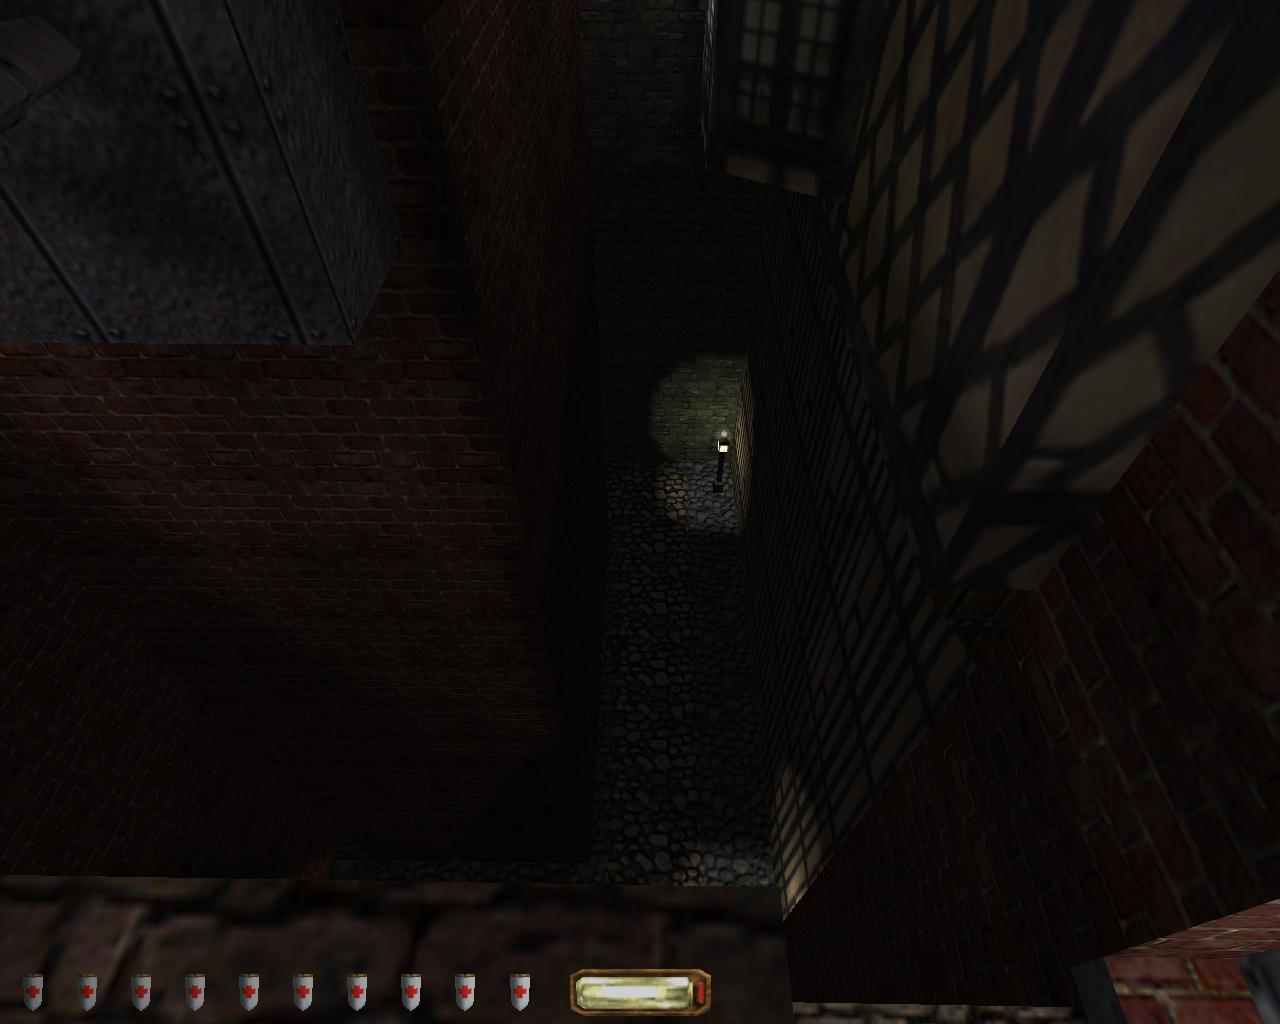
Moving west again you are soon presented with the first real opportunity to diverge from the straight ahead path. Climbing down a ladder onto a low roof two routes are now available, head inside the building directly east of you or jump across to a ledge on the wall of a building to the south and follow Grandmauden Road as it continues past the building and further east. It is worth noting at this point that the route of Grandmauden Road is not as straight forward as depicted on the map. Though the general direction is accurate the position of the buildings surrounding it often mean it has to go a short distance in a perpendicular direction before turning back on course. This can occasionally make it difficult to orientate yourself with relation to the map, however the road can be seen at enough points to allow you to ascertain which direction leads to Angelwatch.

Accessed through an open window the building to the east is the first of the self-contained encounter spaces. A corridor, two small rooms and a staircase with a single guard on a patrol route passing through each area. In Thief terms this is a trivial encounter, the corners of the room at the bottom of the staircase offer enough shadow to hide while the guard moves past. A window half way up the staircase will allow you to leave the building and keep heading west, however there is an alternate way out of this building and one that will allow you to bypass a large section of the Dayport streets.
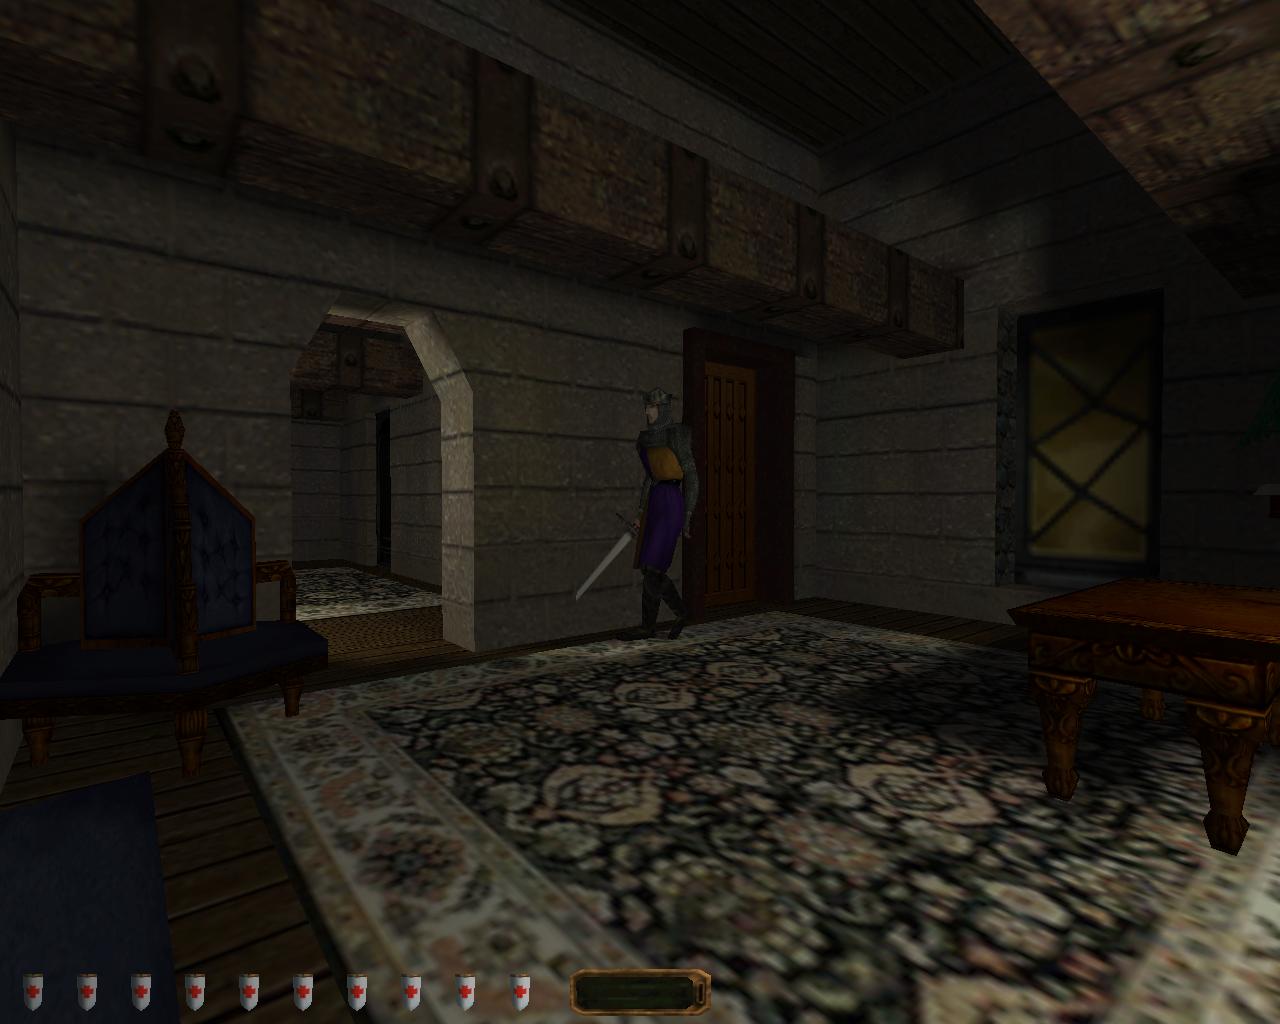
Entering from the hallway, it’s possible to spot a hole in the wall directly ahead. Accessible from the roof-beams and partially blocked off by wooden boards this grants access to a secret area and eventually the Shemenov Estate. A Vine Arrow is the most efficient means of reaching the roof-beams as it is noiseless and the Arrow itself can be retrieved and reused.
The wooden boards covering the hole need to be broken, though they take no obvious damage when initial struck. Unless you have encountered the few similarly breakable surfaces in previous levels, this can be a little disconcerting as there is no feedback to indicate attacking is the correct approach. If you are trying to maintain a low profile, it will be necessary to ensure that the patrolling guard has closed the door and started up the stairs before you attack the boards as the noise will easily alert him. The sound of the guard’s footsteps as he scales the stairs to the room at the top and then returns, can feel like a ticking clock creating a moment of tension in what is a very simple situation. There is more than enough time to break through before the guard returns but it doesn’t necessarily feel as safe as it actually is.
On the other side of the wall is the attic room of an Astronomer who clearly has a rather dubious concept of both the scientific method and the value of human life; not to mention a single-minded fascination with the moon. It is possible to steal the Sunburst Device described in the Astronomer’s journal and doing so might actually be one of the noblest things Garrett will ever do. A final curious note about the Astronomer’s room is that though it’s possible to switch the electric lights on it’s impossible to turn them off again, they simply flicker a little and remain illuminated. It can evoke a brief moment of worry that lasts only as long as it takes to realise nobody can reach you here.
Thief is rife with moments like this, players, especially first time players, can not always be certain if an area is safe and this knowledge gap between perception and reality can be exploited to imply hostility where none exists.
Moving past some stacked crates, a window in an empty room below leads to the Shemenov Estate and a perfect example of the isolated problem encounter spaces upon which the Dayport sections of Life Of The Party are built.
Despite there being at least three ways to reach the Shemenov Estate each require exploration to find and as such this section of Life Of The Party can feel much more isolated than some of the locations to the west of Grandmauden Road. This isolation, along with the limited number of AI agents (Two patrolling guards, one static guard and a civilian) make it a good case study for the various ways in which the Thief series uses spatial layout to promote stealth gameplay.
Stripped of any interaction verbs beyond those concerned directly with movement there are three ways of moving unobserved through a space patrolled by a hostile AI.
- Watch and Wait: Find a location along the path of the AI from which you can remain unobserved and wait for the AI to pass you heading in the opposite direction, then proceed across the space.
- Bypass: Locate an alternate route through the space that avoids contact with the hostile AI completely.
- Follow: Trace the same path as the AI until you find a point that allows you to break contact.
Since method 3 is a variation and combination of the first two methods, there are essentially only two approaches to stealth movement. The tools available to the player can be used to change the environment to facilitate either of these approaches but within most Thief levels it is possible maintain unobserved movement without a reliance upon tools. In general there is a path that offers a near zero change of detection, of stealth failure.
The first and second (external and internal) sections of the Shemenov Estate are good examples of these two methods of stealth movement, and the level design needed to support them.
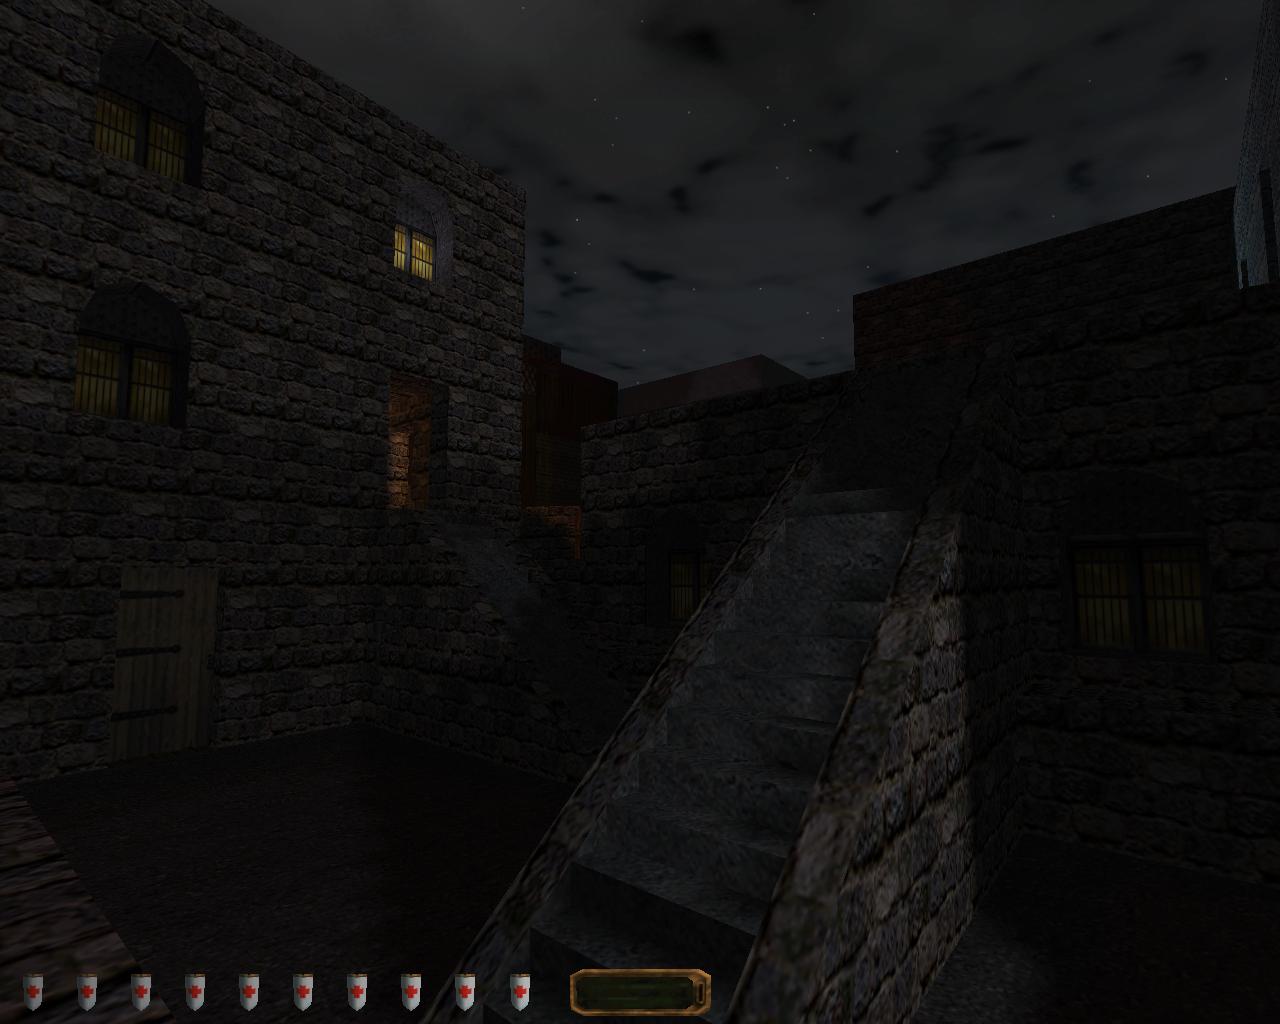
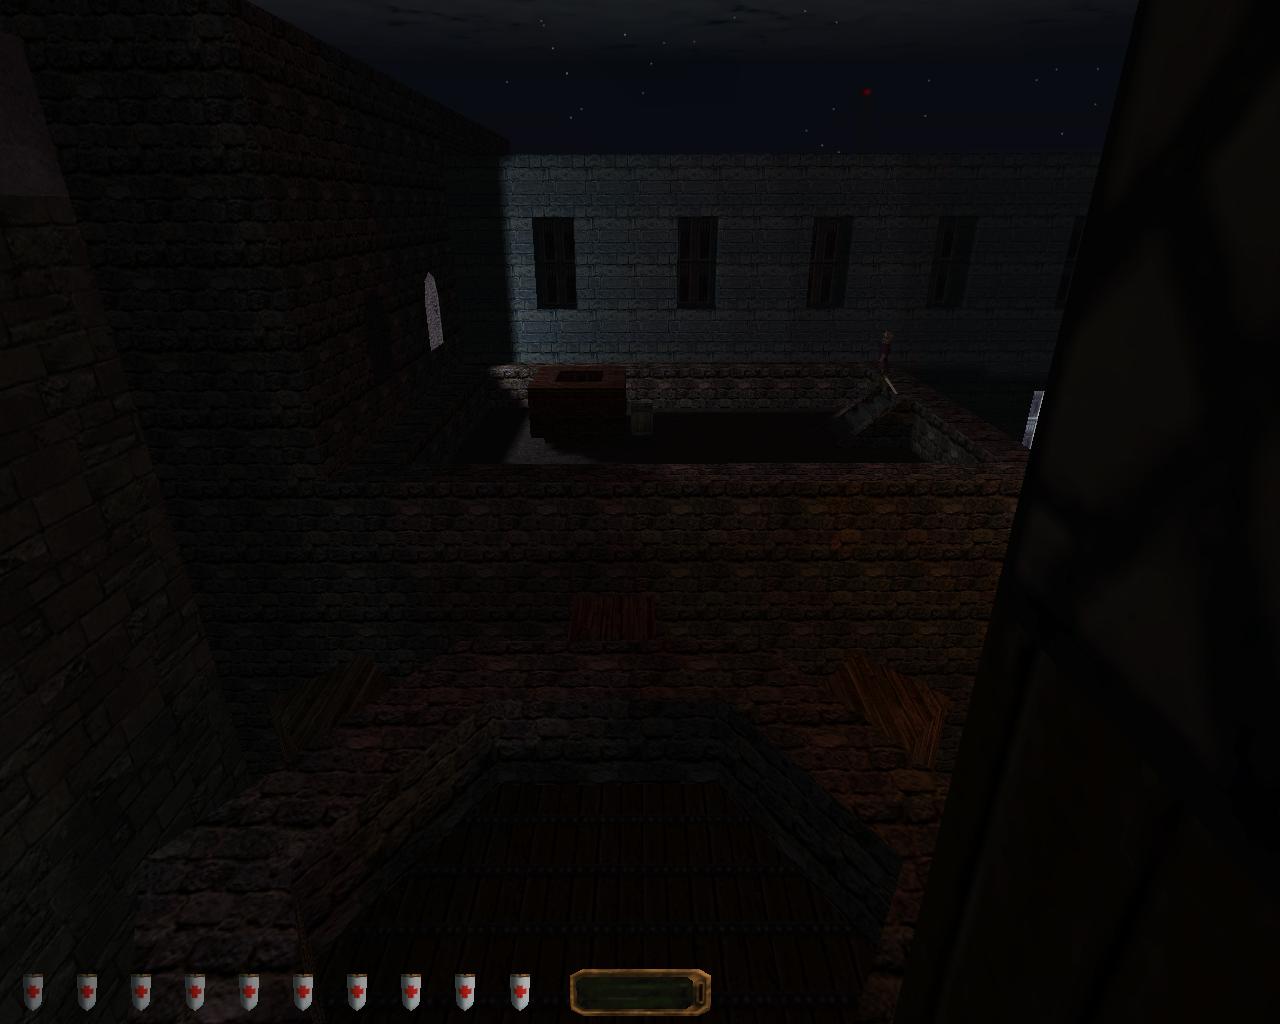
The external section of the Shemenov Estate, which you enter from the Astronomer’s room, consists of a lower and upper roof space, linked by steps, with two rooms off the lower roof, one accessible from a closed door on the lower roof itself and the other by a second set of steps rising to the same level as the upper roof. This upper room is lit by a torch and has an attached balcony upon which is a guard. The other guard patrols between this room and the upper roof, though he has a tendency to embellish his route with occasionally and apparently random loops that making following him a risky proposition. Arriving on the lower roof, it is initially impossible to see the static guard, while the patrolling guard could also be hidden from view in the upper room on on the upper roof, though as he never actually stops moving his footsteps will quickly give his position away.
The erratic behaviour of the patrolling guard combined with an unawareness of the layout of the upper roof make any attempt to follow him a risky option, with no apparent means of gaining access to the upper roof without taking the steps the only viable option is either to deal with the guard directly or adopt the Watch and Wait approach.
The level design in the Thief series makes a lot of use of what appears on first glance to be purely logical territory. Each level is full of small rooms and little nooks that seem to exist simply because such locations would exist in a bank or a warehouse. However an understanding of the dynamics of Thief shows that these locations are in fact just as much functional territory as logical territory. They may contain little, or even nothing, in the way of loot, and are likely undisturbed by guards or other NPCs, but their very emptiness makes them prime locations from which to observe the behaviour of the NPCs and plan your next move.
The room behind the door on the lower roof is a prime example of such a space. Ostensibly it is a guard barracks, with a double bunk and a small foot locker, however its position makes it an ideal place from which to observe the movements of the patrolling guard. It is away from his standard route and though illuminated by an electric light there are enough dark corners to allow you to wait undetected.
Despite the multiple ways you can leave the Shemenov Estate the route that will keep you heading in the direction of Angelwatch requires heading inside the estate itself and finding another way out to the north. The only way to gain entry to the interior is via the chimney on the upper roof where a Water Arrow is needed to dowse the flames in the fireplace before you can descend.
Even with the fire out the kitchen still presents a hostile environment, a torch illuminates the floor ahead of you which is made up of hard stone that is difficult to cross inaudibly, while a servant performs her duties in the corner. Once alerted she will scream and run for help from the guard on patrol inside the Shemenov Estate. If you move slowly you can leave the kitchen without being seen, however opening the door to the hallway without first taking the time to listen for what is on the other side is a risky proposition.
On the counter opposite the fireplace and behind the servant is a scroll that contains the latest in a series of missives concerning an Alchemist’s and the arrangements of two people to meet therein. This minor subplot is detailed in various scrolls found within several of the previous levels, even as far back as the third level Framed.
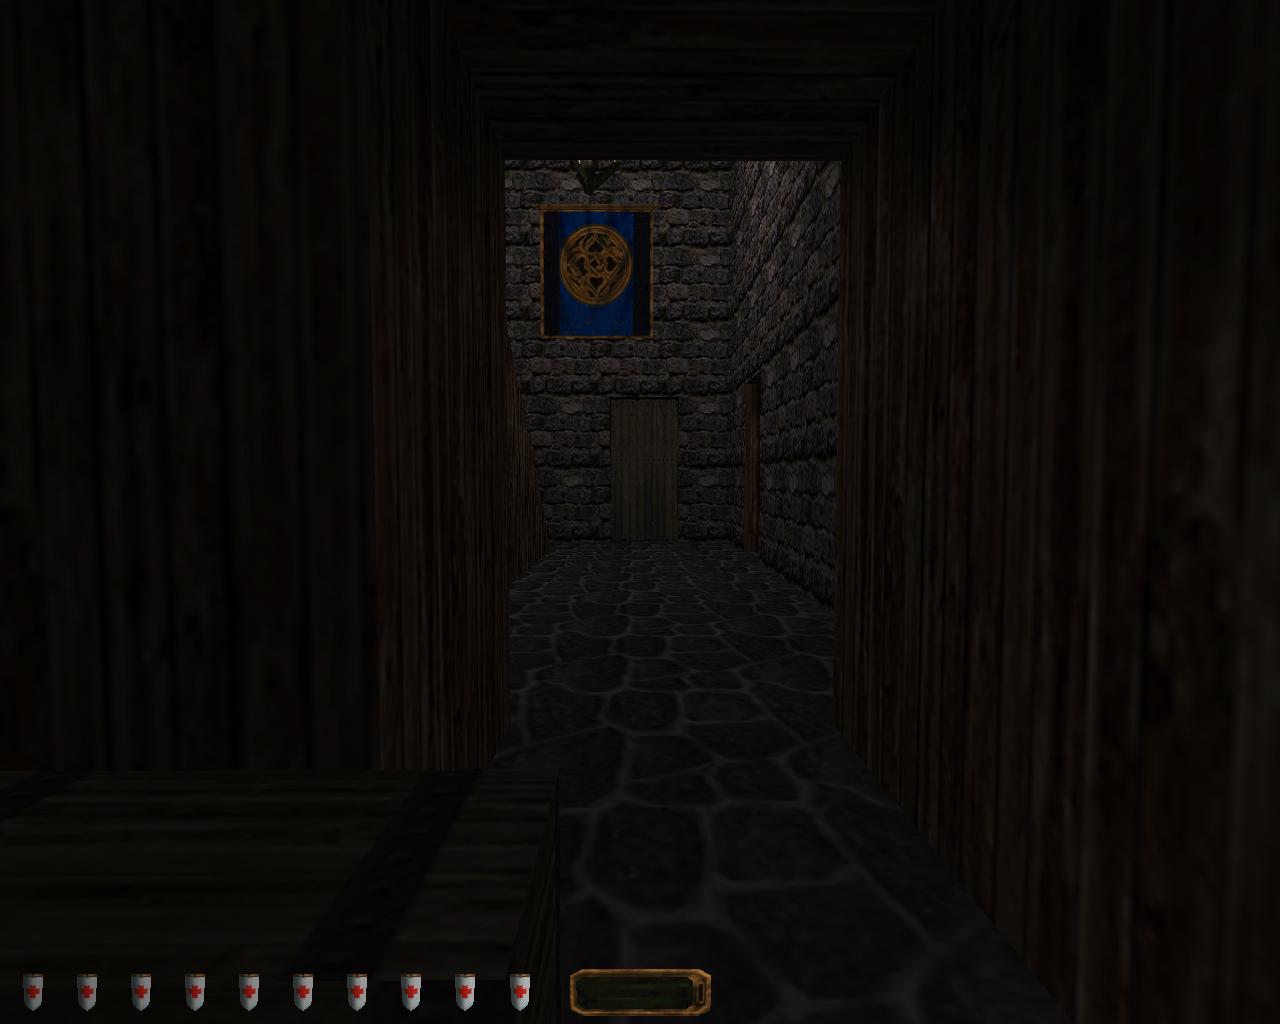
The second patrolling guard can be found in the interior of the Shemenov Estate, his route taking him from a small storage area opposite the door to the kitchen up two flights of stairs and out onto another roof.
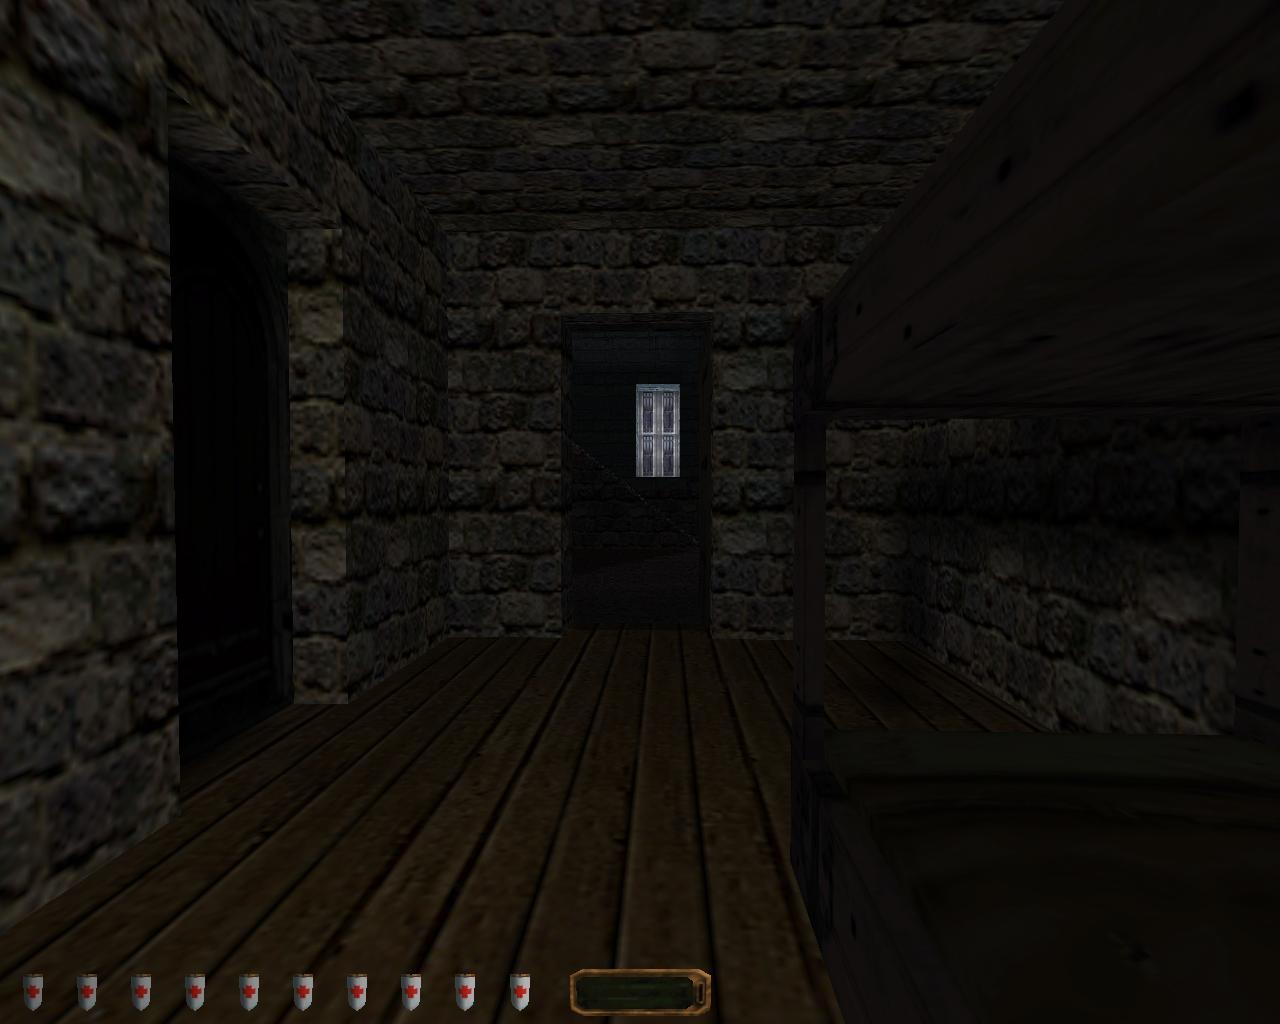
Within the storage area beneath the stairs there are two chests,of the kind within which loot or other useful items are usually found, however in this case one of them contains a bucket that you will automatically pick up. Putting this bucket down creates a lot of noise which may alert either the guard himself of the servant in the kitchen; assuming you haven’t closed the door behind you. Though it’s a simple task to wait until the guard has moved away before dropping the bucket, it is equally simply (and more likely) to discard the bucket as worthless, allowing it to clank nastily on the stone floor. The placement of his chest was not unintentional and it feels like a slight admonishment against not thinking things through, against acting too quickly. After all which is more likely to be found under the stairs, gold or cleaning supplies?
Though the storage area provides a good hiding place from which to avoid the AI, as it marks one of the end points of his patrol it will not be possible to wait here and then proceed past him. Because his entire route cannot be observed from any one location exit from the Shemenov Estate will require you to take a risk and follow him up the stairs.
Each of the two landings is lit by a single torch and once plunged into darkness either makes a good point at which to wait for the patrolling guard to move past. Continuing up brings you out onto an unguarded rooftop with a high wall to the north. Mantling this wall and moving across another roof leads to the intersection of Grandmauden Road and The Baron’s Way, a well guarded intersection and the point at which all paths through Dayport converge.