“Well well… housebreakers. How quaint.”
Annotated Walkthrough, 2:
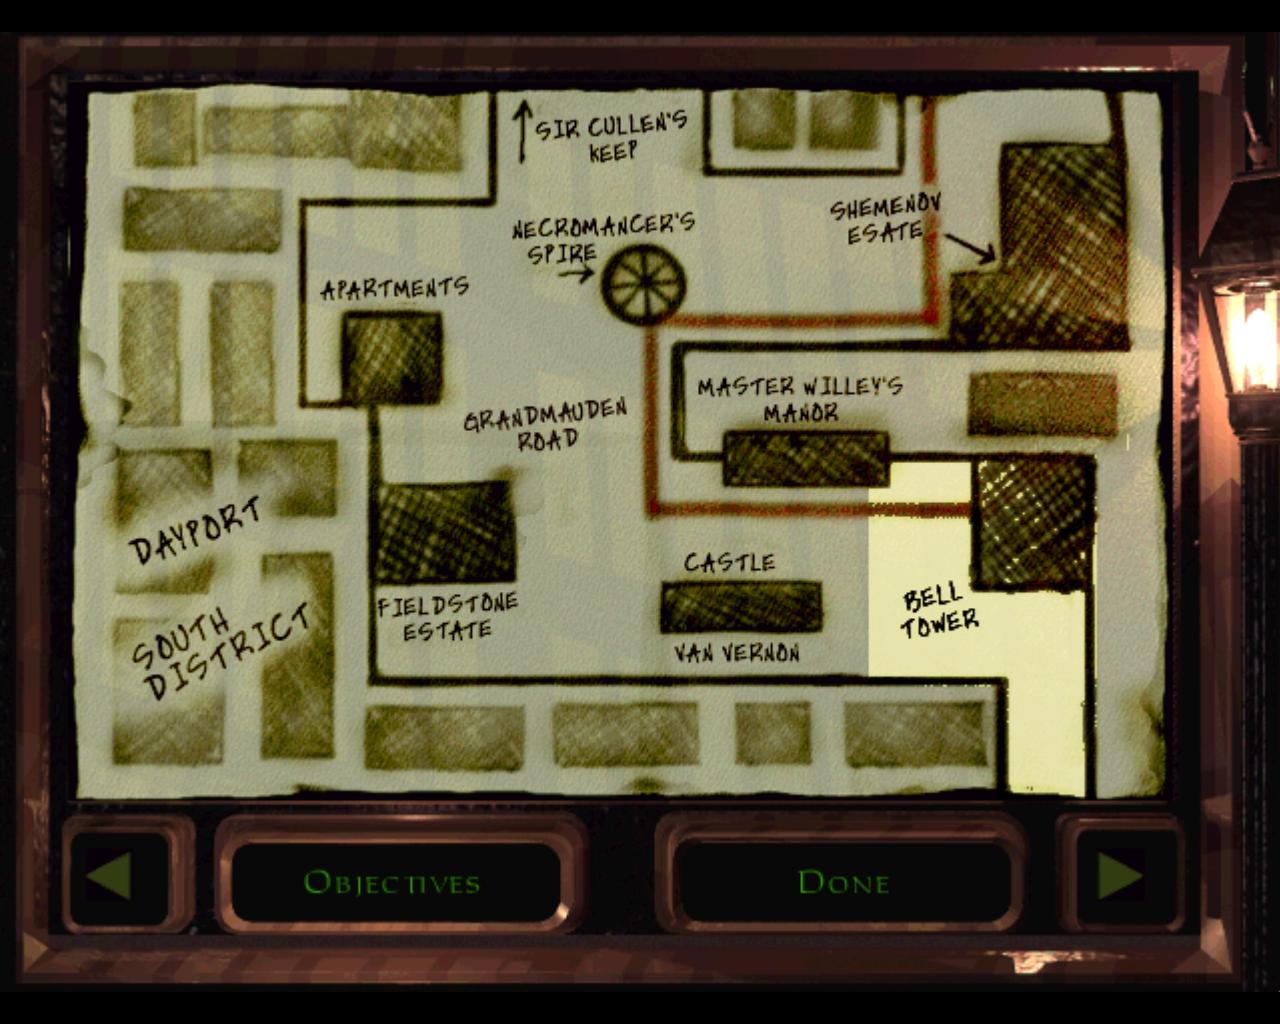
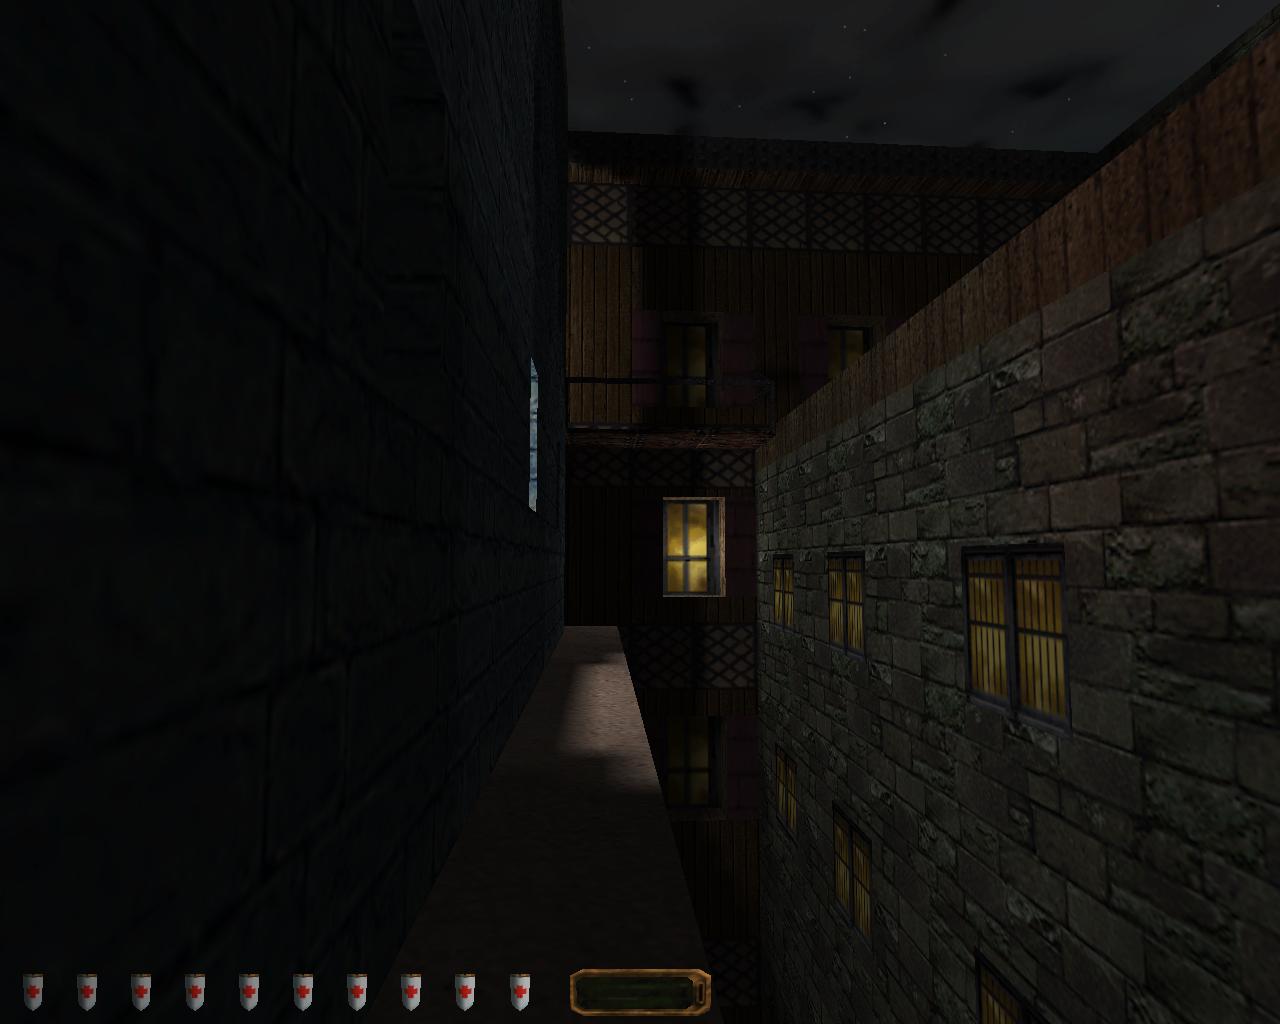
Offering a more circuitous route than that found by heading through the Shemenov Estate, the area of Dayport to the west of Grandmauden Road provides a look at the range of different buildings, both commercial and residential, to be found within this section of the City. It also highlights that while Life Of The Party provides a lot of freedom in the order and means by which you can approach these buildings there are still some noticable restrictions.
Due of the layout of Life Of The Party and the need to “Get back to the safety of the bell tower” once all other objectives have been completed it is possible for each area on this side of Grandmauden Road to be approached from an alternate direction; this is also true of the Shemenov Estate however in that case it is simply a matter of reversing the direction of travel from The Baron’s Way back through the Astronomer’s room. The greater number of buildings to the west of Grandmauden Road and the lack of a fixed route between them means that large sections of this level can be either bypassed entirely or traversed in a different order from a different direction.
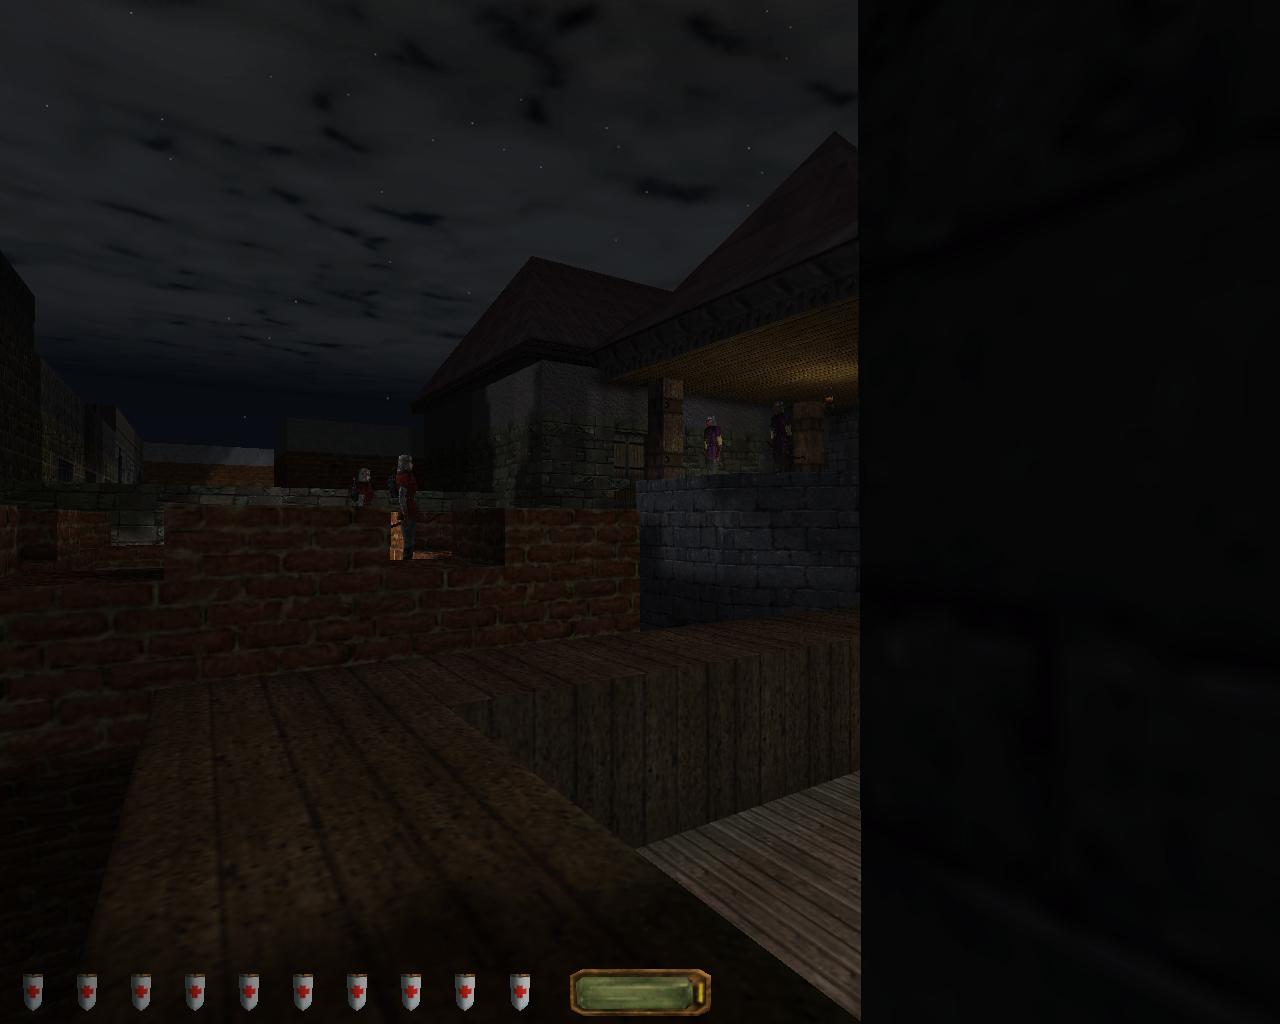
By either avoiding the first building (that grants access to the Astronomer’s room) or by exiting through the window half way up the stairs, you will reach a point where Grandmauden Road turns sharply northward before heading back to the west and passing between Master Willey’s Manor and Castle Van Vernon. The pair of guards on each side of the road are obviously familiar with one another, jibes and insults are obviously often traded across the rooftops but tonight things take a turn for the violent, and also the comical.
Keeping to the shadows on the nearside of Grandmauden Road will allow you to remain hidden while witnessing the exchange, though for some reason no matter where you position yourself if a guard is left standing he will automatically being to look for you, and keeping completely out of his line of sight until he has calmed down is the only option to ensure he doesn’t actually locate you.

However as the outcome of the exchange is not scripted it’s entirely possibly than no guards will survive. Once the arrows begin to fly the simulation takes over and you could witness the final two guards launch their last arrow mere seconds before being killed themselves. If you have no compunctions about murder it’s possible to provoke the altercation by letting fly with your own arrows and in the confusion, the opposing guards naturally assume that one of the others got the drop on them; how that’s likely when they can all see each other is curious, but when such things work to your advantage it’s best not to question them. If you choose not to help things along the possibly outcomes are that either one of Master Willey’s guards (Purple tunics) or one of Lady Van Veron’s guards (Red tunics) remain alive, or that all guards are killed. With either of the former outcomes some care will need to be taken as the surviving guard is now in a in a permanent state of alert and will initiate search and combat behaviour much more rapidly than usual, bypassing the standard ramp up. Furthermore as it is likely he will have taken some damage it’s risky to attempt to knock him out as the one point of damage dealt by your blackjack can be enough to kill him outright; a problem if you are playing on Expert difficulty with it’s strict restrictions against murder.
Regardless of the outcome you will need to continue west if you are to reach Angelwatch. Depending on your playstyle it can be easier to keep moving while the guards are still trading insults as although it is difficult to get past entirely undetected they will usually remain more interested in each other until the fight is over. Any remaining guard will automatically enter a search state after the fight so there is little to be lost by being seen at this stage; by the time his search begins you will be several rooftops distant.
In the short term this is a standard video game encounter, you deal with it either by expending time or resources, or both and then you keep moving. Unusually because you will eventually need to return to the Bell Tower from whose roof you started the level the actions you take here will have repercussions later as you may find yourself having to pass the remaining guard once more from the opposite direction. This is true of many of the encounters throughout the Dayport sections of Life Of The Party and this need to return from whence you came is not uncommon in Thief levels. The levels are rarely a linear path and the decisions you make near the start can influence your actions minutes or even hours later.
The tools at your disposal are not infinite, and despite the possibility of finding additional arrows in various locations throughout the level, you will quickly find yourself running low if you are not careful about their use. With little information regarding the type of encounters you will face, and an understanding that tools will generally be reset upon starting the next level there is often a conflict between the desire to save your resources for the future and a sense of ‘use it or lose it’.

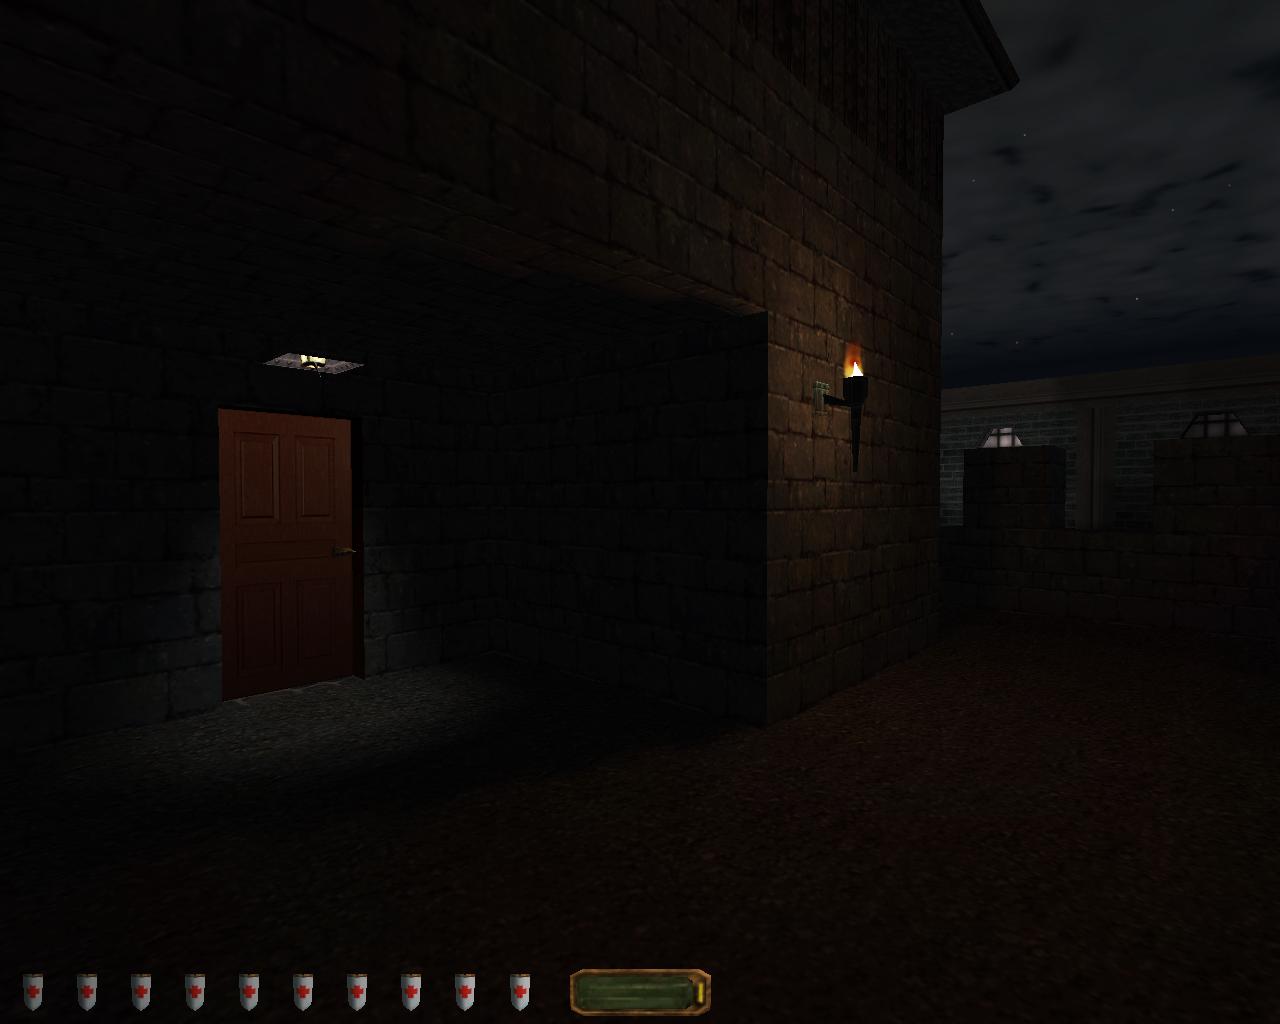
Whatever method you use to continue following Grandmauden Road, you will soon be faced with another patrolling guard. Walking a short path between a wall and a locked door (In fact simply a texture of a door) at first glance he seems not to present any particular problem. The lack of shadows on this rooftop means that to avoid directly dealing with him you will need to move quickly and scale the sloped wall onto the upper roof during the brief period in which his back is turned. Of course given the likely need to return through this section at a later date it might just be simpler to incapacitate him now.
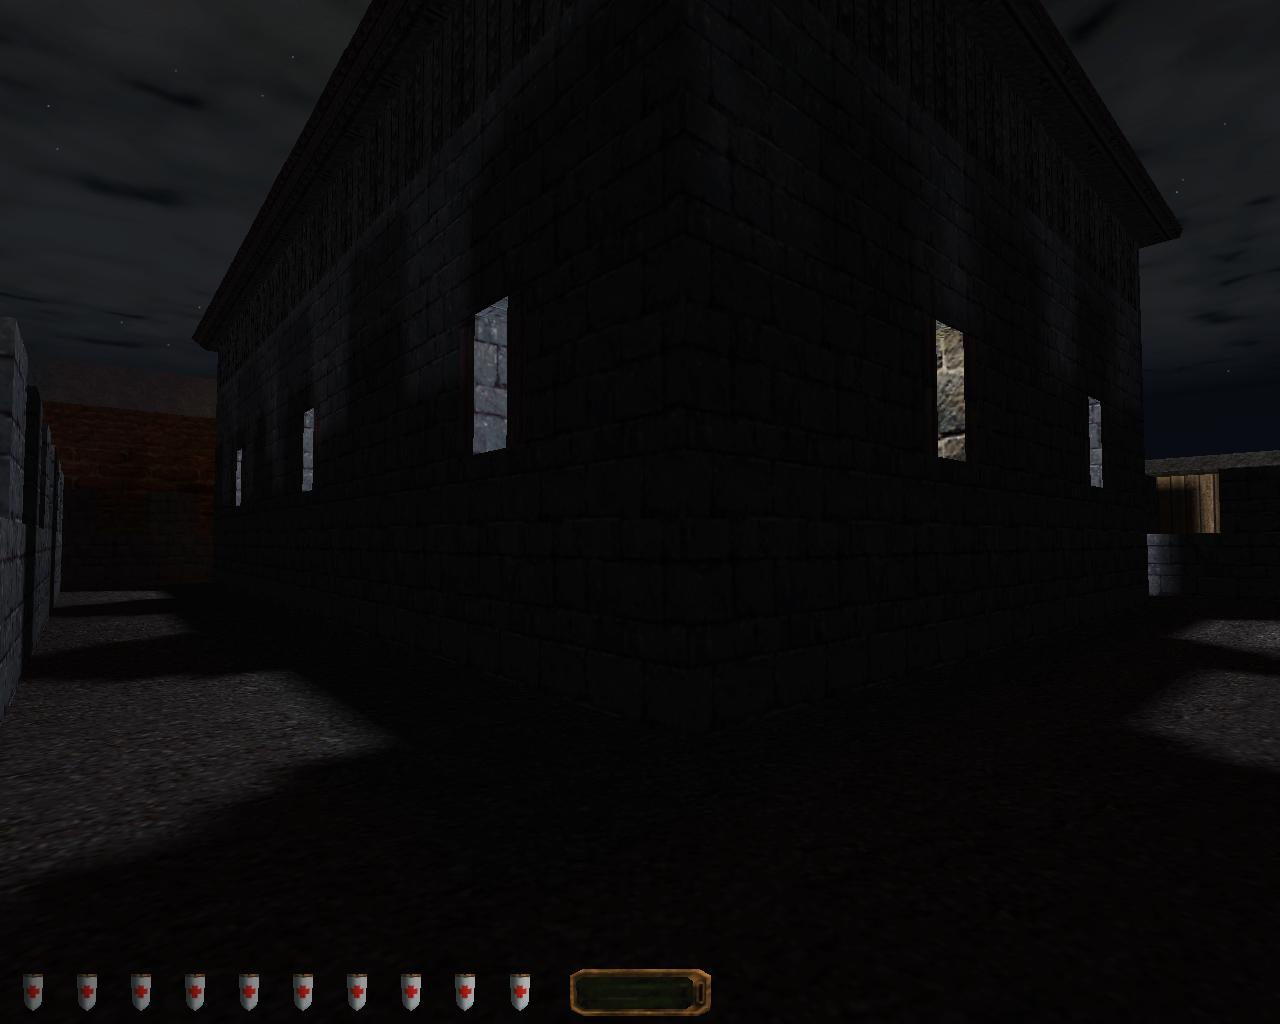
From the nearby roof it’s possible to climb over the crenels to the north and gain entry to the Fieldstone Estate. There are two guards patrolling the battlements here, each moving in different directions. Fortunately the large number of shadows provide natural conceal and whether you choose to avoid or subdue them you can do so with confidence that you will be able to remain unobserved. One of the guards is carrying a key, which will unlock the door on the western side of the central structure, obtaining this key will avoid the risk of having to spend time picking the lock.
Inside a single guard patrols the three accessible rooms, the timing of his route is such that you can hide in the shadows in the central room and wait, before darting quickly into the innermost room to grab the loot within once he has passed.
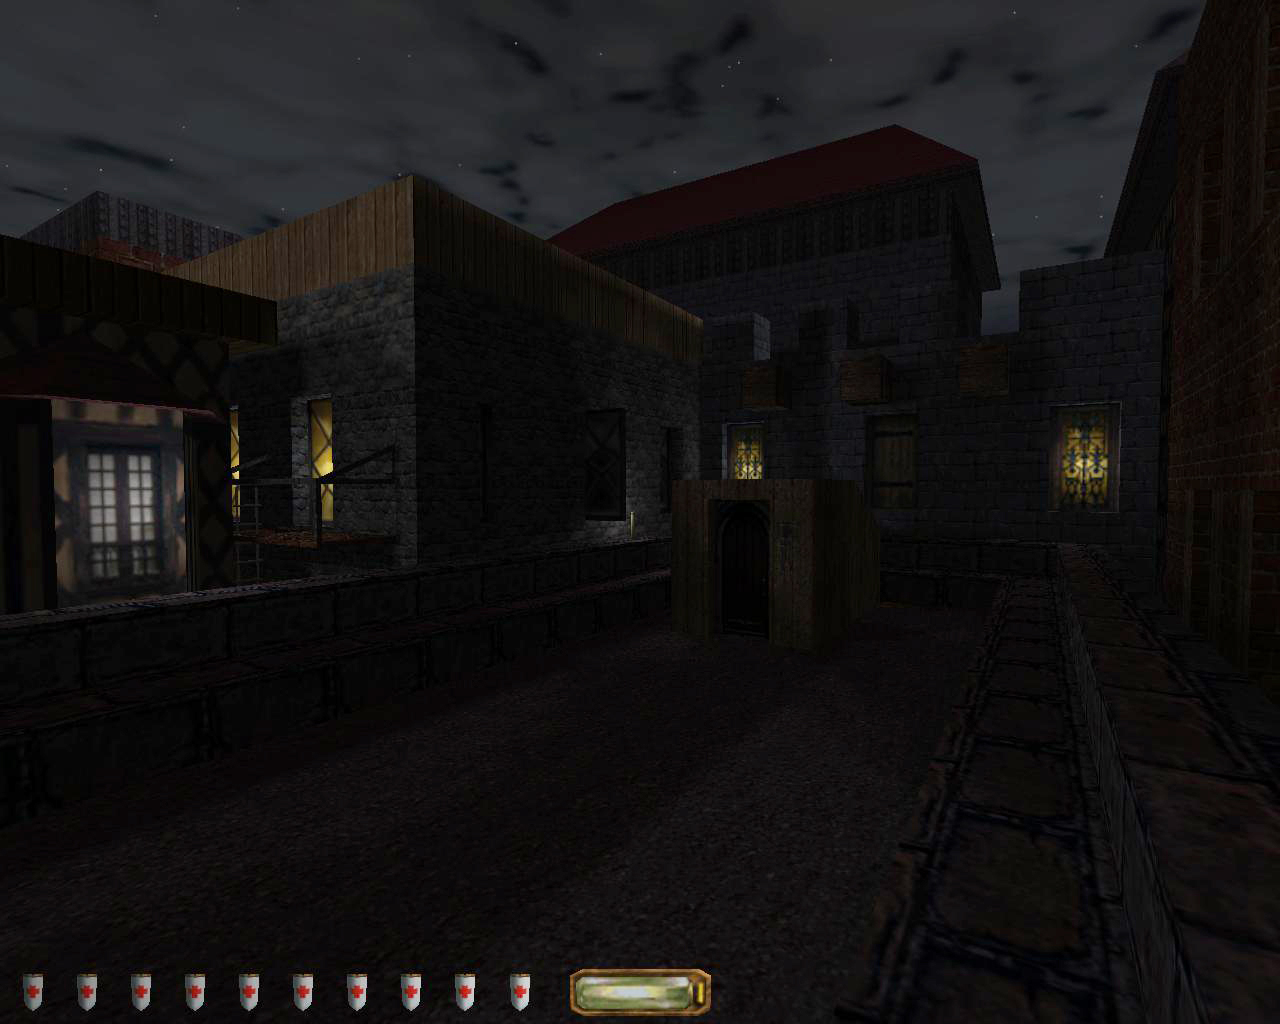
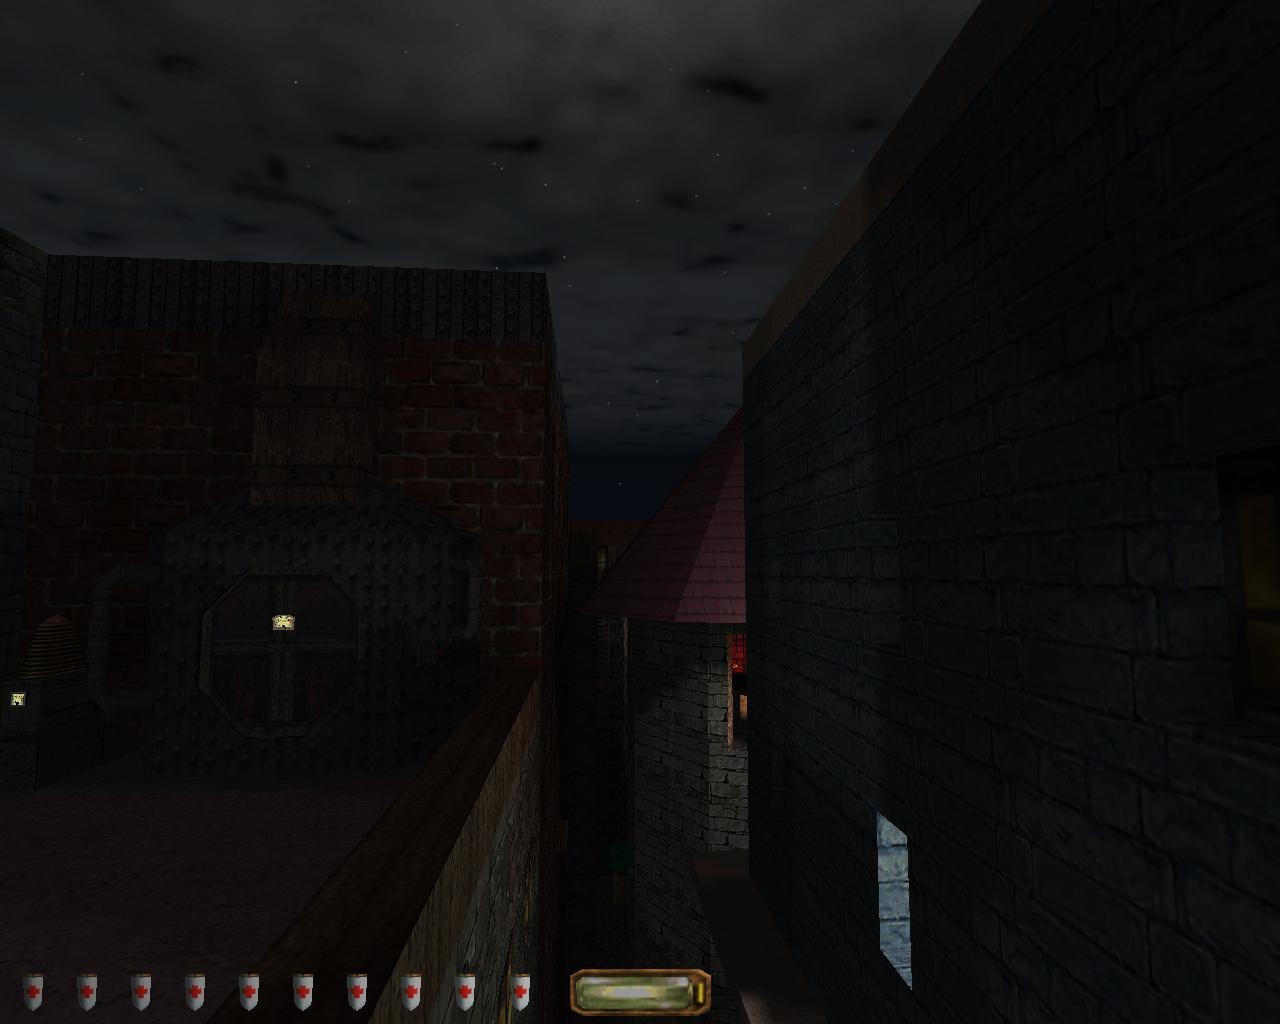
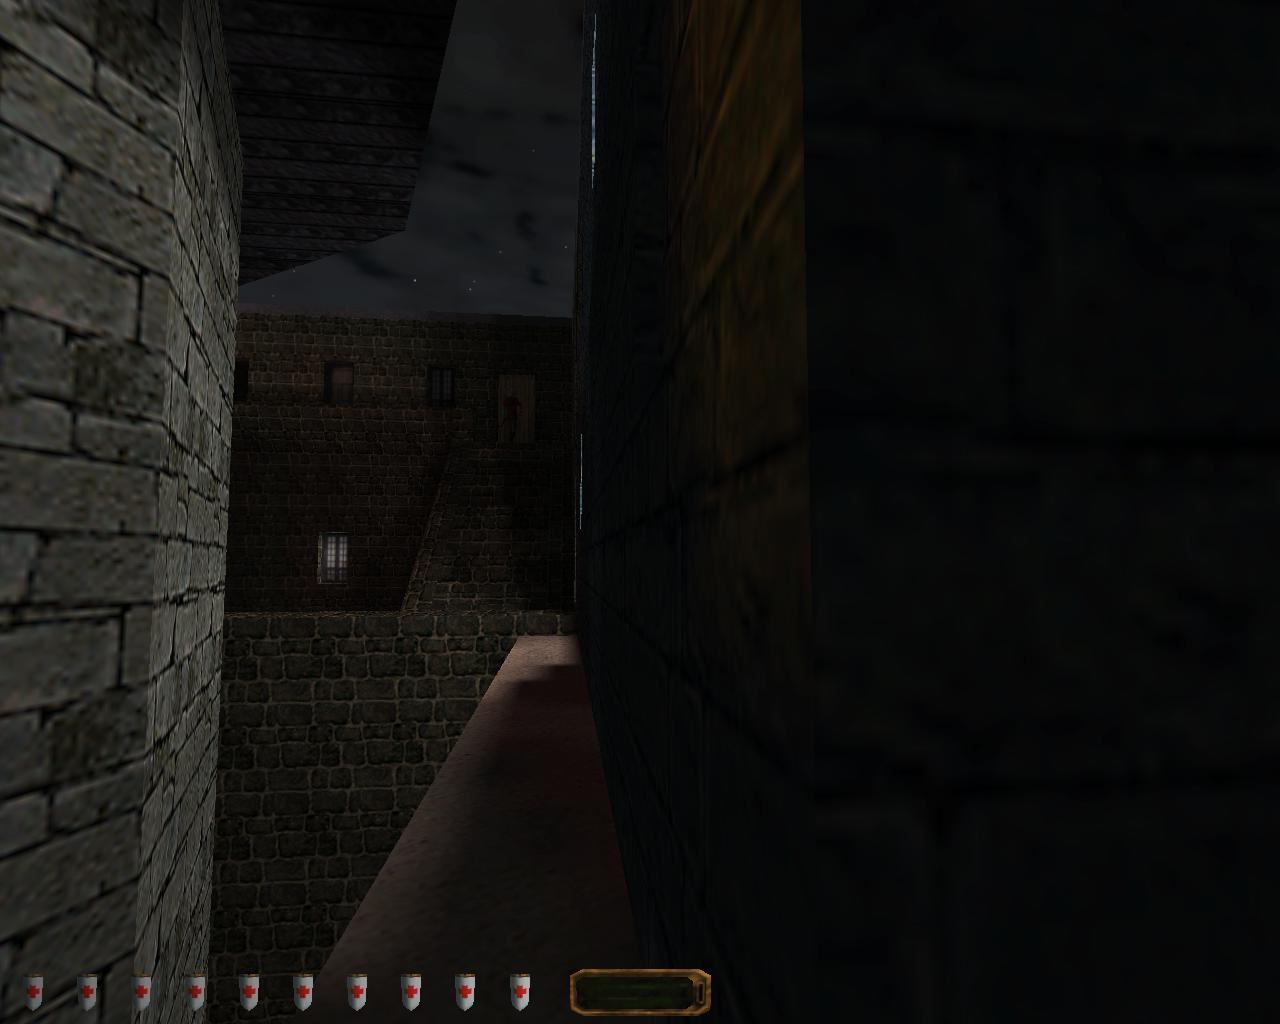
The aesthetics and construction of the Fieldstone Estate mark it out as one of the older buildings in Dayport, obviously newer constructions have been built up around it, in some cases right up against the walls, their wooden roofs butting up against the solid grey stone battlements. The Fieldstone Estate serves as a crossroads for The Thieves’ Highway, north leads to a series of newer apartments, east will take you to a pair of apparently abandoned and half collapsed buildings, while heading south will lead you back the way you have come.
The apparently abandoned building to the east masks a wealth of loot, having been converted to the hideout for another thief. Beneath the collapsed roof you can find a two Moss Arrows hanging from the roof beams along with a pair of Vine Arrows in a small chest.
It can be difficult to infiltrate the thief’s hideout without being spotted as he seems to be naturally more alert than any of the guards in Dayport, a natural consequence of operating on the wrong side of the law? Fortunately he is armed only with a sword and lacks your acrobatic move set, so if you do alert him he can only stand and shout at you as you make your escape.
If you choose to cross the beam to the north and scale the ladder you will end up inside a water tank on the roof of a building to the north, a location that we’ll leave discussion of until later.

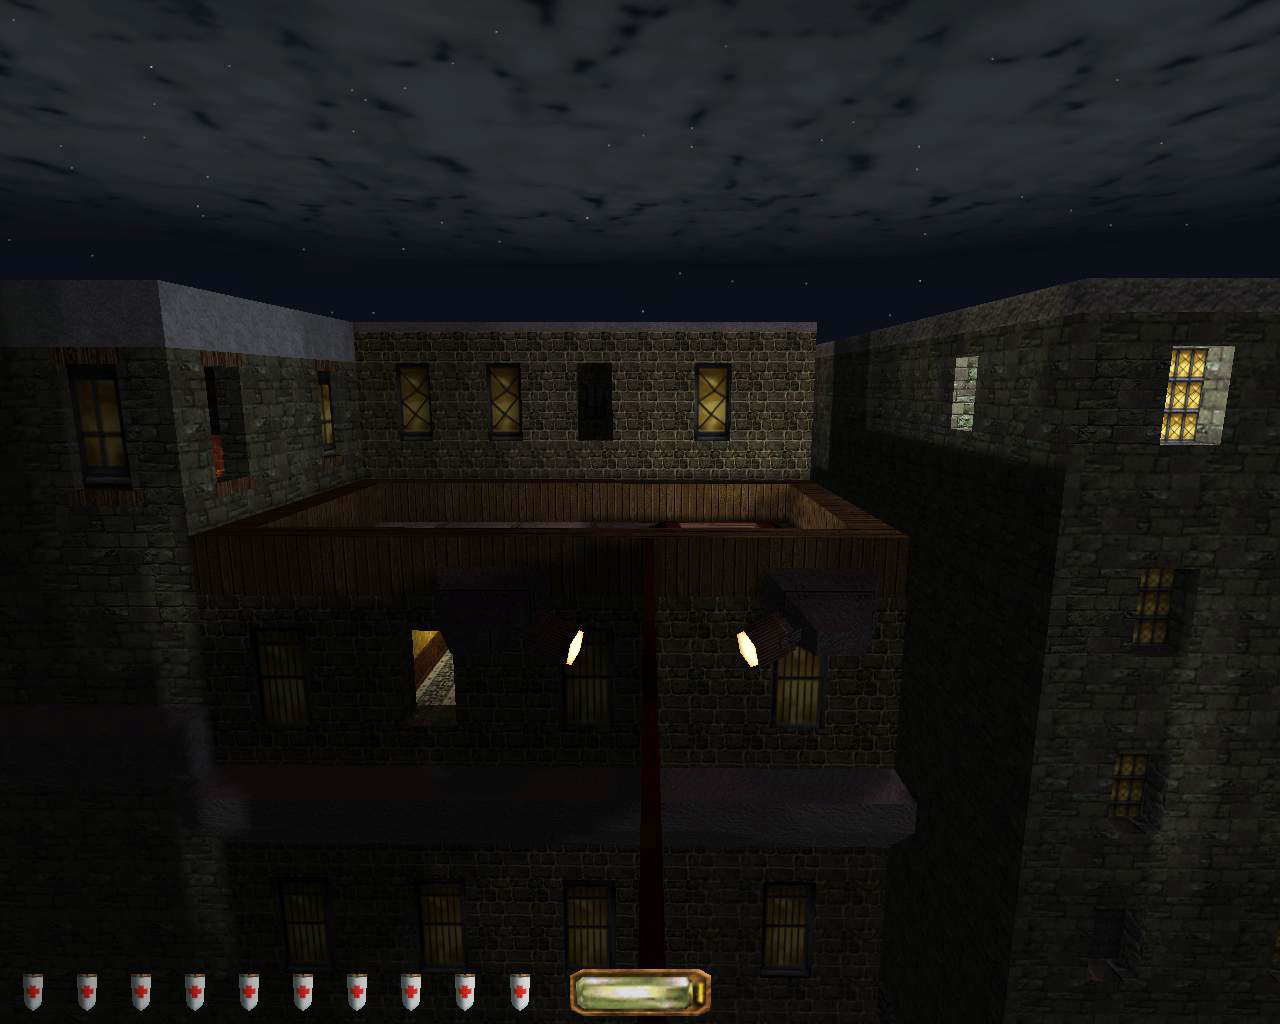
To the north of the Fieldstone Estate is a modern apartment building which seem to have visitors of its own. A pair of housebreakers are also at work tonight. Garrett’s disdain for these other members of the criminal fraternity is clear, they are noisy, unsubtle and not very bright.
You can choose to completely ignore the pair of housebreakers and the entire apartment complex by keeping to the rooftop and heading straight for Sir Cullen’s Keep, the circular tower of which is just visible to the north.
If you decide to enter the apartments it’s still possible to avoid the housebreakers, by dropping down onto what appears to be a fire escape on the northern side of the building and entering through a window. The lone guard patrolling inside has a route that takes him from top floor landing just outside the room where the housebreakers are down two flights of stairs to a darkened landing where a hole in the wall is covered up by some crates. Moving these crates will allow you to continue on to the Necromancer’s Tower, though it might be beneficial to work your way upstairs and open the door on the top floor, causing the guard to confront the housebreakers when he returns. Though there are two of them they are a poor match for the guard and he will waste little time dispatching them, allowing you to make off with the loot they had been after. With the tools at your disposal there are other various options available, a Noisemaker through the window can cause the housebreakers to open the door themselves as they search for the source of the disturbance and they are unlikely to remember to shut it again.
Through the hole in the wall, and up a disused elevator shaft a window looks across into the nearby Necromancer’s Tower. Much like the Fieldstone Estate the Tower is one of the older buildings in Dayport and these newer apartments have been built so close you can quite literally step across from one window ledge to the other.
Crossing over from the Apartments you enter the The Necromancer’s Tower on the third floor, though only this and the upper floor can be reach initially. Gaining access to the bottom two floors requires locating pair of secret switches, one of which is in the centre of a fire-pit on the top (fourth) floor and the other is a secret book on the third floor.
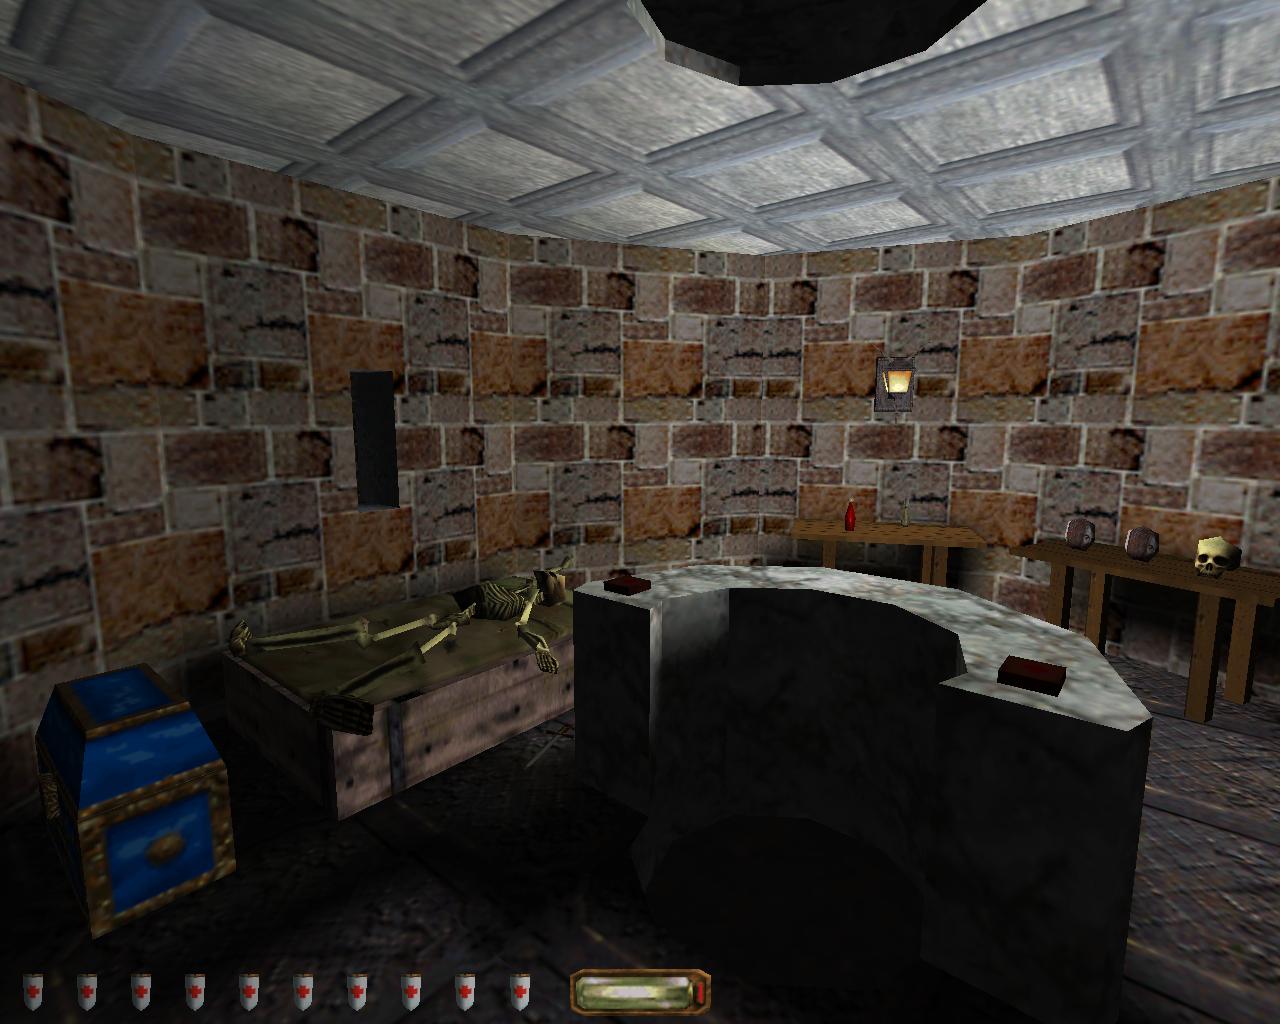
The top two floors contain little that is unexpected, a small library on the third floor, and what looks like an alter of some description on the fourth; though if you decide to read the book on the alter be prepared for the consequences, the undead apparently have some outstanding issues they need resolved.
On the second floor you find what it is safe to assume is the body of the Necromancer himself, dead by his own hand. While the lower most floor had been made into a torture chamber containing a rack and an iron maiden, the red walls probably intended to mask the blood stains. A slightly gruesome diversion the Tower is worth exploring for the variety of potions and stack of coins that can be liberated from the lower floors and the two golden candlesticks that can be grabbed from the alter.
Unless you wish to return to the Apartments, escape from the Necromancer’s Tower is achieved by jumping from the fourth floor window onto a narrow ledge running around the building to your east. Ahead the ledge continues around the corner underneath a wooden balcony. To the north the ledge terminates just before Sir Cullen’s Keep.
Proceeding east, the roof above you (to the south) contains a large metal water tank. If you took the shortcut above the thief’s hideout you will have ended up here, having dropped through a vent in the roof into the half full tank. With no way to raise the water level, this shortcut only works in one direction. If it had been possible to alter the water level in the tank this could have been an interesting environmental puzzle, however this is not the type of environmental manipulation the Dark Engine is particularly suited to. Though in the years since the release of Thief II designers within the community managed to figure out ways of doing just that.
Underneath the balcony is an open window where you can witness the spoilt Frederick Juniper Rothchild III complaining petulantly to his wife about about their lack of an invitation to the Mechanist banquet at Angelwatch. Once you get to Angelwatch itself you’ll be able to find a record of all those invited and it turns out the Rothchilds were on the list so whatever happened to the invitation is a mystery.
The balcony above leads to a deserted rooftop and the alternate route into the Shemenov Estate, a shortcut it might be worth remembering for the return from Angelwatch.
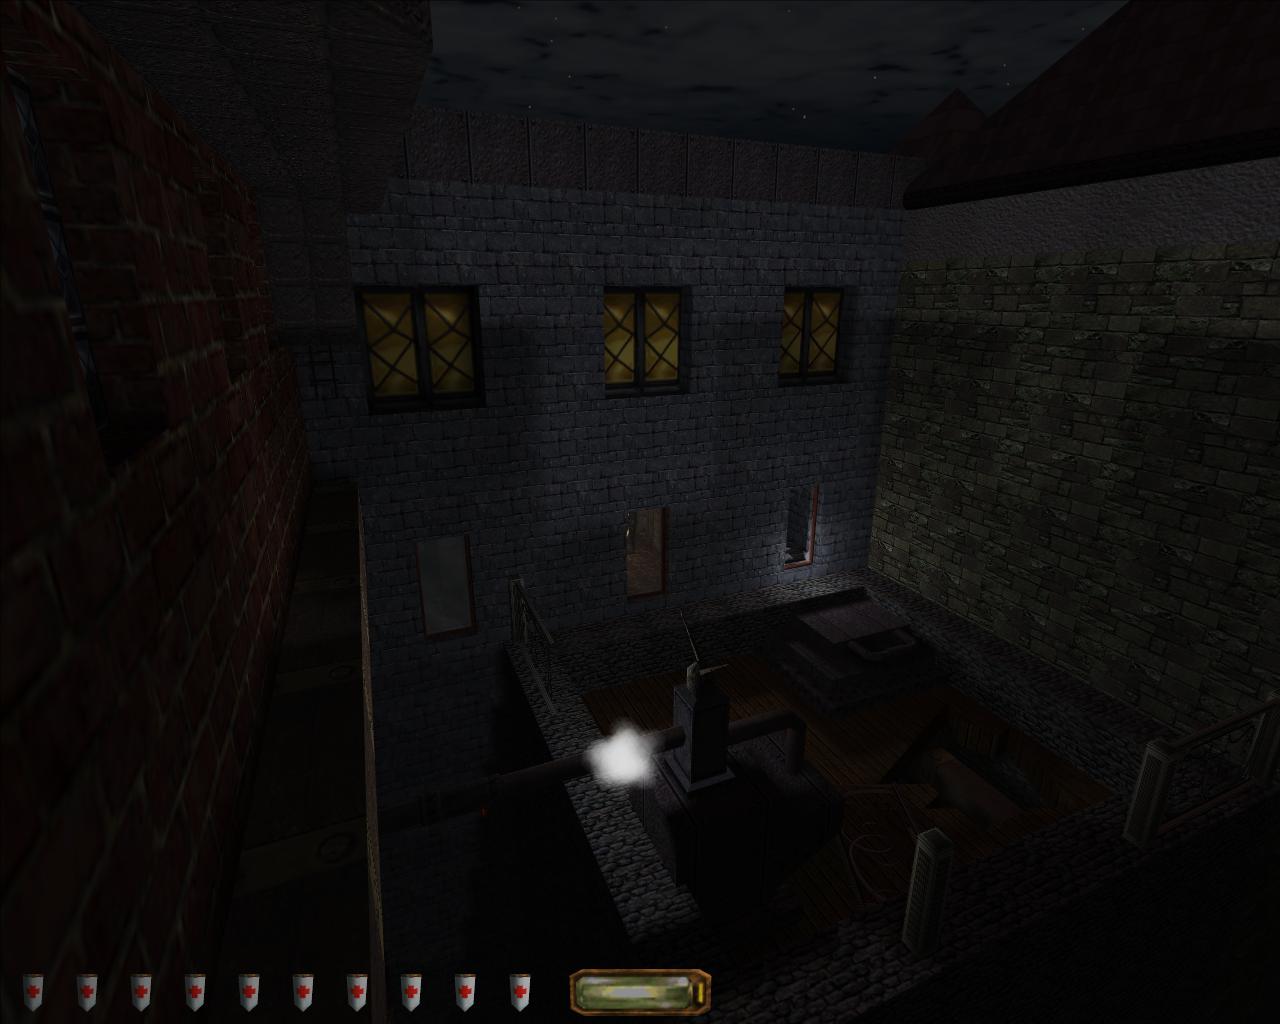
For such a relatively small location Sir Cullen’s Keep presents a number of options and an interesting use of carefully timed patrol paths to evoke tension. Like the Shemenov Estate Sir Cullen’s Keep is split into two sections, outside and inside. Outside is a roof area dominated by a squat two story tower lit by torches with a large Powderkeg and a pair of Fire Arrows on the upper level. Directly opposite the entrance to the tower is a darkened storage area under the stairs. At the top of the stairs a window ledge extends the length of the south facing wall, an open window at the very end granting entry. An archer patrols from the room beyond the window, to the base of the Tower and back.
Beyond this window is a small square room with a single door in the eastern wall. There are three rooms of this size running the length the building and instead of using the window you can enter the eastern most of these rooms through the door at top of the stairs. The room just inside the door is lit by a small electric light, while the other two are both entirely unlit. Two of these rooms open to the north onto a short corridor which is patrolled by a single guard.
If you enter through the window and move quickly you can pass through the centre room and out onto a rooftop beyond without being noticed. However the short path of the guard inside makes this risky as if he doesn’t spot you as you move through the well illuminated hallway he is still liable to hear you. You can wait in the centre room until the guard has passed unfortunately by focusing on him it is easy to forget the second guard. If you stay too long in the centre room where there is little space to avoid him; you will be detected. Even if you choose to actively remove the threat of this internal guard you will still need to remember that the second guard doesn’t remain outside.
Sir Cullen’s Keep is a very small encounter space but its layout and the timing of the guard patrols makes it a potentially fraught one.
Like most other locations on your route to Angelwatch it’s possible to enter Sir Cullen’s Keep from a different direction, in this case by climbing back through the window you’ve now left. This presents further problems as without some judicious use of Scouting Orbs it can be difficult to ascertain the location of both guards before you make a move.
The building to the north of Sir Cullen’s Keep, upon whose roof you will now find yourself opens onto a broad thoroughfare known as The Baron’s Way, which is being patrolled by a Mechanist Combat Bot, one of the first yet seen in the City itself. It would appear Dayport is a more illustrious district than some of those you may have previously visited such as Wayside, the location of Garrett’s home before certain events (Ambush!) forced him to relocate. A narrow beam supporting a number of banners crosses to the far side of The Baron’s Way, with care this can be traversed to reach Castle Carlysle and the armoury within.
To the east The Baron’s Way passes through an arch to eventually cross with Grandmauden Road on the far side of a large white stone building, the top floors of which have been converted to the Dayport Trader’s Bank.