“No need for alarm ladies, just passing through.”
Annotated Walkthrough, 3:
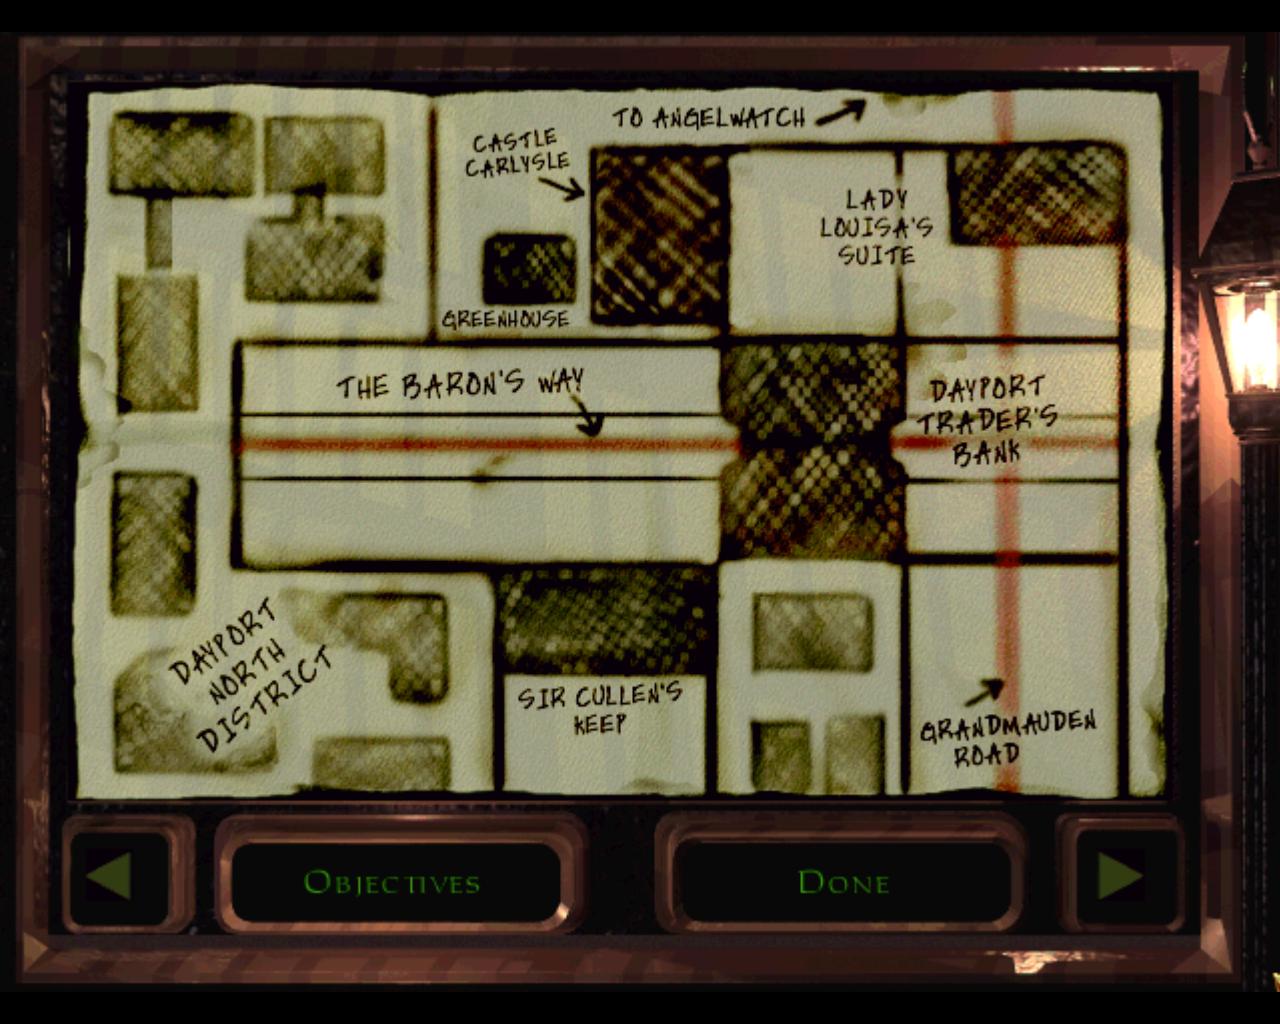
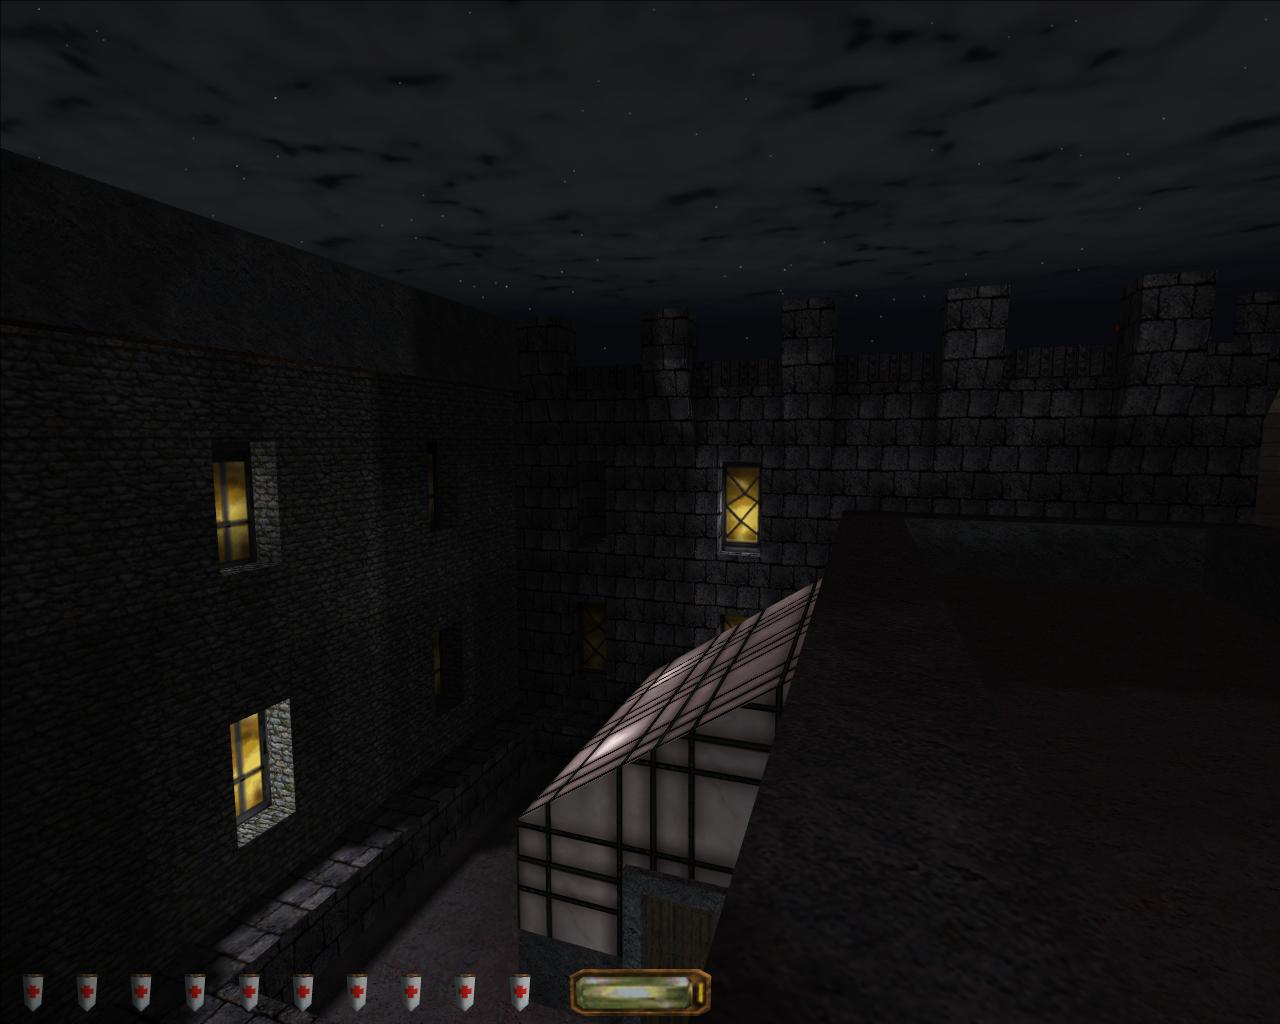
From the roof outside Sir Cullen’s Keep there is still some distance to go before reaching the Mechanist tower at the heart of Dayport. From here at least two buildings need to be traversed before you can gain entry to Angelwatch itself, the Dayport Trader’s Bank occupying the upper floors of a building to the east, and beyond that the suite of Lady Louisa. There are additionally a number of diversions that if explored can help replenish your potentially dwindling inventory.
Directly north a narrow beam crosses The Baron’s Way and is you means of entry to Castle Carlysle. Despite being a physical dead end there is a greenhouse within the confines of the castle that contains a valuable stockpile of equipment include a rare Gas Arrow, that provides a means of subduing multiple guards from a distance. This is protected by Longdaddy, the affectionately named spider who appears to have been adopted as a pet and “gardener’s assistant” by Anna the horticulturalist responsible for the greenhouse.
If you purchased one of the hints available at the start of the level you will know that within the castle walls lies the Carlysle Armoury. Nothing comes for free however, and if you are to redistribute the weapons and items within you will need to use a Vine Arrow to gain access to the open window overlooking this rooftop. A single guard patrols inside, and if you have acquired the Sunburst device from the Astronomer’s room you can detonate it, with a Fire Arrow, to blast through the door. A more subtle manner of entry can be achieved if you have already located the key from Carlysle room inside Angelwatch. Once the door has been bypassed you can stock up on Broadhead Arrows, alongside acquiring a number of rare Fire and Noisemaker Arrows.
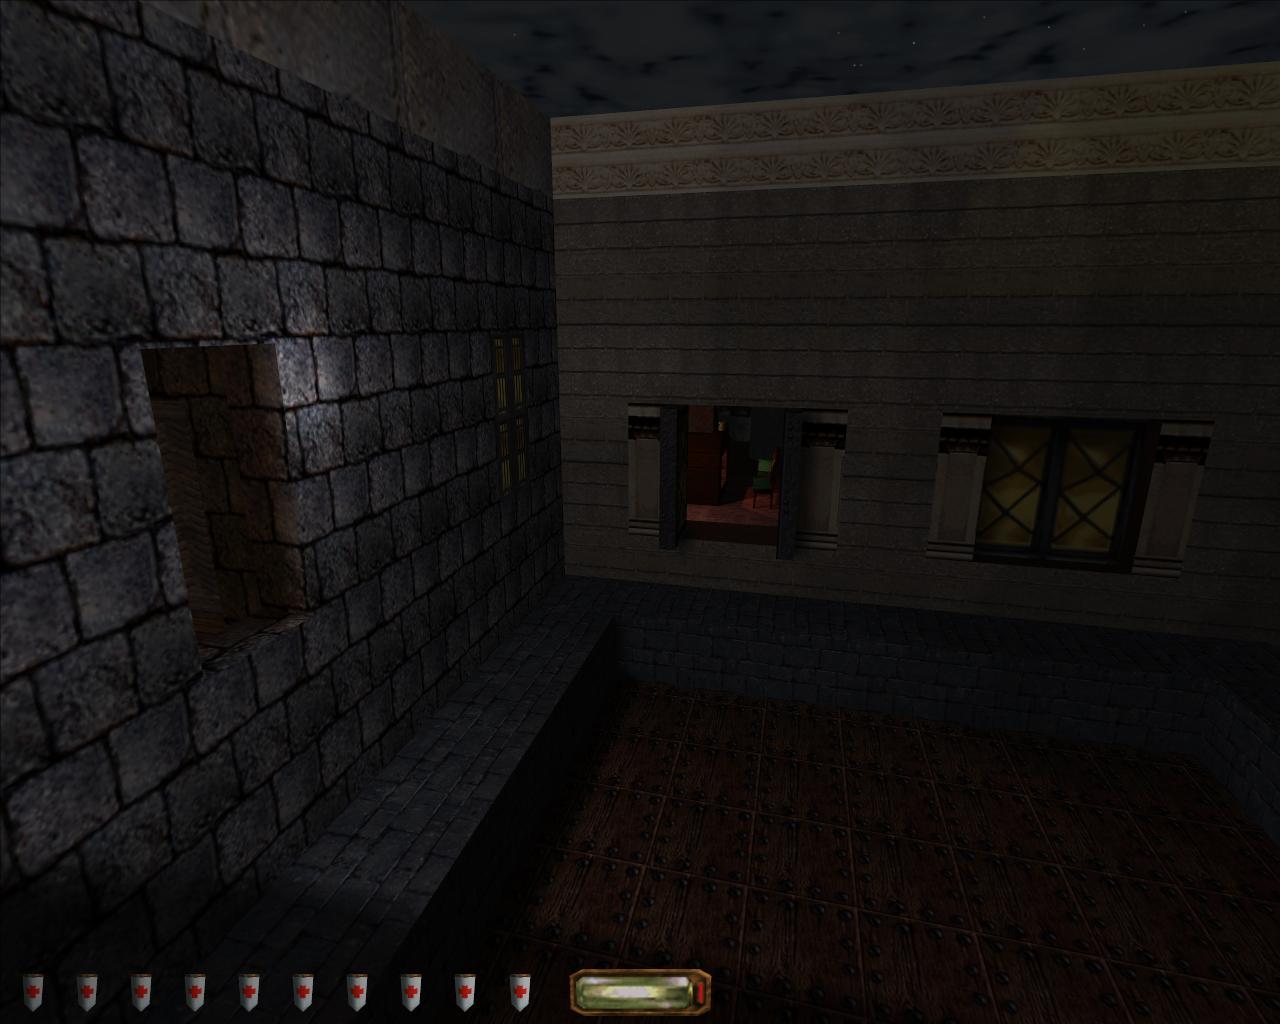
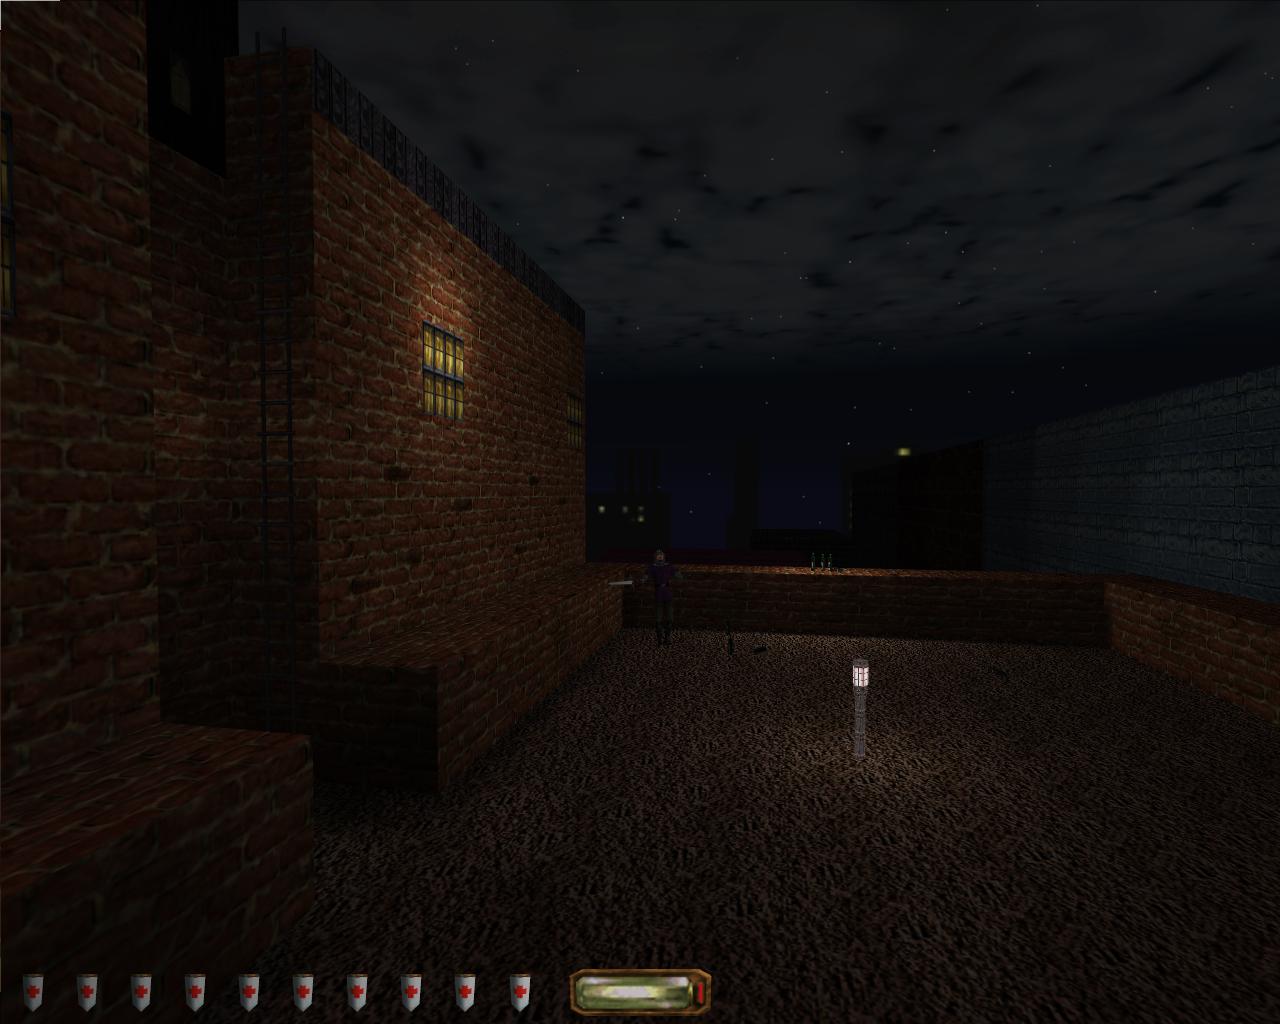
Returning to the south side of The Baron’s Way there is a skylight on the roof outside Sir Cullen’s Keep. The stacks of coins visible on the table below are inviting. As the most obvious display of wealth in the whole of Dayport, it might just be a little too inviting. The civilian servant standing by the table presents little threat, judicious use of Vine Arrows would allow you to grab the gold without even touching the floor.
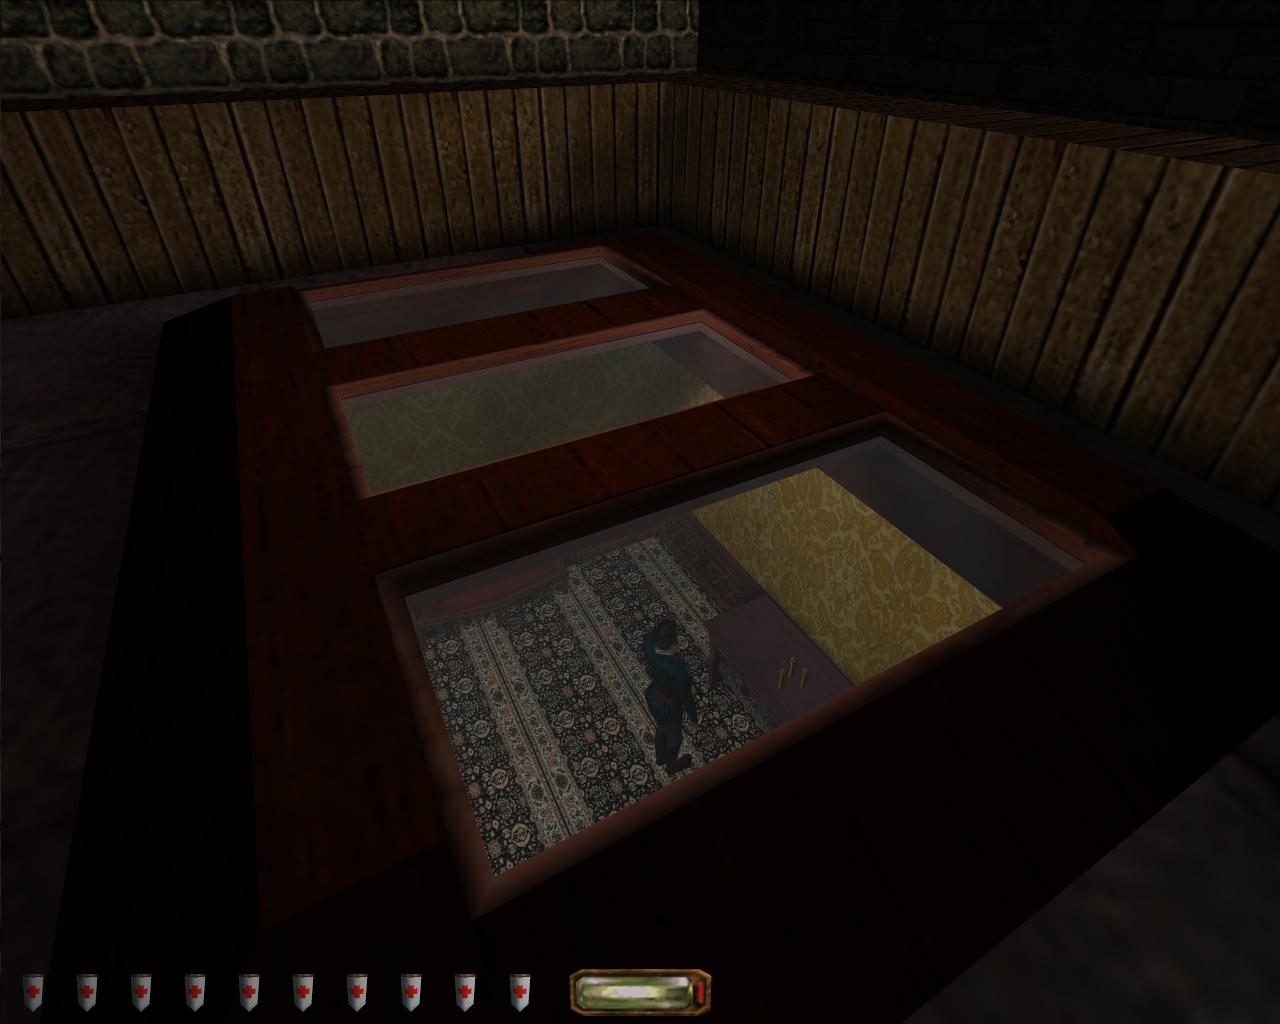
What’s not visible from this rooftop is the doorway behind the servant, and the guard waiting in the room beyond. Exploration will provide an alternate means of entry into that very room, and this one encounter is an example of Thief level design in microcosm: the obvious route if rife with concealed dangers, exploration is power.
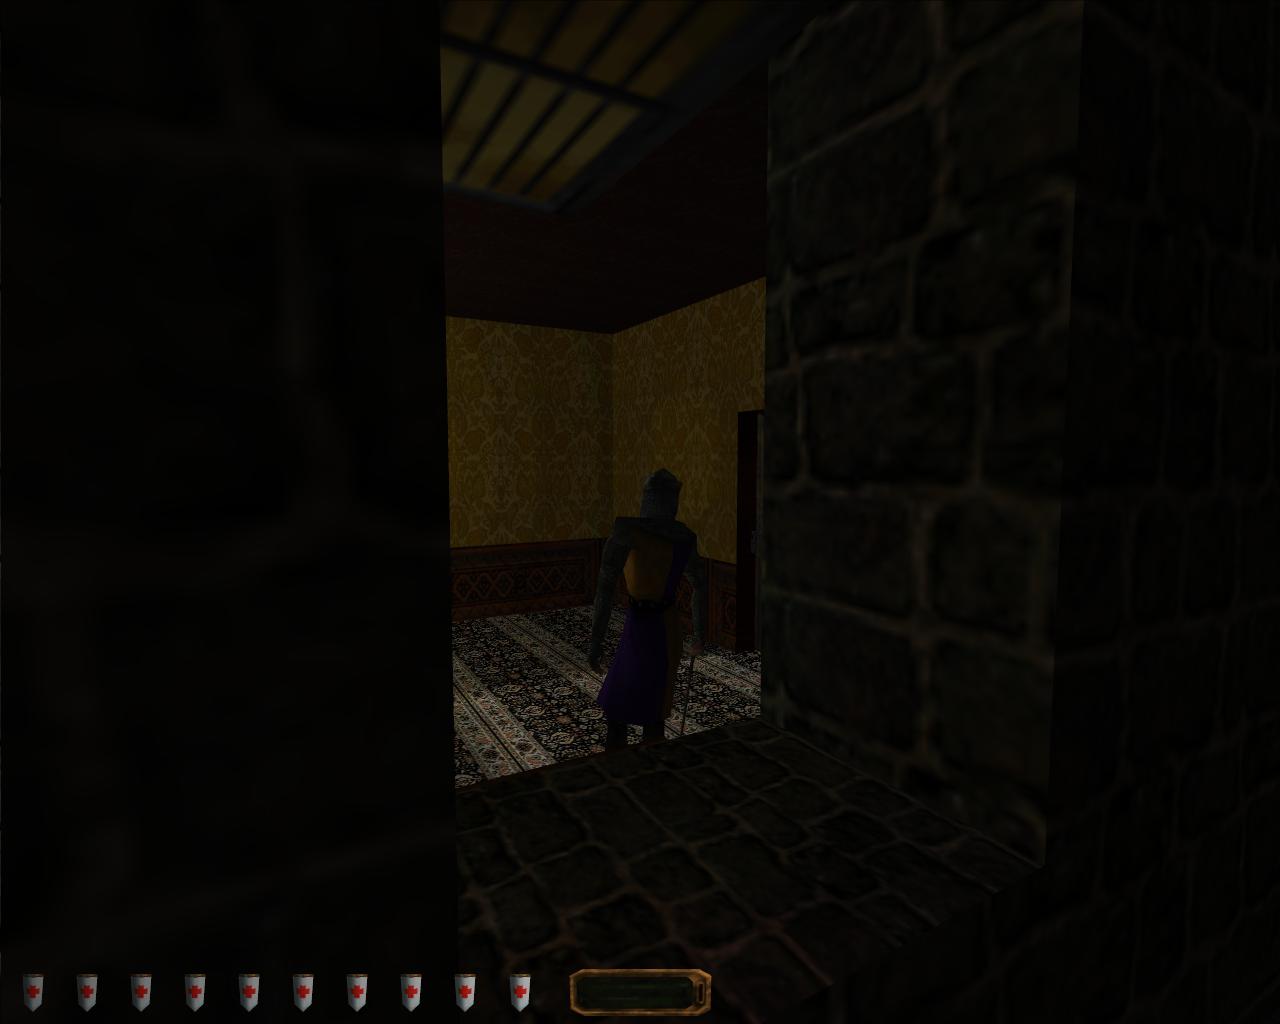
Moving through a room to the east, you can drop down onto the window ledge outside the Dayport Trader’s Bank, or double back along the south side of The Baron’s Way to find the alternate route into the room beneath the skylight.
Much smaller than the First City Bank and Trust that you will have previously infiltrated the Dayport Trader’s Bank occupies only a single floor of one of the buildings surmounting The Baron’s Way. If you’ve taken them up on their offer one of your informants will have provided information about a certain Valencia and the stash of uncut diamonds he’s entrusted to the bank.
There are only two guards on duty within the bank, with only one patrolling the interior, while the other remains stationed on a balcony on the far side of the building overlooking Grandmauden Road. The marble floors throughout do little to mask your footsteps and will make it difficult to approach the patrolling guard without being heard, though they also make it a lot easier to hear where he is and avoid him if necessary. Despite being internally consistent the idea that solid marble or metal plate floors would be louder to walk across than gravel or dirt is initially counter-intuitive. It makes sense from the perspective of the affluent buildings presenting more problems for stealthy navigation but it does bring up the question of whether Garrett’s chosen footwear is a pair of hobnailed boots.
The patrolling guard’s route through the bank makes it easy to bypass him.

Valencia’s diamonds can be found inside a safe in the main room of the bank, a safe that can only be unlocked by finding the switch inside the office of the Supervisor, Mr. J. B. Tuttleshank. From the art on his walls Tuttleshank is a Hammerite, or at least a supporter. This, combined with the bank’s location on the top floor of an obviously prestigious building might go some way to explaining the lack of Mechanist security devices. All that’s necessary to uncover the switch to open the safe is to first pick the lock on the small panel beside Tuttleshank’s desk.
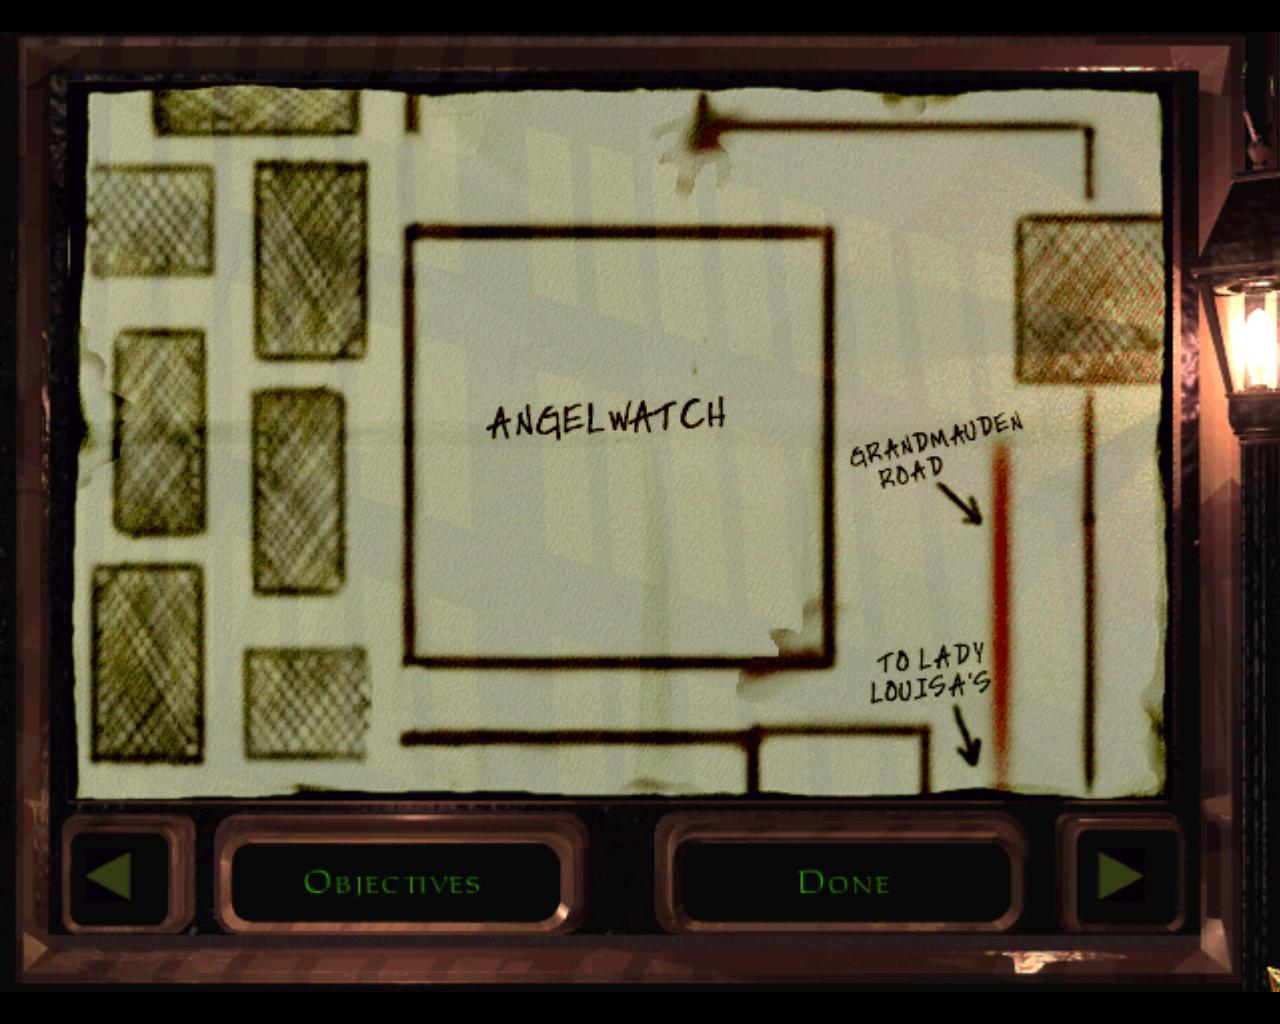
Moving east, a set of double doors open onto a balcony overlooking the intersection of The Baron’s Way and Grandmauden Road. To the south is a rooftop leading back to the Shemenov Estate, while the path to Angelwatch lies to the north through Lady Louisa’s Suite.

At this point The Baron’s Way runs east to west through Dayport while Grandmauden Road runs north to south. Two guards stand watch over the point at which they cross in the heart of one of the wealthiest districts of the The City. Both archers the first guard is on the balcony ahead of your while his companion is stationed on another balcony on the far side of Grandmauden Road. The positioning of these two guards is such that they can both, under certain circumstances, observe movement on the opposing balcony. There is a qualifier as it’s possible to incapacitate the guard on the balcony of the Dayport Trader’s Bank without alerting the other provided you do so quietly. The best option to remain undetected is to stay in the shadows provided by the canopy above, however doing this while avoiding the attention of the bank guard himself will require either extremely cautious movement or the use of Moss Arrows to deaden your footfalls.
Across the roof to the north, an open window ahead leads to the suites of the Lady Louisa who is currently being entertained within Angelwatch.
Through the open window of the building to the east a hooded figure can be seen moving; a Keeper. It’s difficult to tell but it’s possible this Keeper is in fact the same one you saw at the start of the level, certain events that occur in Thief: Deadly Shadows serve to explain how he might have been able to get here ahead of you; this would also explain his otherwise inexplicable disappearance if you attempt to follow him. Through manipulation of the semi-sentient Glyphs the Keepers can gain access to various hidden passages that exist throughout the city. A note, decorated with the keyhole symbol of the Keepers, has been left on the desk inside the room and it is addressed to Garrett himself:
Garrett,
We hope the information we have provided you thus far has been useful. You do well to seek information at Angelwatch. But beware! All is not as it seems at the Mechanist tower, and Karras is more aware of your actions than you may think. Still, there are ways to outwit him.
Despite you having walked away from them when they first warned of the threat besieging the city the Keepers have clearly been monitoring your efforts. It is likely they know much more than they let on, or at least believe they do, but their dedication to maintaining the balance limits the information they are willing to divulge. It’s worth considering that despite their unwillingness to act directly everything they have told you is accurate, including this missive. That does not mean they are unwilling to provide more material support, in the hallway adjacent to this room an unlit torch can be tilted to open a hidden equipment cache. From this secret compartment you can recover a pair of Noisemaker Arrows along with a Gas Mine and an Invisibility Potion, the last of these makes little sense within the context of the game as it has previously been established that the Keepers can effectively hide in plain sight provided they “do not wish to be seen”. To complain too much would be foolhardy, as the functional usefulness of temporary invisibility should be obvious.
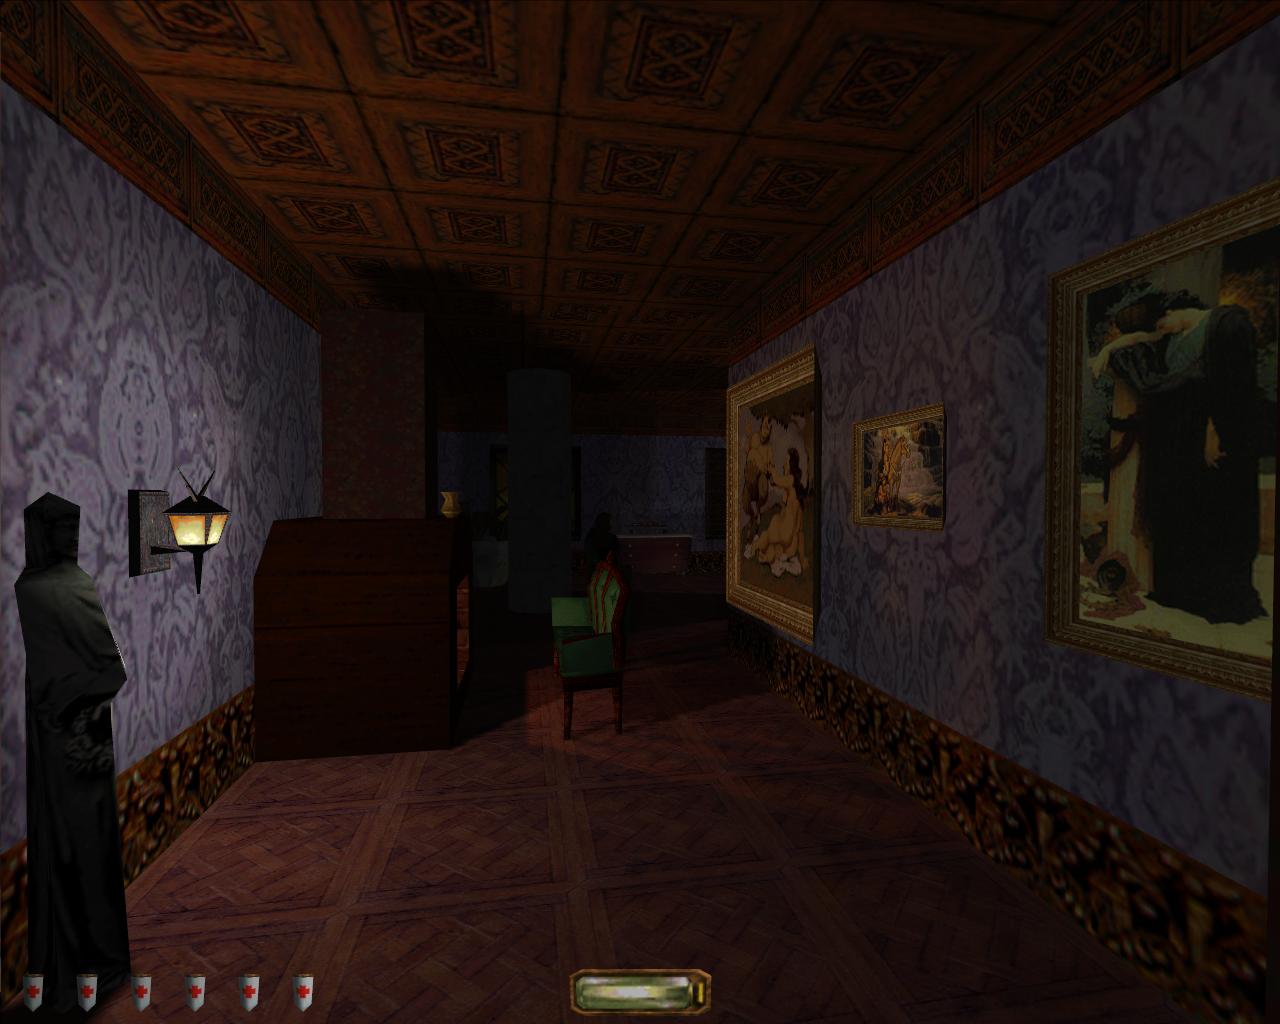
Climbing through the window into Lady Louisa’s Suite first appearances indicate this could be a difficult room to traverse. However Garrett’s blase attitude is a good indication that first appearances are not necessarily to be trusted. Well lit and with too much furniture for rapid movement it should be difficult to get past Lady Louisa’s two female servants without being detected, especially as one is looking out the window you will need to exit from. This assessment is not inaccurate, it is challenging to move through these suites undetected, however the need to avoid detection is not as high here as in other parts of the level. There are no guards within earshot so even if you alert one or both of the servants they have no means by which to impede your progress and their cries of distress cannot be heard by anybody else.
The intricate purple wallpaper, and abundance of gold framed portraits mark out Lady Louisa as one of the City’s richer residents, even in as illustrious a location as Dayport her ostentatious wealth is notable. A total of 200 in gold, split between a vase and a coin purse, can be found within the single room of hers you pass through. This is more unsecured gold in a single location than anywhere else in Dayport. It may be enough to enable you to complete one of your Mission Objectives before you even reach Angelwatch.
Through the window on the far side of Lady Louisa’s Suite your view of the way forward is obstructed by the upper floors of a large brick building. A ledge allows you to continue around the building in either direction. Rounding the corner you are presented with your first glimpse of Angelwatch.
So far Life Of The Party has inverted the traditional Thief II relationship between you, as Garrett, and the spaces you explore. For the majority of the game the buildings you need to infiltrate have been singular constructs, intricate continuous spaces enclosed within what can often feel like vaguely arbitrary boundaries. For the beginning Life Of The Party apparently throws off these prior restrictions, the level ahead of you is a sprawl of discrete encounters, fragments of buildings passed through in seconds never to be visited again. The boundaries are still present but their presentation is more organic, a gap between two buildings too wide to jump across, a castle wall impossible to climb, a guarded road with no bridging structures. This change is liberating, and then Angelwatch spoils everything. Even from your position several stories above the streets the Mechanist tower looms above you dominating the skyline; it’s sheer bulk physically intimidating.
Everything to this point has merely served as introduction, scene setting, to help sell the size of Angelwatch in comparison to the rest of Dayport. Angelwatch is too big for the City it’s presence an intrusion; the Mechanists are starting to take over, soon their technology will have reached every corner, converted it, consumed it. The Mechanists are coming and Angelwatch is merely their vanguard.
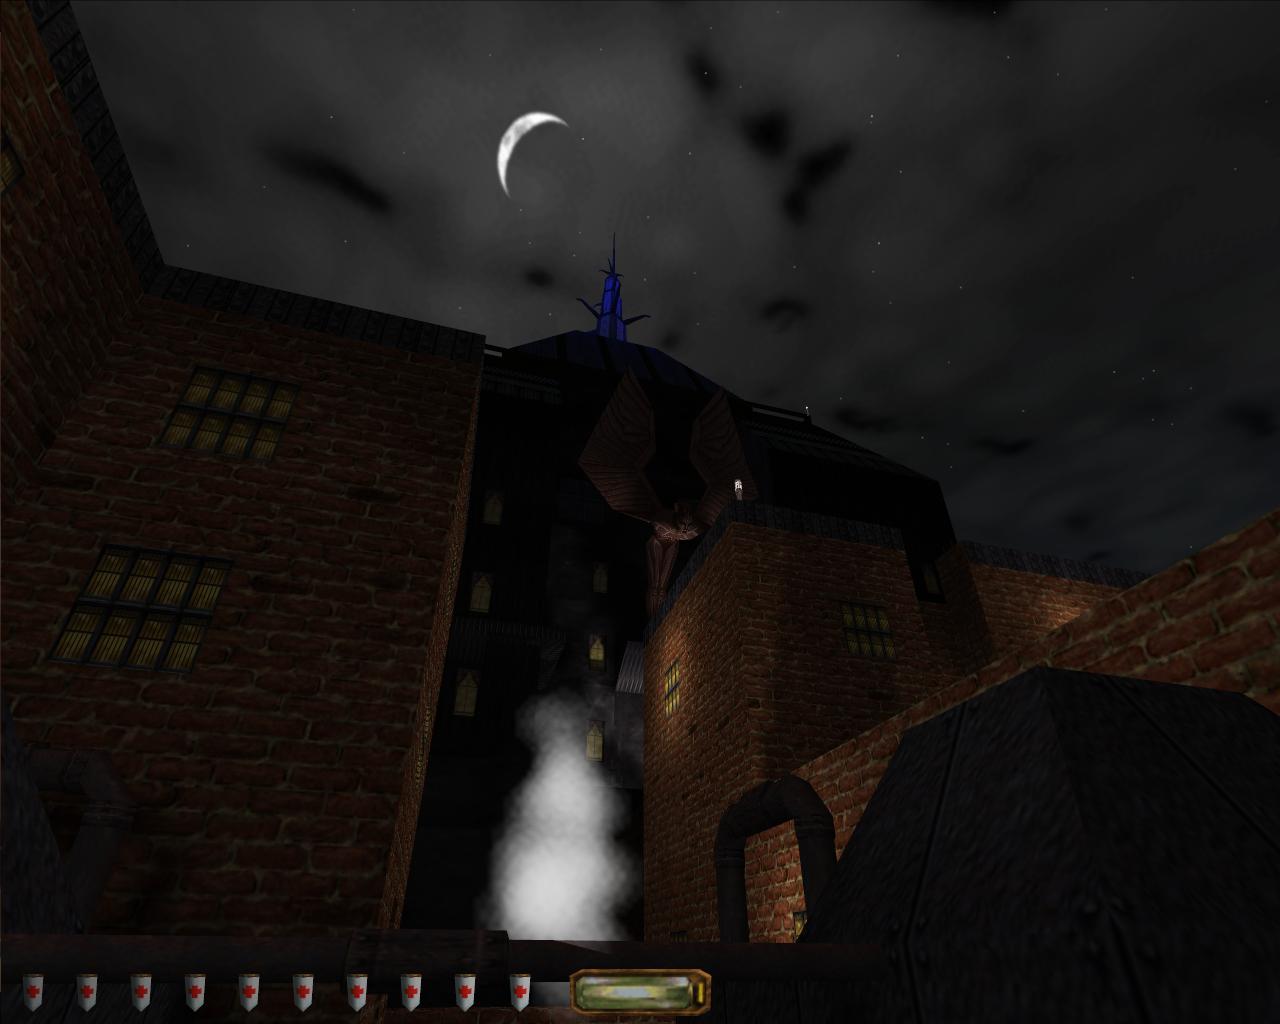
In terms of it’s spatial footprint Angelwatch is smaller than a lot of the buildings you will have explored prior to this point, however in context it feels larger. Those other structures existed isolated from the rest of the City making it difficult to accurately judge their scale, Angelwatch stands in the centre of one of the City’s richest districts, and its size in relation to the buildings surrounding it is remarkable.
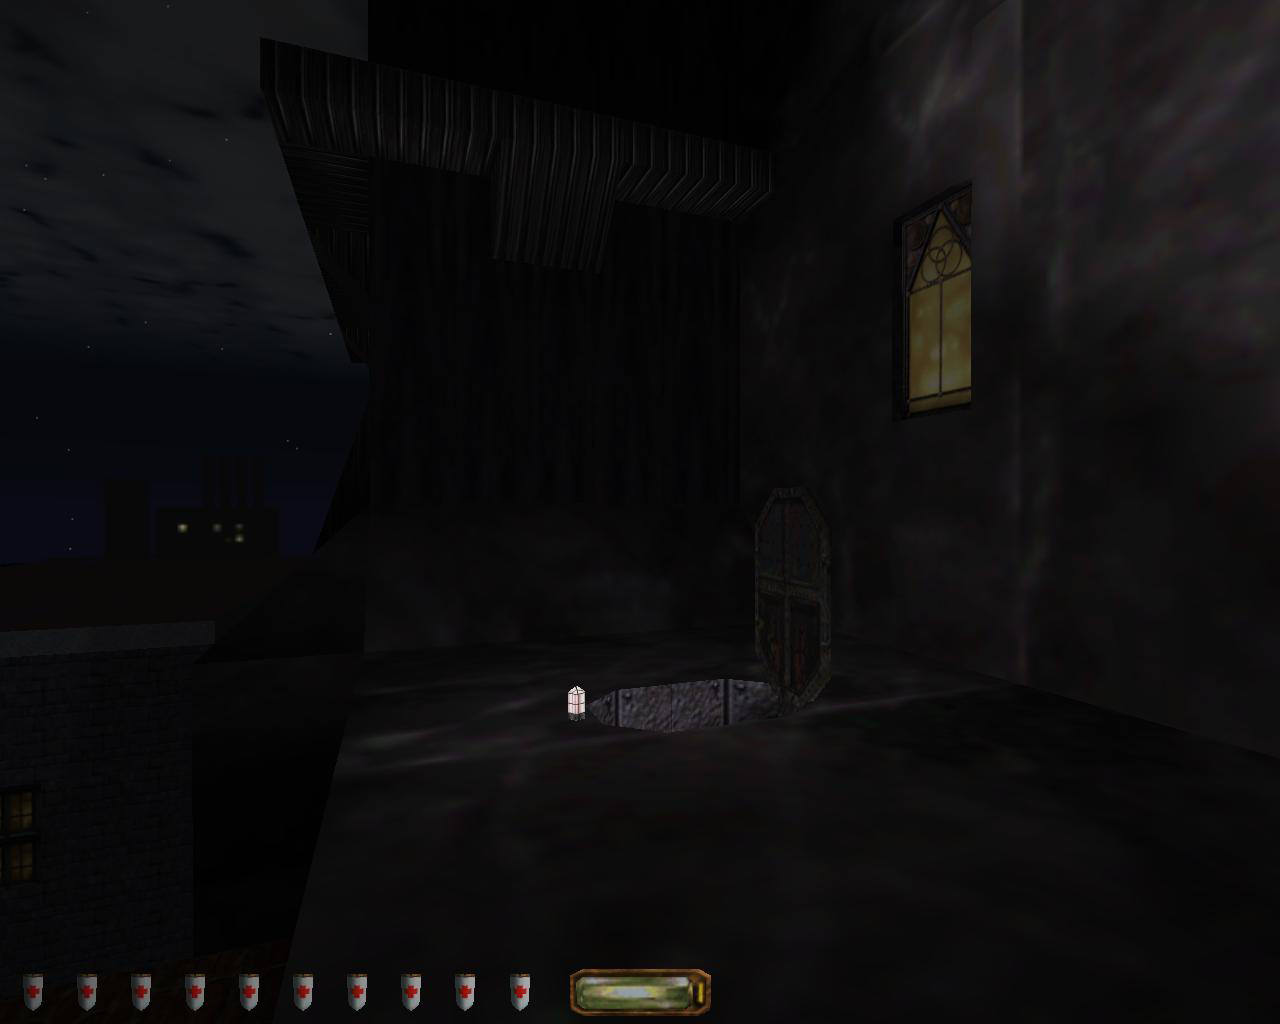
Before the final ascent to Angelwatch there’s one more occupied rooftop to traverse.
Obviously bored by his current assignment it seems Benny has been at the wine again. Even in his drunken state this guard can cause problems, his detection range appears significantly reduced so you can easily make it to the ladder to your east without being spotted. It can be worth the risk to move a little closer as Benny didn’t start the night drinking alone and the fate of his companion can be seen by looking over the edge of the roof. Whether he slipped in his drunken state and fell to his death, or whether there is a more malicious reason for his demise it’s clear than Benny will have some explaining to do once he sobers up.
To the north the density and fidelity of the buildings is markedly reduced, a sensible optimisation given that it’s impossible to progress further in this direction. Hopefully at this stage your attention is reserved exclusively for the vast bulk of Angelwatch looming above, so this clear level boundary is not as distracting as it could have be.
A small hatch on the eastern side opens onto a series of connected air ducts running through the walls of Angelwatch. From here it’s possible to access all but the first (ground) and sixth floors, care will need to be taken when dismounting the ladders within this ducts as if you fall you are liable to create a lot of noise on the metal floors. This will be most important when reaching the fourth floor as air ducts here open directly onto a well patrolled hallway.
2 replies on “Groping The Map: Life Of The Party, Part 4.”
To my mind, Life of the Party is the greatest level in all the Thief games. It begins with multilinear free-roaming exploration and thievery, moves on to infiltration of a largely hostile (but quite lucrative) location, then escape back over the rooftops to the start. (and it has no hostile spiders and no zombies!)
The variety the different spaces in the rooftop sections connect is remarkable. They’re distinctive, giving a strong sense of them as separate buildings and making them serve as natural landmarks. And they provide many different encounter setups.
The way the spaces connect also adds interest: it’s not just rooftop to rooftop, it’s rooftop to room to stairway to secret passage to tower to rooftop.
Only two things disappoint me about it when compared to The Unwelcome Guest in the alpha: you can no longer enter Angelwatch by climbing a ladder and walking along a precarious ledge to the window on the top floor (although the open window and ledge is still there, and can serve as an exit with a slowfall potion); and on the top floor there is no longer a party. TUG had dozens of NPCs there, LotP has a handful. Possibly it was too hard, or they ran into engine limits as they fleshed out the lower floors of Angelwatch.
It is a remarkable level in many ways; Emil Pagliarulo did a great job on it.
Turns out I’m wrong about not being able to enter Angelwatch by that upper window. The plinth that the enormous winged statue stands on has metal grillwork on the sides, to which a vine arrow can be attached. This enables you to climb atop it, from where a full-speed jump and mantle will let you reach the ledge with the window. The window then leads onto the fourth floor.