“Take some time to appreciate our gallery…”
Annotated Walkthrough, 5:
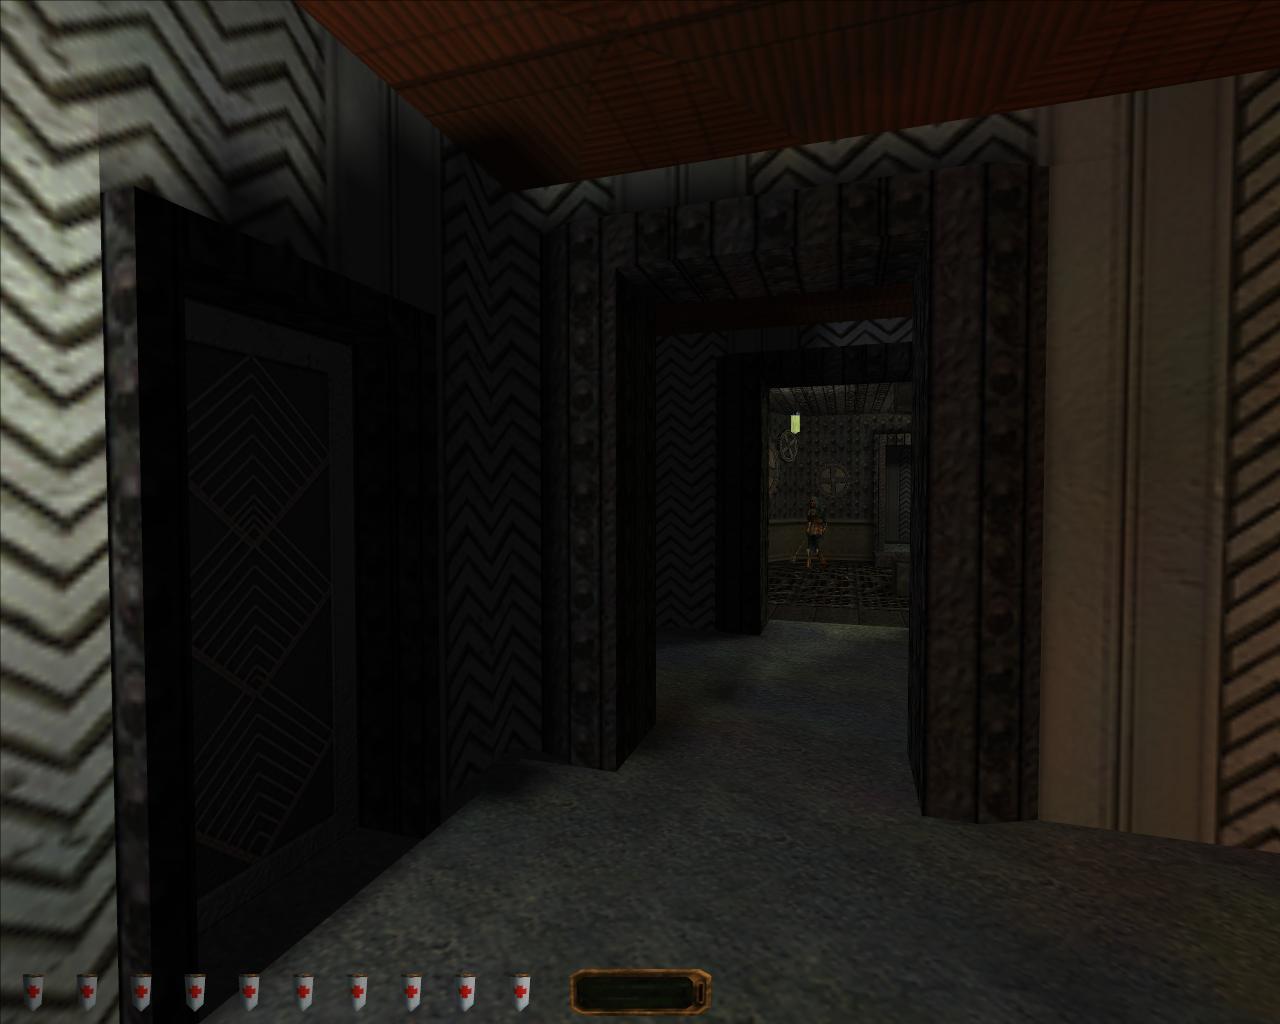
Mounting the stairs of Angelwatch is an ascent into light. Climbing out of the basement like claustrophobia of the second floor the gas lamps are replaced with electric lights, the bare brickwork hidden behind paint and paper while small balconies, extending into the incongruously well lit atrium, face a large window looking out across Dayport. Initially this change in atmosphere is not apparent, a dimly lit hallway leads from the landing to the rest of the floor. South of the landing this hallway makes two right angled turns in quick succession. Turning first to the east the hallway connects to a balconies, then turns back to the south and continues past a number of doorways to terminate at the door to a small broom closet.
Opening onto rooms and hallways on three sides of the atrium the balconies provide a shortcut across this floor. It might be worth using some Moss Arrows on each of them as the patrol paths of the two Mechanists guards pass close to the entrance to each balcony. In additional, though she is concealed from this position, a Mechanist crossbow guard stands watch on the north facing balcony of the floor above.
To the north a large window looks out over Dayport, there’s not a great deal to see through this window, the large Angel statue obscuring any real view of the city beyond, regardless this single element helps to sell the idea that Angelwatch exists within the larger context of Dayport and the City itself. This is a marked contrast to the way locations are treated in other Thief II levels. First City Bank and Trust for example, is supposedly within the city limits yet it is presented as an entirely isolated construction with no connection to the streets and buildings that apparently neighbour it. The use of a series of city hubs in Thief: Deadly Shadows goes some way toward mitigating this sense of isolation. Locations are accessed directly from the streets of the city, yet the discrete mission based structure of Thief means this is something that cannot be entirely avoided.
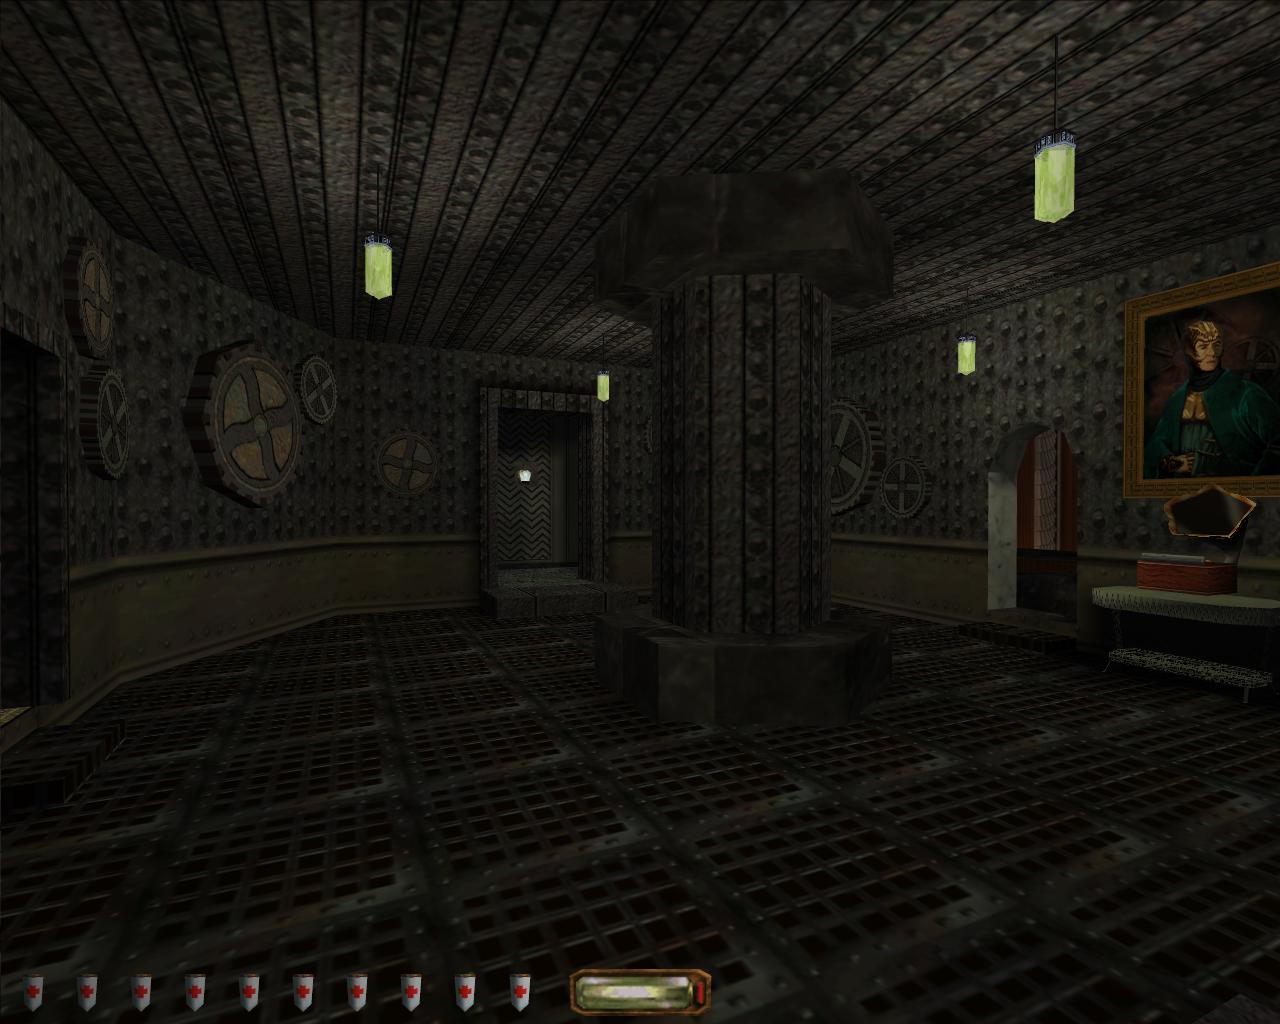
Patrolled by a pair of Mechanist guards Angelwatch’s third floor has little in the way of functional territory beyond providing access to one of the recording devices you will need to find. It exists because in a building such as Angelwatch it should exist, it marks a transition between the austere functionality of the previous floor and the ostentation of the upper storeys; more formal than the proceeding floor it is still less luxuriant than those above it. Much like the second floor the predominate colour throughout is grey, though here it is lightened by off white trim, and patterned wallpaper.
Turning south before your reach the balcony you will pass underneath a metal lintel supported by two beams. Visible throughout Angelwatch they serve the logical purpose of providing structural support while the shadows cast from them are deep enough to provide concealment in what are otherwise well lit corridors. On the upper floors these are covered with wooden paneling to conceal the metalwork within though their dual function remains.
The electric light inset into the east wall illuminates the doorway opposite while the shadow cast by the lip of its recess creates a patch of darkness at the base of the wall. Parts of this hallway are patrolled by both the Mechanists guards on this floor and if you wish to explore the room to the west you will need to leave the shadows to do so. The potential risk and reward dynamic created by this use of lighting seems wasted here. The room to the west holds nothing of interest, and its position on the illuminated side of the hallway means there is little benefit to using it to observe the guards’ patrol routes; this task can be performed just as easily from the safety of the shadows along the opposing wall.
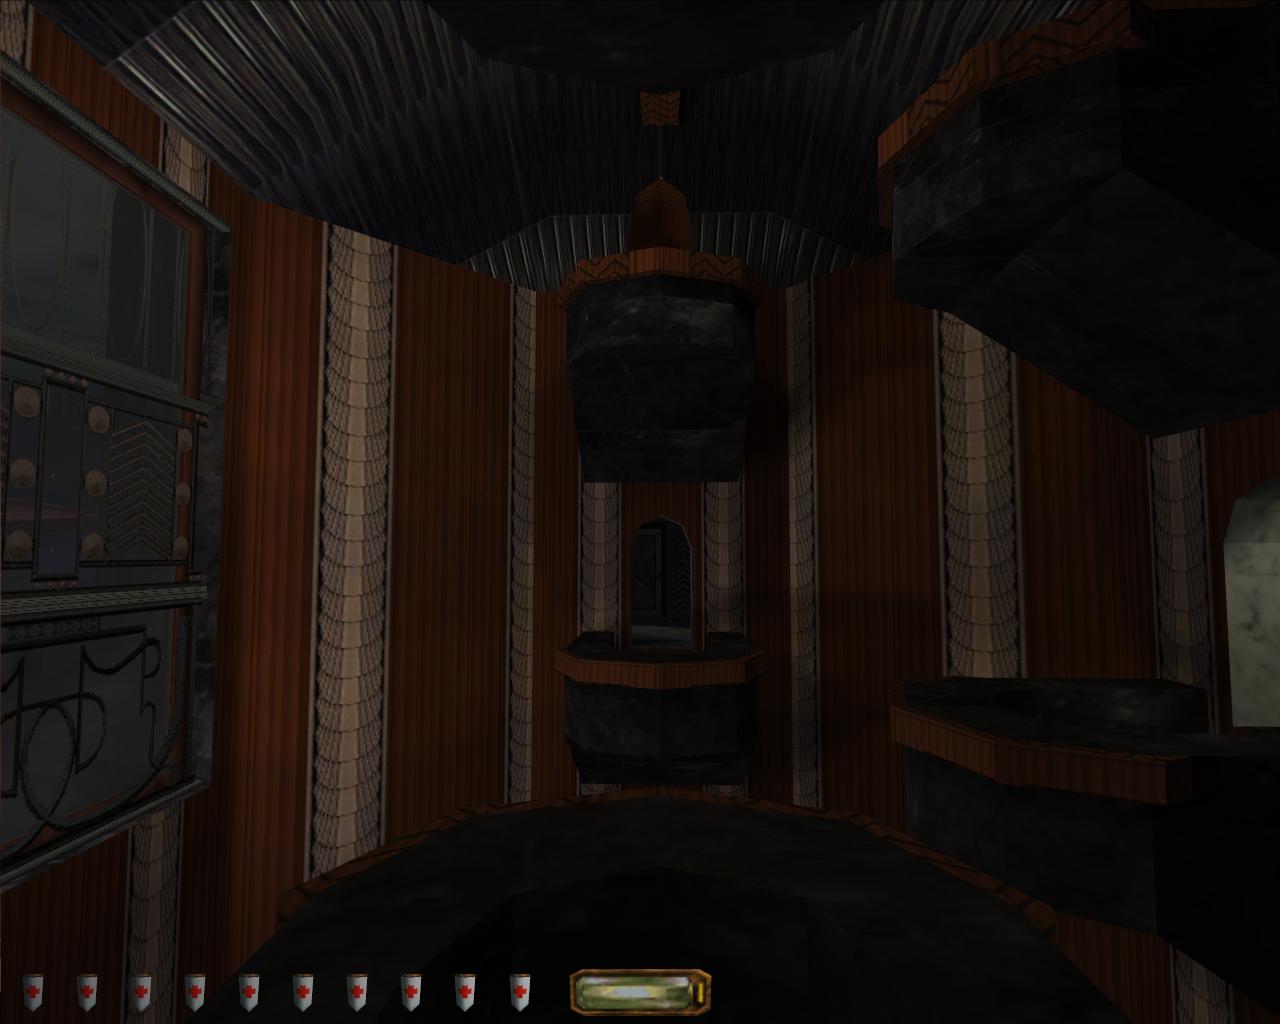
This room does contain one object of note, within is the fireplace in the middle of the western wall, a simple element that can help you orientate yourself within Angelwatch.

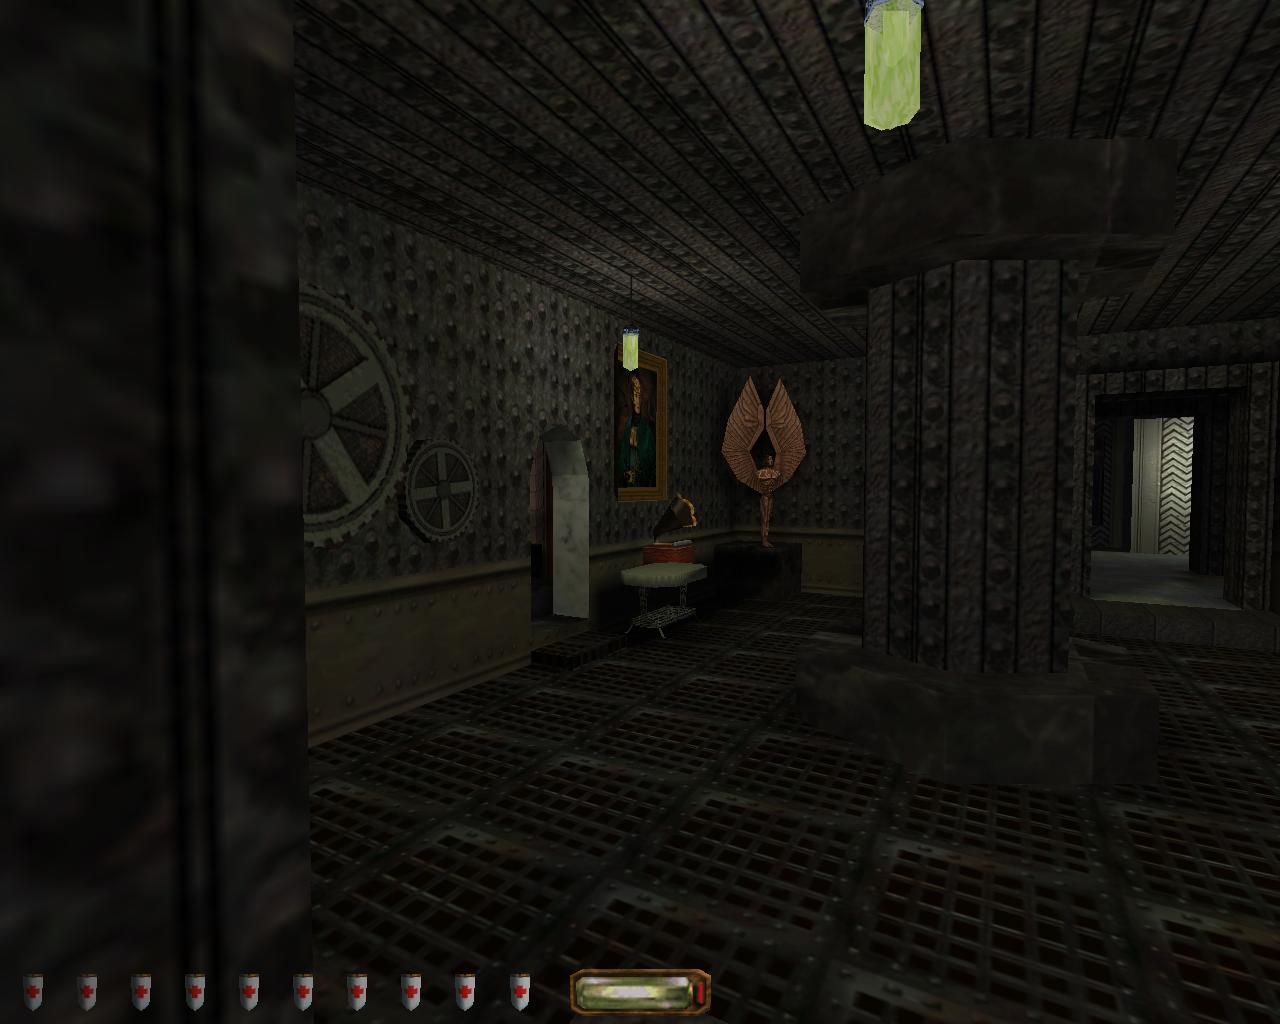
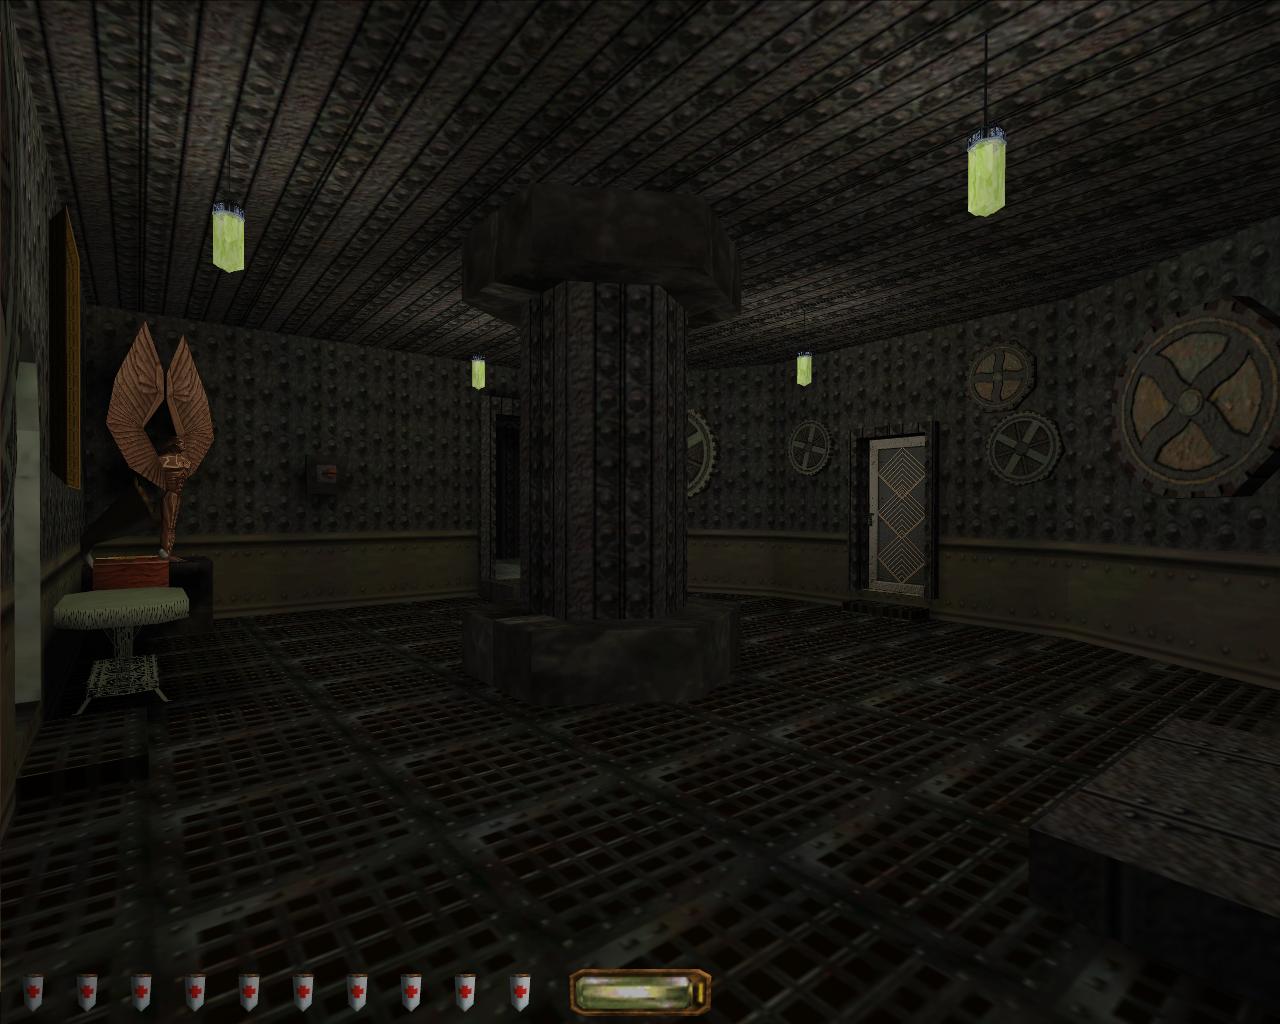
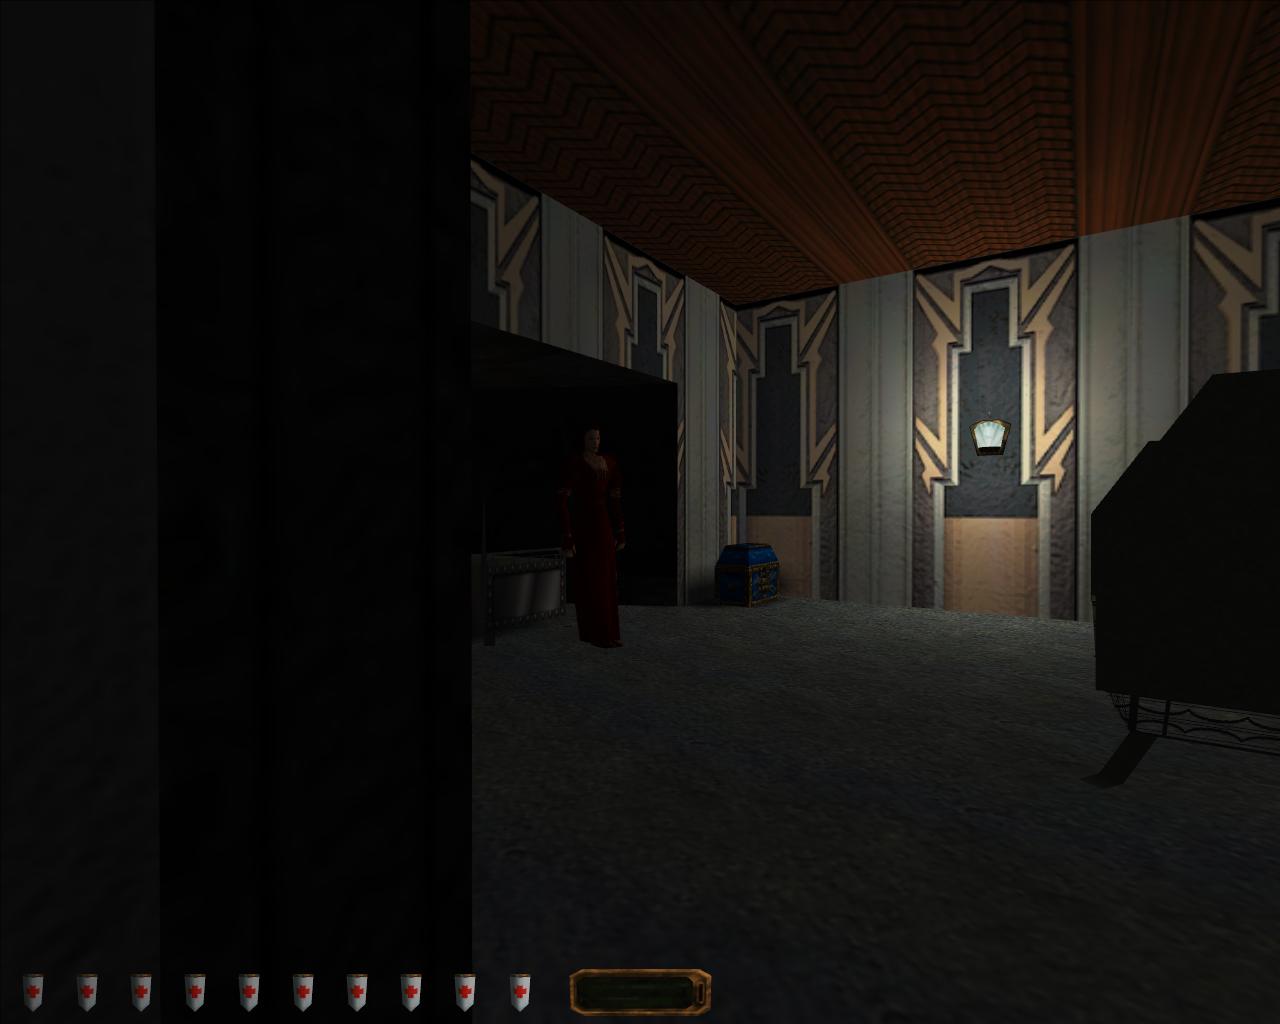
Further south the next doorway opens to the east directly onto the gallery where another gramophone can be seen, once again on a table beneath a portrait of Karras. This area is referred to by Karras in the recording as the “gallery” though other than his own portrait and a statue of an angel the only objet d’art visible are a variety of cogs and gears. The implication is far from subtle, the Mechanist view of art and culture is myopic to say the least.
Entering from the western hallway, there is another entrance to the gallery on the wall opposite though this one is not directly in line, being instead a few feet further toward the south wall. In the middle of that curving wall a closed door leads into a further room. A female Mechanist guard patrols between this room and the entrance to the Library in the southwestern corner of this floor. The path of her companion also takes him through this room as he patrols between the third floor landing and the bedrooms in the northeastern tower. Next to the gramophone, in the north wall, a fourth doorway leads onto the balcony which looks out directly on to the large atrium window.
With four different entry points, metal flooring and lighting provided solely by electric lamps hanging from the roof, the gallery is immediately readable as a dangerous location. You need to listen to the gramophone recording, but how are you to go about it? The lights cannot be doused so there will be few places of darkness to hide in if the guards enter. The metal flooring will give you away if you move any faster than a crawl, noise that will alert the previously mentioned Crossbow guard currently hidden from view on the balcony above.
Again the options are manifold and depend on both your own preferences and the current difficulty level. With a few exceptions for specific level scenarios Thief II makes no explicit requirement that you maintain a low profile on any of its three difficulty settings, Normal, Hard or Expert. It is possible to directly confront guards and civilians regardless of the difficult selected however on Hard you will fail the mission if you kill any civillians, Expert adds the additional condition that you kill no human enemies of any kind. Though these restrictions limit some of the options available, the tools at your disposal can be used to deal with non-player character in non-lethal ways, either through distraction or incapacitation. Incongruously it is possible get away with indirectly killing NPCs even on Expert difficulty, within your inventory are Frogbeast Eggs, the creatures that hatch from which are effectively organic land mines that explode on contact with a NPC. Two Frogbeasts are enough to kill a Mechanist guard and any fatalities caused by them are not attributed to you therefore circumventing the restrictions of Hard and Expert.
Along with these limits on lethality, scaled increases in the quantity of loot required, and minor changes to the layout of each level, there is one other major change that occurs between Normal, Hard and Expert. Using a system influenced by GoldenEye 007 on the Nintendo 64, each mission requires the completion of certain objectives and as the difficulty increases the number and complexity of these objectives expands. Often completing these additional objectives will require exploration of more of the level, leading to more encounters and potentially requiring the expenditure of more resources. Unlike the other levels in Thief II changing the difficulty for Life Of The Party does not change the number of mission objectives, though the higher loot requirements and the restrictions on killing remain.
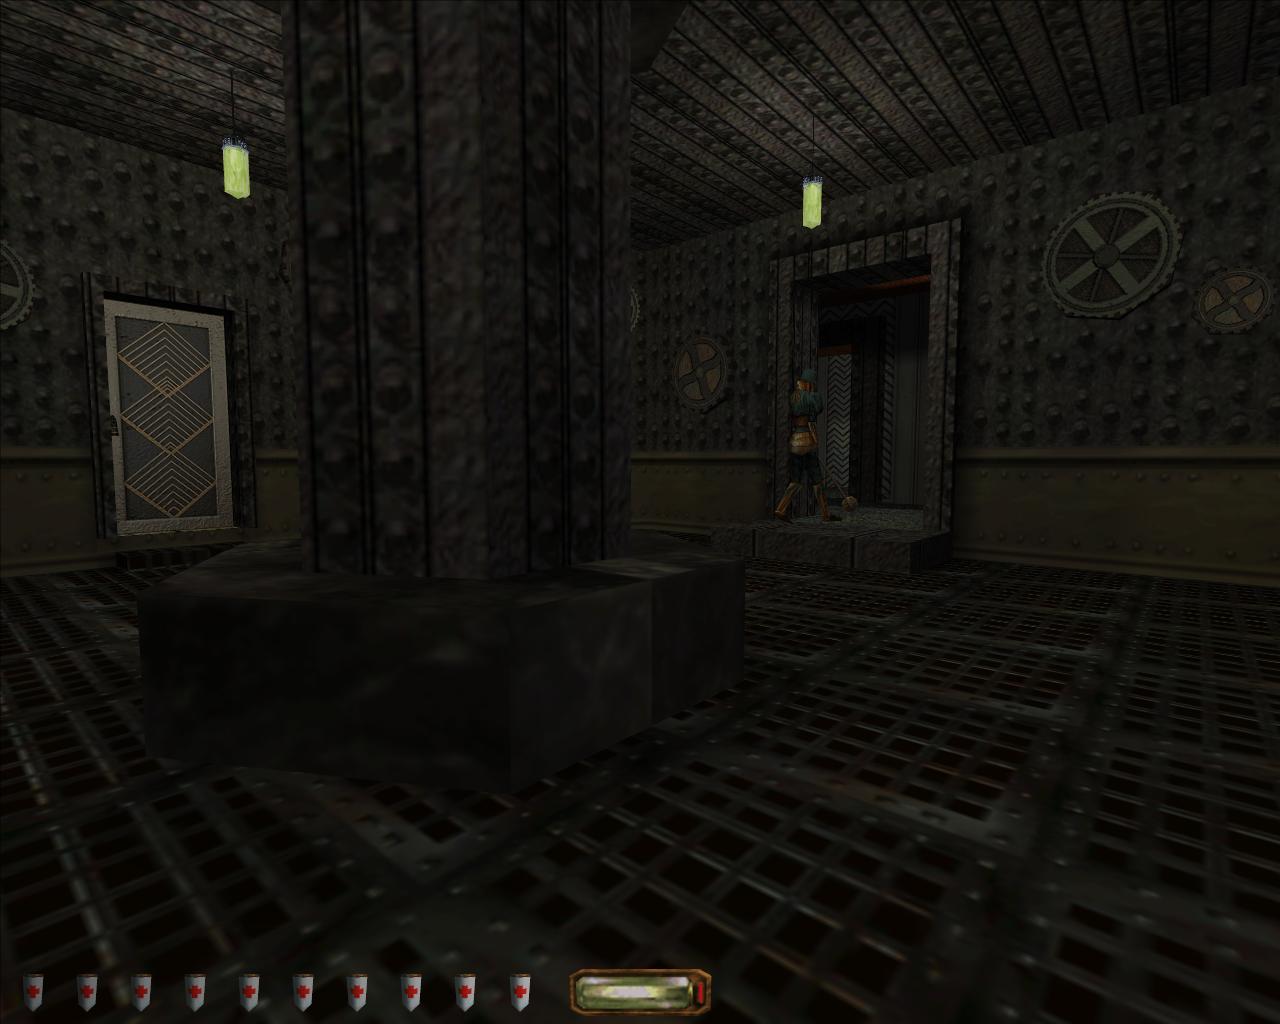
Moving slowly and keeping the metal column in the centre of the room between you and any patrolling Mechanists will allow you to move through the gallery without drawing attention to yourself. Once again any NPCs within the level seem oblivious to the gramophone starting to play.
You can reach the balcony adjoining the gallery by jumping from either of the other balconies on this floor, or by descending a Vine Arrow from above if you are visiting the floors in a different order. This balcony provides little in the way of concealment, so if there are still Mechanists on patrol it would be advisable to stand back from the doorway once you have activated the recording, or find some other hiding place within audible range to partake Karras’ discourse on the beneficial nature of a “joyful spirit”. His proclamations on the power of aesthetic beauty finishes with a vague reference to the trustworthiness of the servants which he has gifted to each of his visitors.
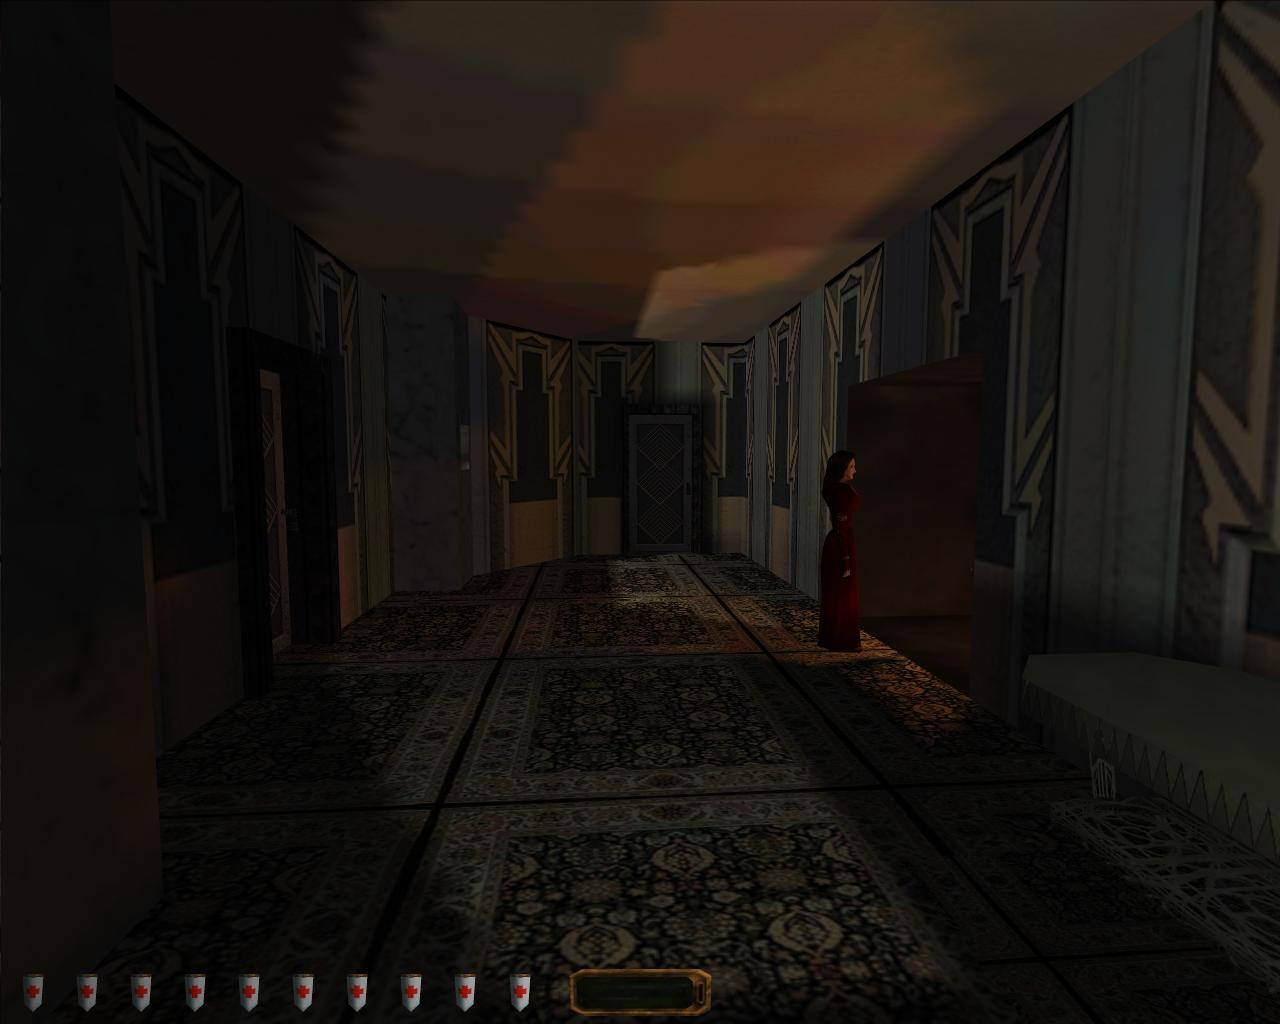
South of the gallery is a carpeted room, where a woman in a red dress stands admiring the fireplace positioned in the middle of the south wall. There is nothing of value in this room, though it does mark a point on the patrol route of the female Mechanist guarding this floor. The carpeted floor allows you to move quickly without being detected, making this an ideal position to ambush her. The doorway to the east leads, via a short hallway, to the elevator.
North of the elevator, inside a small room behind a closed door, is the third floor access to the ducts that run through the eastern wall. Directly to the north of this room, the hallway passes the fireplace on the east wall. Flanking this fireplace are two windows each recessed approximately two feet. Only textures these windows provide no view onto the City itself however the shadow formed in the corner of their recesses is enough to hide in. To the north of the fireplace the shadows surrounding the window are much deeper and extend further into the hallway, though reaching them from here will require moving through the section of hallway directly illuminated by the fireplace.
Past the fireplace the hallway makes a series of sharp turns to the west and then back to the north as it moves into the northeastern tower. The physical structure of Angelwatch is such that from the second floor two towers rise in the northwestern and northeastern corners flanking the atrium window and the Angel statue. These towers are only separated for two storeys after which the floor extends out again allowing the fifth and sixth stories to occupy a greater floor space than those immediately below.
While the northwestern tower is given over to the stairwell its counterpart is dedicated mainly to providing bedrooms, most of which are empty. The rooms on this floor are simply furnished and the initial assumption is that they are for what servants are needed to keep Angelwatch operating, of course this is unlikely as Karras’ has his own very specific servants who have little need for sleep. The other possibility is that these rooms are either for Karras’ less prestigious guests or the retinue of those guests who have their own rooms on the floor above.

This point where the corridor opens slightly, a doorway to the west leading onto the atrium balcony, marks one of the end points of the male Mechanist guard. His patrol takes him from the third floor landing in the northwestern tower through the gallery to here then back again. From the opposing balcony it is possible to watch him reach this point and begin his return journey, the opportunity can then be taken to jump across the balconies from one side of the atrium to the other and get behind him.
Of the two bedrooms in this tower the one to the north which opens onto a well illuminated section of hallway is empty, while the room to the east with its door shrouded in shadow is occupied by a single female civilian. Another smart design decision, the placement of shadows around this eastern door allows you to observe the room beyond without having to reveal yourself until you choose to. Though with both doors closed the occupancy of each of the two rooms is initially unknown, the room to the north presenting the more risky proposition.
This northern bedroom is unoccupied and contains nothing of value. Despite their silver appearance the hand mirror and hair brush on the table do not constitute loot, though like all similar items in Thief you will need to pick them up before you can be certain whether they are valuable or not. Thief: Deadly Shadows would later implement a “loot glint” system to alleviate this issue with everything that was worth stealing signified by a glint. This single addition also has a number of useful secondary affects. By ensuring that all loot glinted it allows the game to reuse the same models for items like goblets and candlesticks while attaching a loot glint to only specific instances of each model as required. Allowing items to glint from a distance also enables their use as a means of drawing the attention of players to areas of the level they might not realise are accessible; if something is glinting on a distance balcony then there must be a way to reach that balcony. One of the downside to this loot glint is that by clearly indicating items of value it removes the sense of self discovery that comes from exploring a space at your own pace and developing a mental model of which items were likely to be worth stealing are which are merely props.
This problem isn’t present in the eastern bedroom, the bright blue and gold chest on the far side of the room obviously contains something of value, one hundred and twenty gold coins in fact. Avoiding detection by the woman standing at the foot of the bed seems like a challenge and it can be unless you are willing to take advantage of one of the quirks of the perception model used for NPCs in Thief.
As always there are a number of ways to draw her out of the bedroom or otherwise distract and dispatch her; Noisemaker Arrows or the application of a judiciously placed Broadhead. If you want to stay unobserved you can do so by sticking close to the wall of the room and moving around behind her, then over the bed to reach the chest. Of the various factors that make Garrett less visible one of them is keeping close to the wall and in this instance the benefit provided by doing so is enough to avoid detection.
Unsurprisingly the chest is locked, it will take both lockpicks in order to open it. Picking locks in Thief requires nothing more than the use one or both of Garrett’s lockpicks, Triangle tooth or Square tooth, and time. Audio feedback is provided by either a continuous clicking to signify unlocking, or a single duller click to indicate failure. Some of the more complex locks will require a change of lockpicks, possibly multiple times, until the lock has been completely picked. The status of a locked door or chest can be seen from the position of the handle, when it is pointing toward the floor the item is unlocked. For a locked door the handle is usually at the horizontal position, how much the handle will move with each second of picking is not consistent so there is no way to judge the relative difficulty of a pick before you start it. Fortunately it is possible to abandon a pick half way and resume at a later point if you are at risk of detection.
With the northeastern tower explored it’s time to move up to the fourth floor and from here there are multiple ways of doing so. There are the three obvious methods, the elevator and ducts can be found in the southeastern corner, while returning to the northwestern tower will allow you to mount the stairs to the fourth floor landing. In the southwestern corner of this floor, on the other side of the gallery is a door we have not yet explored. Beyond is the library of Angelwatch which occupies this corner of both the third and fourth floors, a set of stairs connecting them. There is even a fifth way to reach the fourth floor though it requires some skill, a Vine Arrow shot into the roof beams at the top of the atrium will allow you to climb from the balconies on this floor to those on the floor above. This is not necessarily an obvious route and it is not without risks, the Mechanist crossbow guard on the fourth floor balcony who will spot you should you attempt this route. With the tools at your disposal, Flashbombs and Noisemaker Arrows particularly, there are ways to distract her for long enough to reach the fourth floor balcony and find a hiding spot.
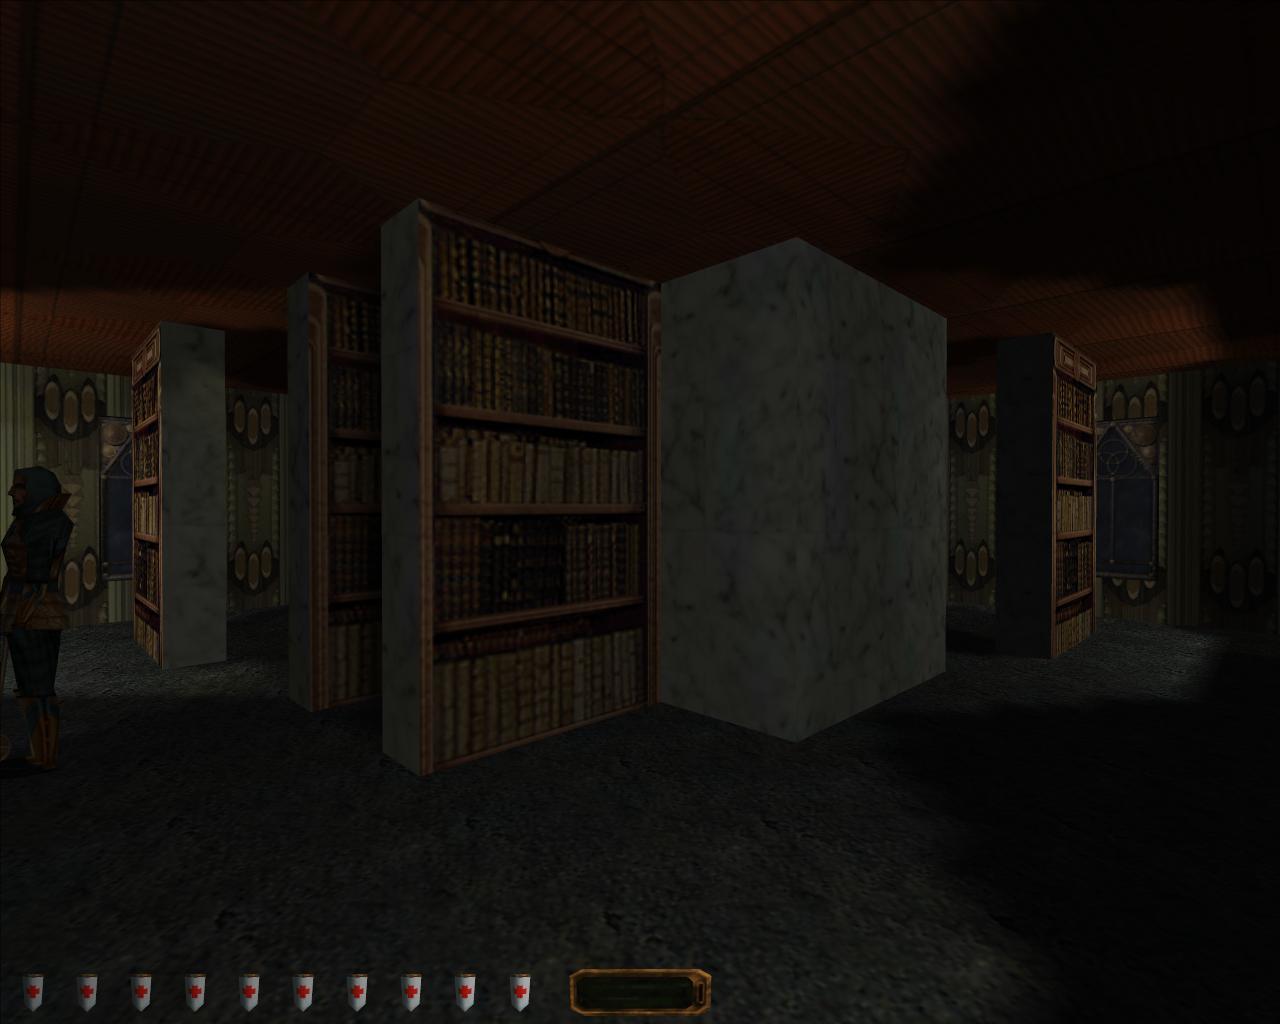
We will avoid the more challenging means of reaching the fourth floor and instead, because it is still part of the third floor and has yet to be explored, return through the gallery to the Angelwatch library.