“A shame, isn’t it? The French terrorist group Silhouette claims that France was wrong to give the U.S. the Statue. We think they planned the bombing.”
Annotated Walkthrough, 4:
With two objectives and at least two separate entrances the Statue itself represents a higher level problem encounter than those you may have come across while exploring the exterior of Liberty Island. Though possible to break down each individual area within the Statue into it’s own discrete problem it can also be viewed as a single multilayered encounter space.
Opting for the subtle approach you can gain access via the shipping containers to the Statue base. Upon reaching the top you can take cover from the two patrolling NSF behind the crates positioned near the edge of the Statue base. These crates also grant access back onto the shipping containers if necessary. Aside from this initial position there is little cover from the three patrolling NSF on the first level of the Statue Base.
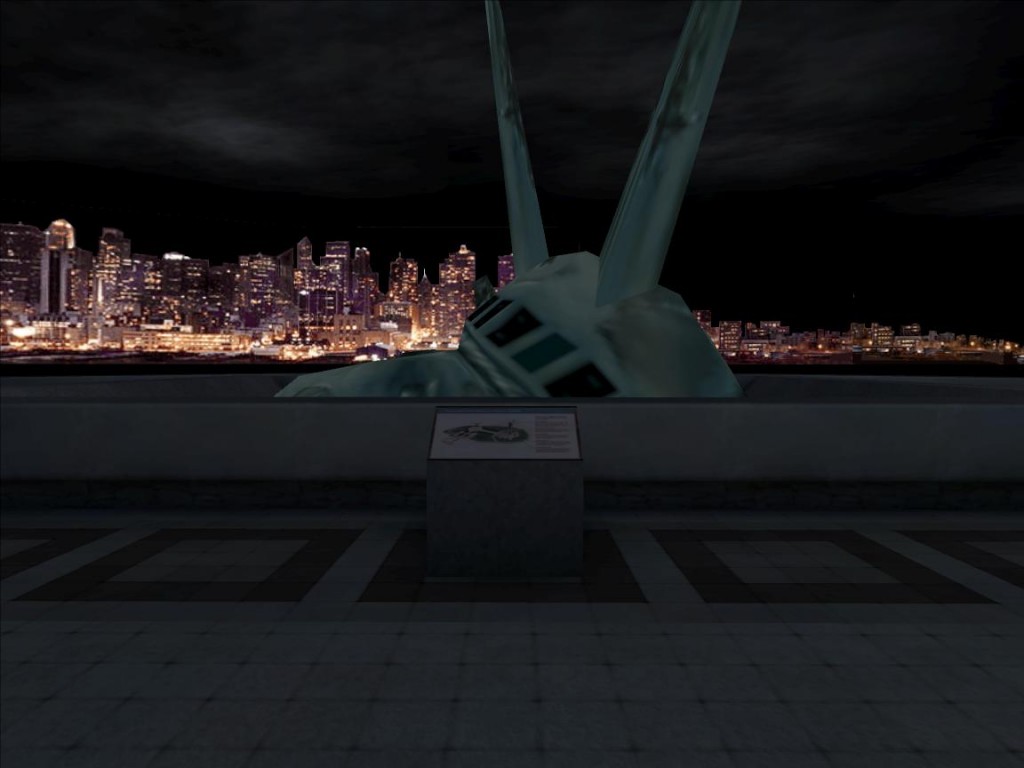
What remains of the head of the Statue of Liberty has been erected on the eastern side of the Statue base. The TNT Crate placed in front of it seems in slightly poor taste; though using it to kill the NSF, and possibly his Mercenary comrade too, does hold a certain ironic appeal.
The death toll from the attack on the Statue was likely small however the psychological affect on the citizens of an already conflicted United States must have been significant. Even with the World Trade Center towers already destroyed the symbolism of a decapitated Lady Liberty cannot be underestimated. Symbolism that appeared again eight years later when the poster of Cloverfield depicted a similar image of a headless Statue of Liberty.
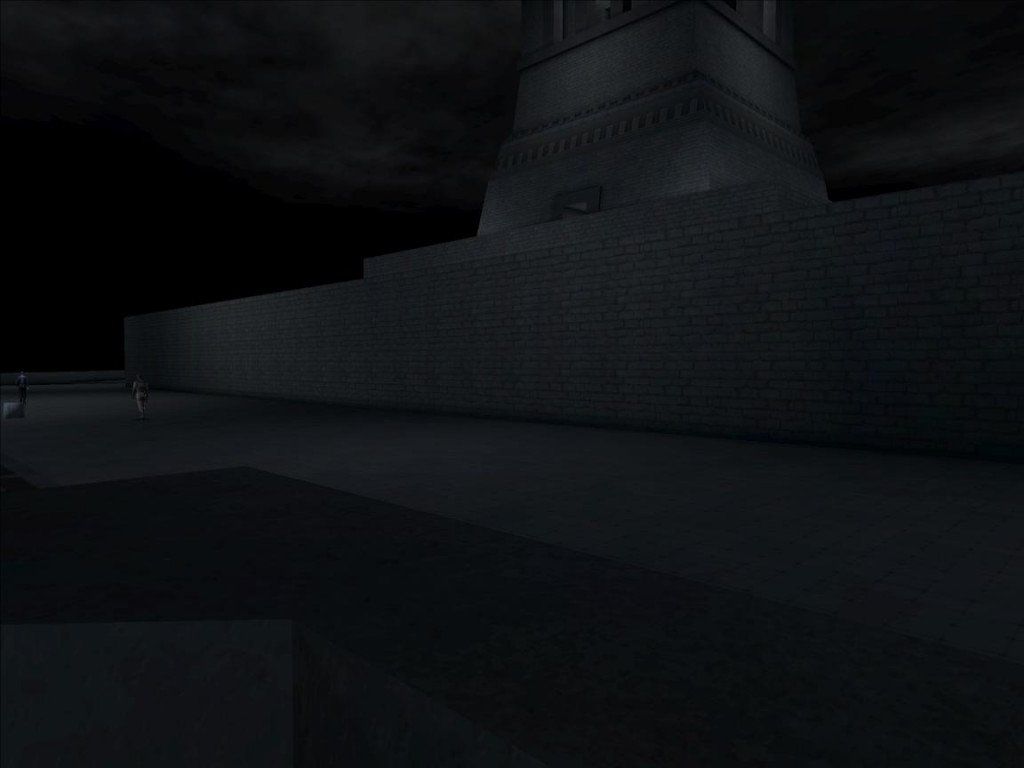
Despite the limited cover the extended patrol paths of the NSF in this area make it easier to deal with each of them separately or, of course, avoid them entirely. A pair of NSF with much shorter paths mark out the western side of the Statue as important. Keeping close to the inner wall will allow you to can gain access to either the interior or, via a ramp, the unguarded upper levels of the Statue base.
If you choose to enter the Statue at this point, you won’t be able to take more than a few paces before hearing the footsteps of another NSF patrolling the central stairwell. If the two NSF are still on patrol behind you some quick thinking is required to prevent being seen by either them or their approaching ally; on the other hand there is plenty of 10mm Ammo to be found on Liberty Island and at this range a headshot will be instantly fatal. If neither direct action nor avoidance appeal there is a large Poison Barrel the landing just above you, which will incapacitate anybody who inhales its fumes.
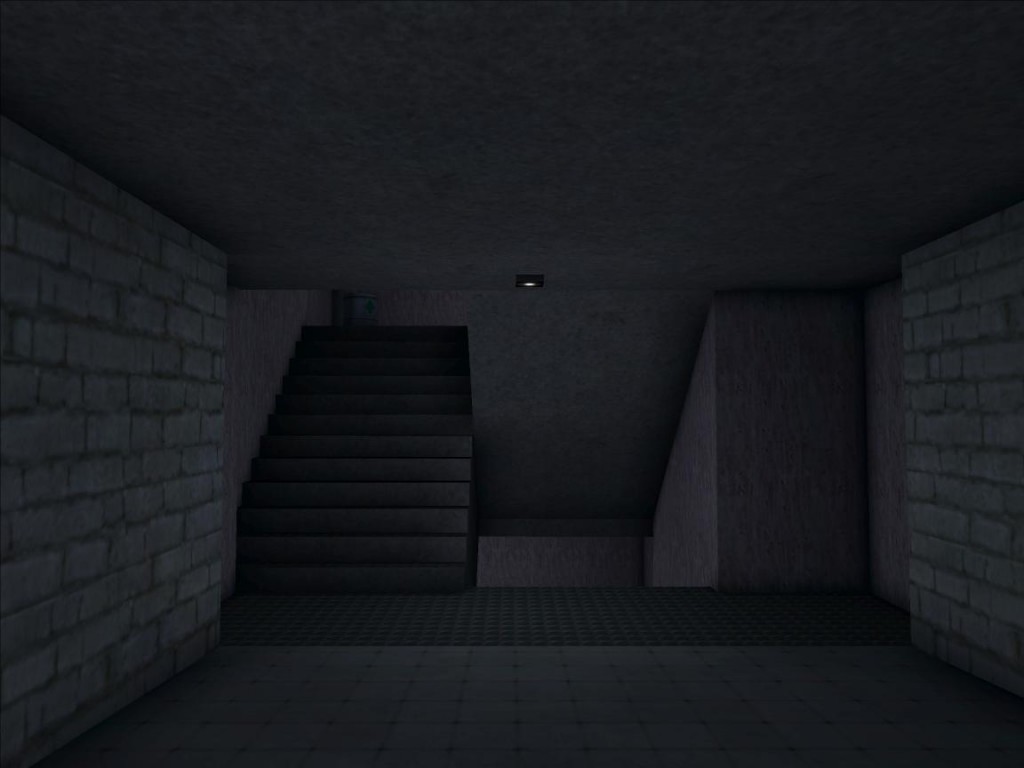
Reaching the stairs the sound of a Camera can be heard from somewhere below, assuming that it hasn’t already been turned off via a Security Computer Terminals such as the one outside the main Statue entrance. Downstairs is the ground floor and the imprisoned Agent Gunther Hermann, while upstairs is your Primary Objective the NSF Commander, Leo Gold.
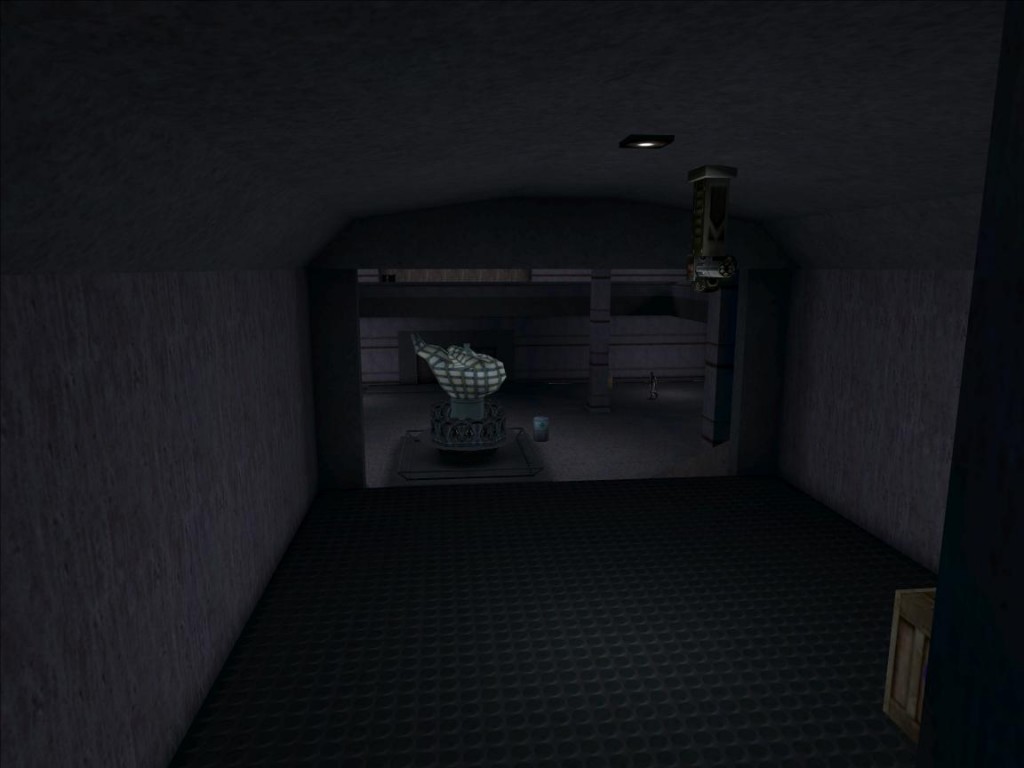
When the ground floor of the Statue comes into view it appears to be poorly defended, a single NSF circling the torch in the centre of the lobby and another on the balcony above. The entire ground floor however is one large interconnected problem, even if the five NSF total that can be found on this floor of the Statue are not as dangerous in isolation as the Security Bot outside the Statue entrance together they represent a significant threat.
Unlike the rest of the NSF on Liberty Island instead of responding with gunfire, the first actions of those guarding Agent Hermann upon being alerted is to call for reinforcements. This change in behaviour gives you a few seconds leeway in which to respond to an alerted NSF as well as presenting it’s own opportunities for exploitation; Gas Grenade underneath the Alarm Sounder Panel perhaps?
The arrangement of the Statue lobby is a great example of systemic level design in action, there are several elements positioned throughout the area, some of which you will have seen before others you may not have but which have clear affordances. Reaching Agent Hermann is a multistage process that be approached in more ways that I could reasonably describe here. Alarm Sounder Panel, Poison Barrel, Electric Control Panel, the interactions between these world objects and your available tools are easily parsable and depending on your personal preferences plans will be forming within the first moments of entering the lobby.
Approaching the laser grid protecting the doorway Alex Jacobson advises you that the security the NSF have in place is “strictly amateur stuff”, whether this matches your own assessment or not the implied message is that there is a way to bypass it and that even if the security initially looks imposing you have the tools available to deal with it. His further comment that the building is probably “riddled with ventilation shafts and maintenance tunnels” may seem a little cliched but it does help to indicate possibilities that may not yet have presented themselves. Indeed upon exploration a ventilation shaft can be found in the corner of the lobby in the shadow of a pillar.
At the end of this darkened shaft is a Multitool and access to a pair of rooms which are both currently sealed. Continuing on into a second leads to a small room the doorway to which has been barricaded by large, immovable, crates. On the desk within this room are a Datapad providing account and security details that will allow you to use the ATM machine in the lobby to acquire (Yes, steal) some credits; provided the ATM is working something the Datapad indicates might not always be the case. There is also a Medkit on the desk and a PS20, a device that looks like a futuristic lighter. Though cigarettes still exist in 2052 this is in fact the near future equivalent of a Derringer, a single shot, Plasma weapon that is 100% accurate at close range. Rare throughout the rest of Deus Ex, it is possible to find three PS20s on Liberty Island.
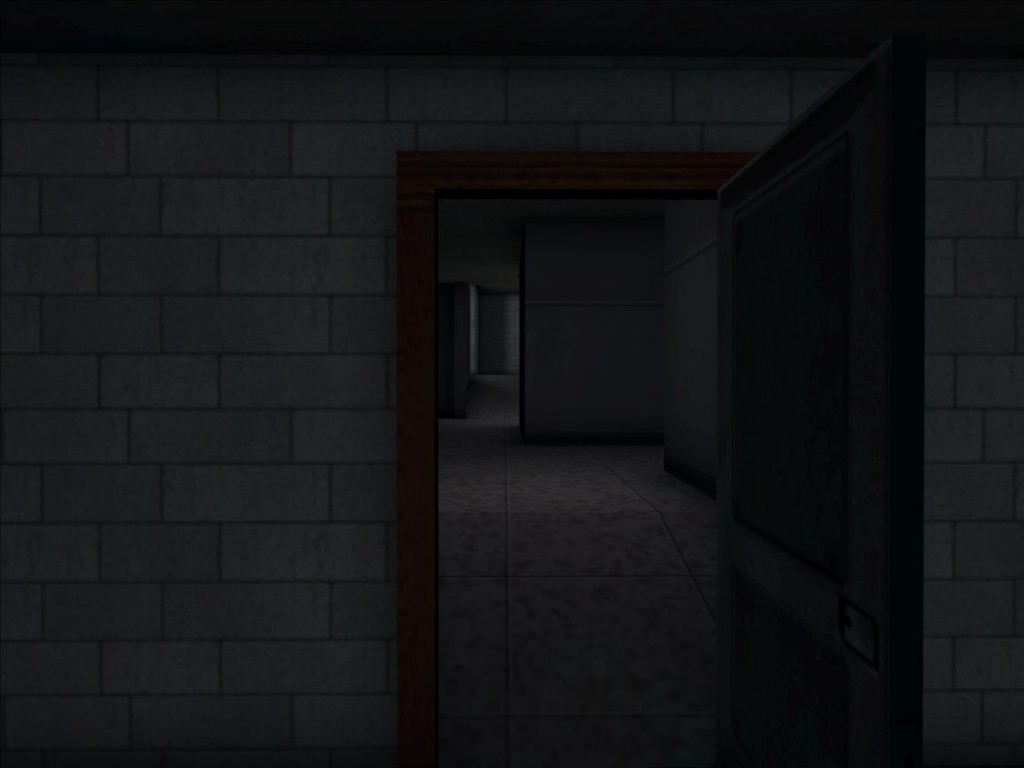
Returning to the room where you found the Multitool a locked door provides access to the area behind the laser grid. With both a limited lock strength and door strength this door can be unlocked with a Lockpick or simply destroyed with explosives. Interestingly a Lockpick and a LAM can both be found on the desk back in the lobby, alongside a Datapad detailing the login details for the Security Computer Terminals in the Statue; details that can be found in several duplicate Datapads across the Island.
There are only a few meters between this doorway and the door to Agent Hermann’s ‘cell’ but there are three NSF between those two points, two on patrol in the small area directly ahead of you and only sitting at a table directly outside the ‘cell’ door.
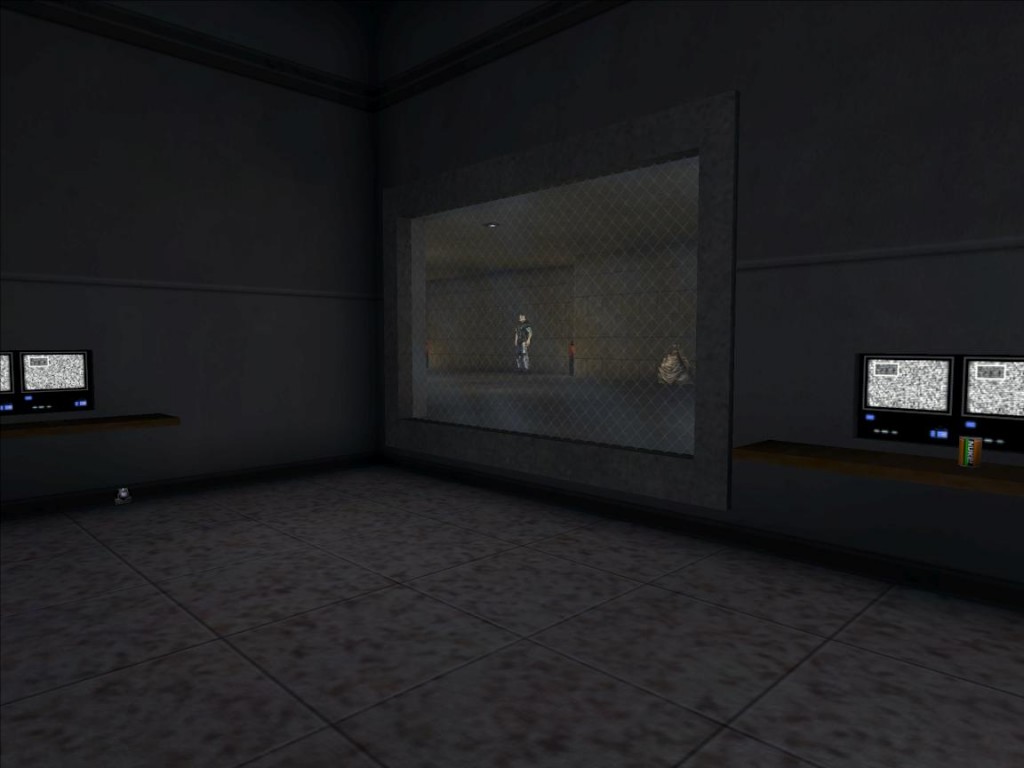
The two NSF have patrol routes of different lengths and unless you are willing to wait it’s difficult to see any opportunity to get past them without confronting either or both of them. Patience is a virtue and if you do wait their patrol routes to sync up leading to both of them entering the room overlooking Agent Hermann’s ‘cell’ at the same time thus providing you with the means chance to avoid them, or to deal with them both at once possibly with a LAM or Gas Grenade.
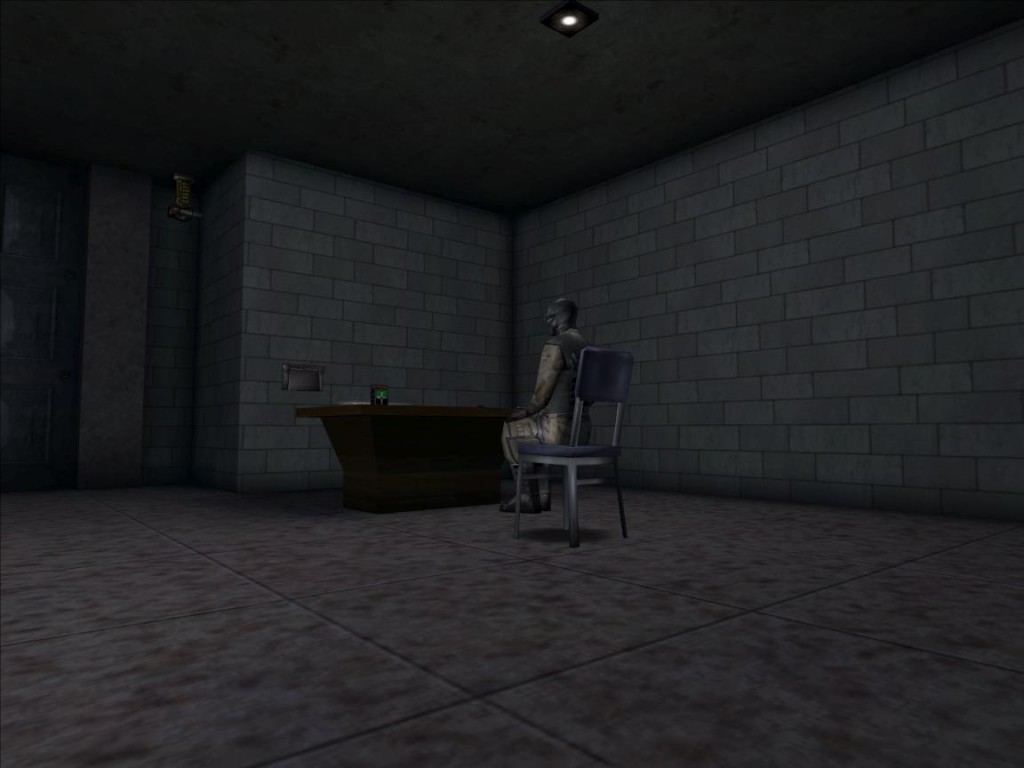
The final NSF in this area will remain seated unless alerted, and in this position he can be dispatched, either lethally or otherwise, fairly easily. In order to approach him you will need to be sure you take measures to deal with the Camera covering the ‘cell’ door. Positioned behind you as you enter it’s very easy to miss and the steps you take to avoid detection by it can lead to you giving yourself away to the seated NSF.
Gunther Hermann can only be freed by using the Security Computer Terminal next to his ‘cell’ door. In some fashion this serves as a form of gated progression. If you haven’t learnt to examine Datapads to find login details or keycodes then you will have difficulty in the future stages of Deus Ex. However it seems extremely unlikely that with at least three separate Datapads, containing duplication information, positioned throughout the level you will have failed to have read at least one of them. If you can’t remember the details they will have been automatically stored on the same interface screen as your Goals (Default F2).
Almost without preamble Gunther Hermann asks you to provide him with a weapon. Even if you wanted to give him your Pistol it could be problematic if you have equipped it with any Weapon Mods. You will never be able to get that Pistol back if you give it to Agent Hermann and those Weapon Mods are not as easy to find as they may have been on Liberty Island. You could drop your modified Pistol and grab a standard Pistol from the body of one of the NSF, however if you’ve already searched their bodies you will have taken some 10mm Ammo instead of the Pistol, and of course it’s entirely possible there will be no bodies to search. Suffice to say there is a way to arm Agent Hermann while keeping your potentially modified Pistol for yourself, but it requires foreknowledge regarding his request.
Either way, Hermann will leave his cell and make his own way back to UNATCO Headquarters attacking any NSF ‘Terrorists’ he comes across. If you have not supplied him with a weapon he will resort to using his Combat Knife, which can be a vaguely comical sight.
As a Secondary Objective freeing Agent Hermann rewards you with the same 150 skill points as talking to Harlen Filben. Because it can also result in the lose of your Pistol in functional terms there is little benefit to freeing your imprisoned colleague. Upon returning to UNATCO Headquarters Agent Hermann will be more favourably disposed to you if you did choose to help him escape but beyond these narrative beats there is little long term functional advantage or disadvantage to completing this Secondary Objective; finding another Pistol is a trivia task after all.
Whether you’ve selected to free Agent Hermann or not, your final destination is the NSF Commander at the top of the Statue; technically the top of the Statue base as the interior of the Statue itself is inaccessible.
Regardless of your means of entry to the Statue interior all routes converge at the same point.
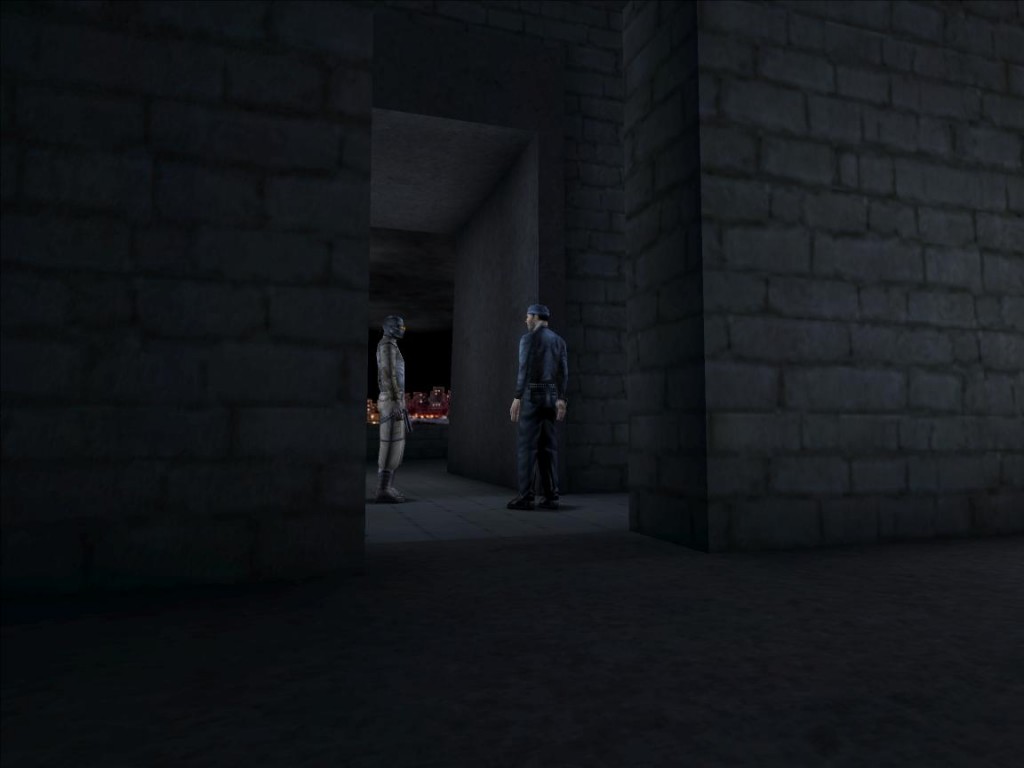
Approaching from the outside there is an entrance on each wall three of which are protected by Gas Grenades; fast reactions will allow you to disarm and retrieve them. The fourth, the North facing, is guarded by a NSF and a Mercenary, who can be heard discussing the shipment and the actions of somebody called JoJo. The Mercenary doesn’t seem to agree with his younger and more obviously indoctrinated companion regarding the composition of the NSF and specifically JoJo’s place within it. JoJo Fine is a character you may have the chance to meet later once you reach New York city, though it’s also entirely possible that you will never hear his name again. Whatever their other opinions neither of them appears particularly concerned about standing next to a large Barrel with a clear Explosive warning on it’s side. This is the type of carelessness that can easily cost lives.
Move forward up the stairs and Alex Jacobsen will contact you again either to confirm that “Gunther has reestablished contact” after you helped him escape, or reminding you that he “remains in captivity on the ground floor”. He will also provide another part of the puzzle regarding the NSF presence on Liberty Island, apparently the shipment they stole was the plague vaccine Ambrosia. There’s a further 150 skill points ‘Progress Bonus’ for reaching this point.
Climbing more stairs there’s one further encounter with two NSF ‘Terrorists’, at least one of whom seemed almost reserved about the possibility of death. Senior to the Private next to him he can be overheard telling him that: “If UNATCO breached the perimeter, then it’s already too late. Get ready to fight.” Preoccupied, these two NSF can be avoided if you are careful and move while they are still talking, otherwise the Gas Grenades you recovered downstairs may prove useful, that’s assuming you are not following standing UNATCO orders regarding the NSF threat.
A ladder now stands between you and your Primary Objective. Reaching the top of the Statue grants a ‘Critical Location Bonus’ of 750 skill points which are awarded regardless of your actions after this point; even if you choose to simply kill Leo Gold out of hand you will still be awarded the skill points for reaching the top of the Statue.
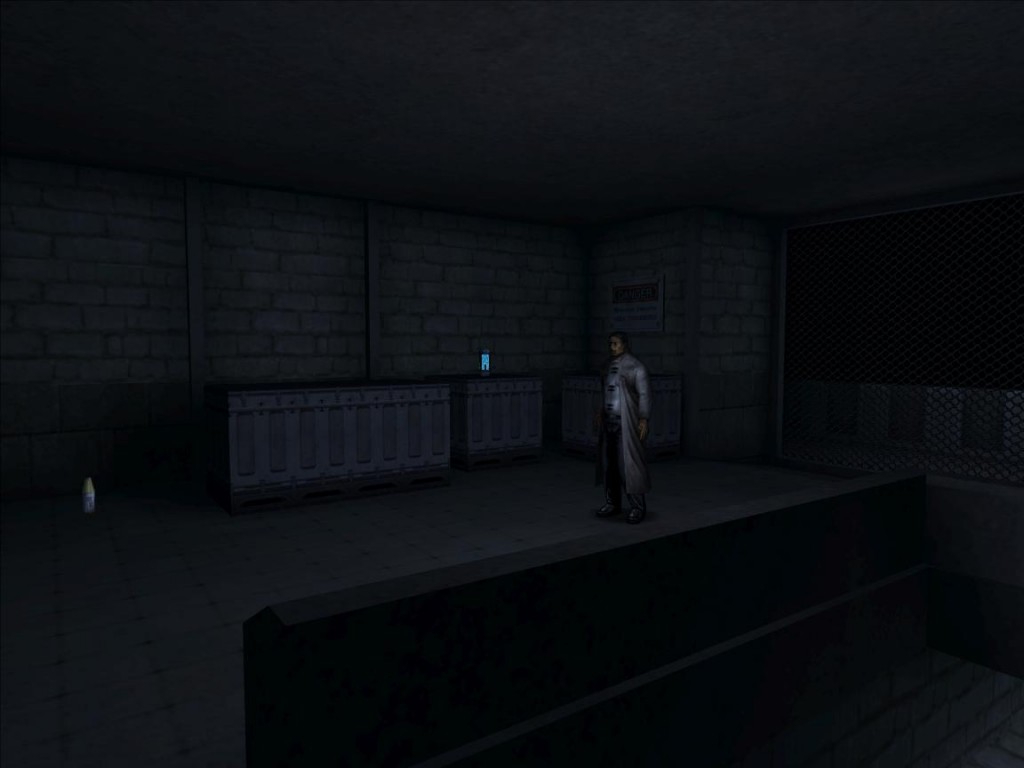
Surrendering the moment you speak to him Leo Gold seems resigned to his fate. If you choose not to kill him, he’s more than willing to talk to you as in his mind he has already won. The NSF have the Ambrosia and for the moment there’s little UNATCO can do about it. You can initiate conversation with Leo Gold three times, and the more you do the more the topics stray off into the world of conspiracy theories upon which the storyline of Deus Ex is built. There are reasons that will only become clear later as to why Leo might feel discussing his motivations with a Denton to be a worthwhile pursuit, but the manner in which they are presented feels rather blunt. The hand of the designer is a little too obvious in this instance. Little of the information or organisations mentioned in this exchange are referenced again and other than serving to show that Leo has heavily bought into the NSF rhetoric they come across as out of place and forced.
As you finish talking to the NSF Commander, footsteps behind you announce the presence of a UNATCO Trooper who informs you that they have now retaken control of the Statue. In a noteworthy decision on the part of the designer this UNATCO Trooper is the only one on this Island who is not invulnerable to damage. If you so desire you can shoot him and take his Assault Rifle; though it only contains a single bullet if you do. During you subsequent debriefing by Joesph Manderly you can even deny any knowledge of this act of cold blooded murder. Curiously Alex Jacobsen remains uncharacteristically quite about the death of this UNATCO Trooper.
No matter the matter you choose to deal with the NSF on the Island every single one of them is now dead, the UNATCO Troopers that finally stormed the Statue were operating under the “shoot on sight” orders that were initially given to you.
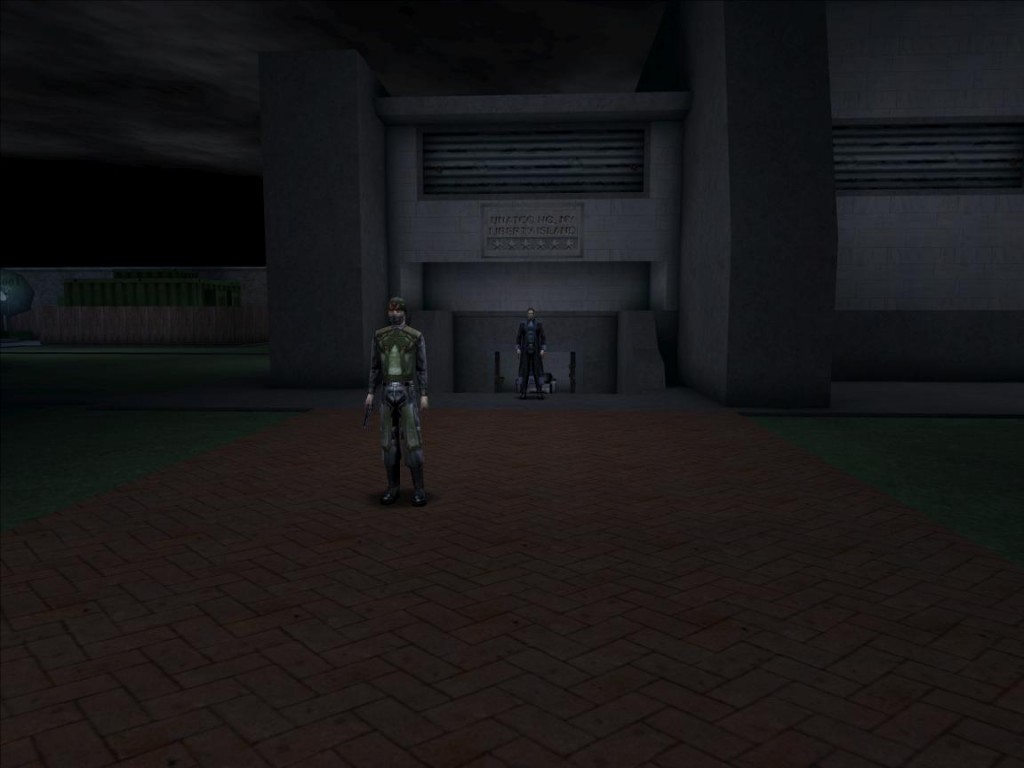
Returning to the UNATCO Headquarters both Tech Sergeant Kaplan and your brother Paul will be waiting for you, and both have their own opinion of your actions. Even though every ‘Terrorist’ on Liberty Island is now dead your decisions have been noted and it seems everybody in UNATCO has their own opinion of what they indicate about your character.
One reply on “Groping The Map: Liberty Island, Part 5.”
I remember accidentally shooting the UNATCO trooper that came rushing up after I’d spoken to Gold. It was a genuine mistake (I guess I was a little on edge) and I hit the quickload, er, quickly, feeling like an idiot for wasting a soldier on my side.
This was, perhaps, one of the last lessons of Liberty Island: you’ll fuck up a lot in Deus Ex, you’ll reload even more.