“I warned him, you know. I said right to his face, ‘Don’t take weapons into the Lady. That makes you as bad as UNATCO.'”
Annotated Walkthrough, 3:
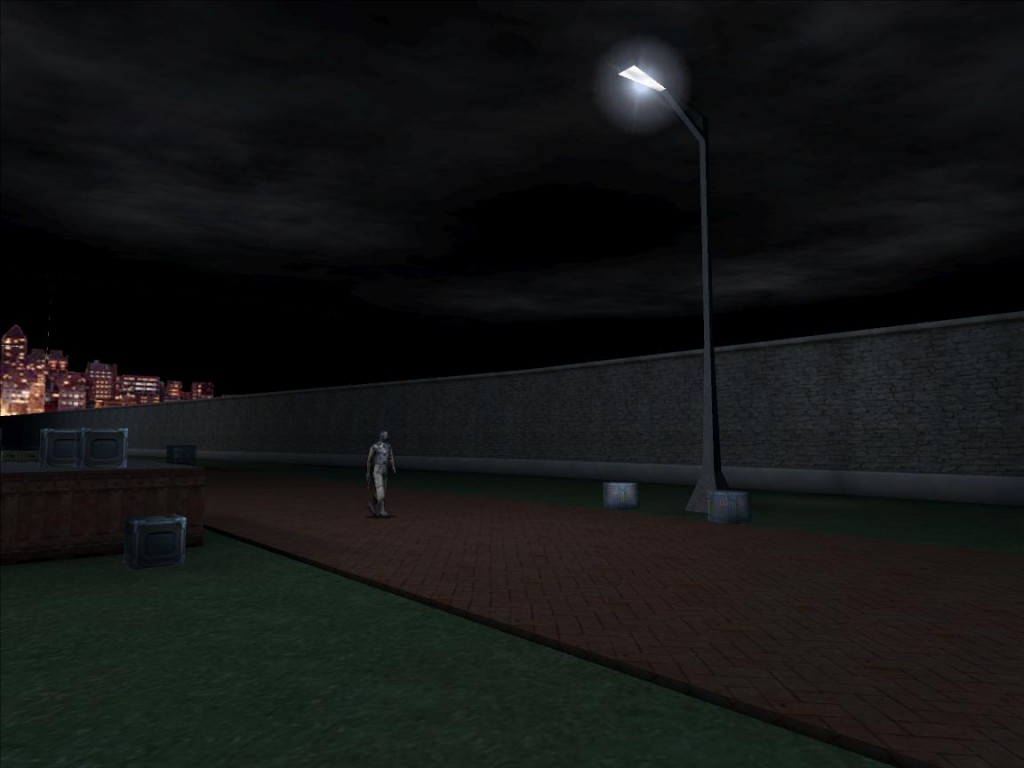
Heading to the right after leaving the South Dock you will pass the corpse of another UNATCO Trooper, this one armed solely with a Pepper Spray. So far the concept that UNATCO are a law enforcement organisation seems to be borne out by the equipment of the UNATCO personnel you have encountered. It is difficult to reconcile this with your stated orders to “shoot on sight”; something is not quite right. The path to the informant on the North Dock leads to a number of situations that call into question the black and white morality of UNATCO and their opinions of the NSF ‘Terrorists’.
Moving off the direct path to the Statue, the first impression is that this side of the Island is less heavily guarded; there are fewer NSF and their patrol routes are longer. To stay hidden you will need to stick close to the base of the Statue where there are more stacks of crates that can provide cover from the patrolling NSF. Eventually these crates runs out and in order to keep going it is necessary to risk moving through the open (There is also the option to take a shortcut to the Statue entrance, but we’ve discussed that area). The gaps between the the different patrol routes mean that with some planning it is possible to time this movement to avoid being spotted before you can make it round the corner of the Statue base into the darkness on the far side.
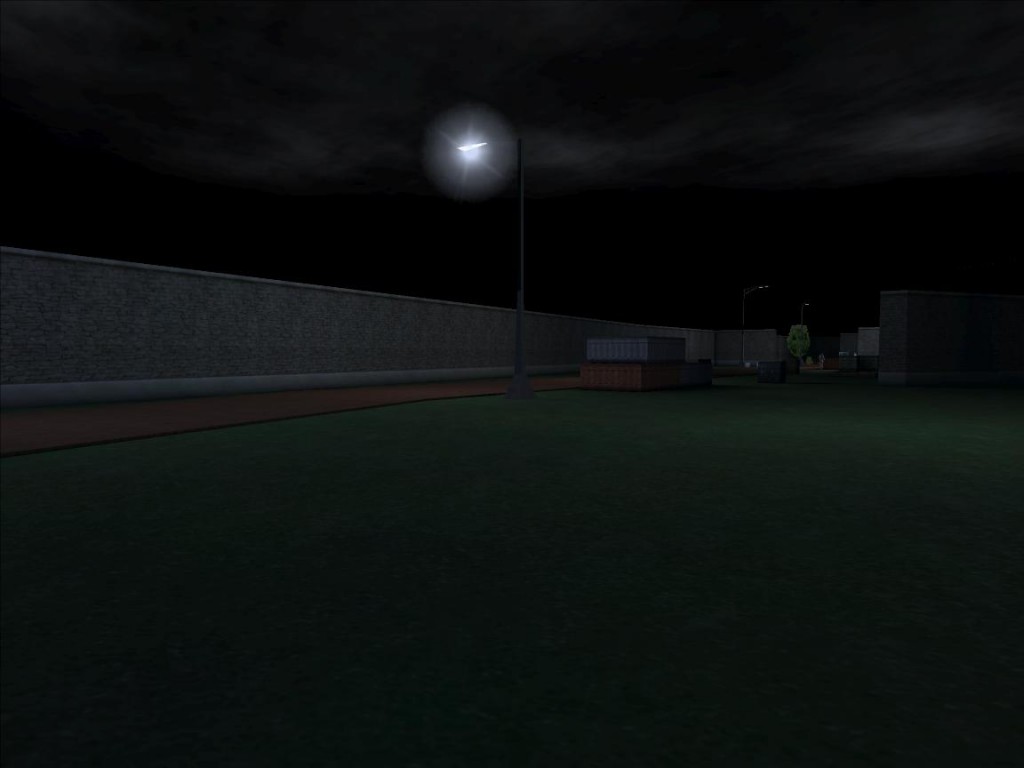
With no lights and no patrolling NSF there is a curious dead zone along the southern side of Liberty Island. In a ‘V’ created by the Statue base you are hidden from view and are probably at the most safe of anywhere on the Island. To balance that there is very little that can be done in this part of the map, there are no objects to interact with, the only options available are to remain where you are, move back toward the South Dock or continue forward.
Security on the south side of the Island is obviously of a lower priority than that around the Statue entrance, the two NSF standing beneath a light near the Statue base are more interested in talking to each other than maintaining any form of patrol route. In the open, with their backs to you, they would seem easy targets. Unfortunately neutralizing two NSF can still present some problems, especially for players choosing to take a non-lethal approach. Pepper Spray or a Gas Grenade are the obvious options to incapacitate them before moving in with either the Electric Prod or a Baton to knock them unconscious, though as with many other encounters on Liberty Island there is the option to simply avoid them altogether.
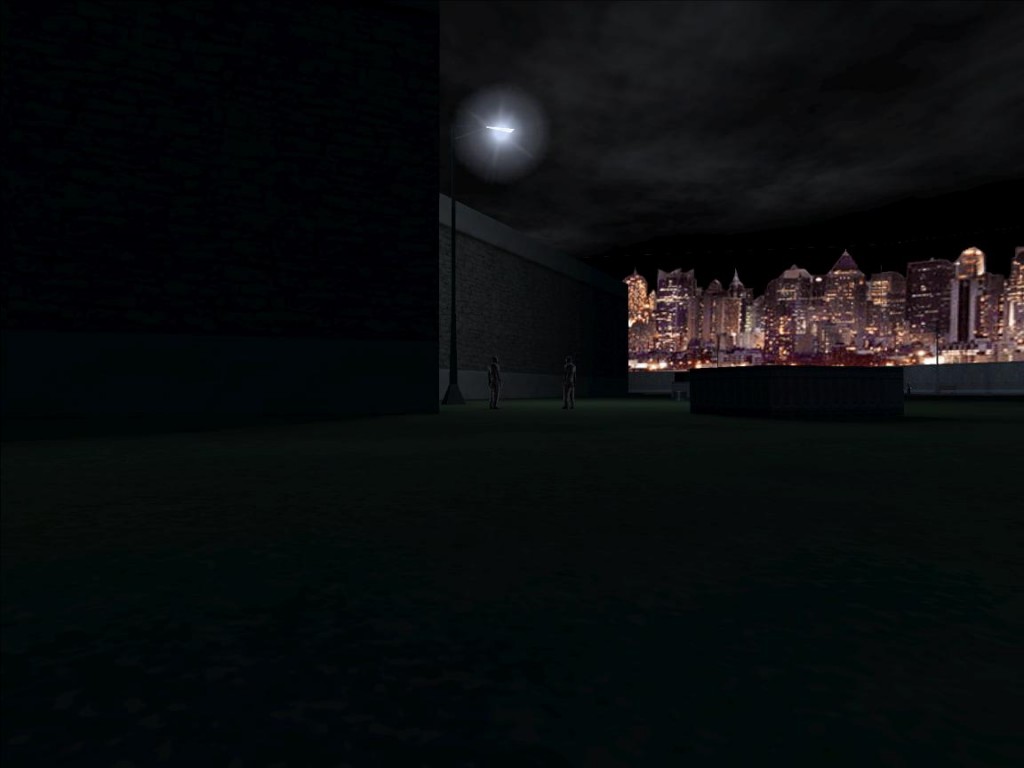
Even if all you do is put a 10mm bullet in each of them, it is worth staying until they have finished their conversation. Despite never mentioning him by name it doesn’t take long to conclude that their are discussing their recently captured prisoner Agent Hermann and the mechanical parts that have been used to ‘augment’ his natural abilities, in the words of one “They cut off his arm, replaced half of his face.” The brief discussion about the merits of mechanically augmentation presage some of the themes that will be explored further in subsequent parts of the game. This narrative beat also serves to show that not all NSF ‘Terrorists’ think alike, and some are clearly more convinced by the rhetoric and propaganda than others. ‘Terrorists’ with personalities and strong arguments for the sanctity of human life? Once again Deus Ex shows that its world is not going to be one of moral absolutes with clearly defined villains.
Moving away from this pair you are offered another establishing shot. The initial impression is that movement through this area should be fairly uneventful if you choose it to be. There are various points of cover with a lot of darkness between each of them and the only NSF in sight are some distance away. Of course there is no way to determine if the NSF and his Mercenary comrade will continue to talk indefinitely or whether they will move away to resume their patrol routes, and if so in what directions they might head. Furthermore if the pair of NSF behind you have not been dealt with you will need to take them into account when moving across this area. Another example of having to operate on incomplete information, moving forward with cause you to break line of sight with at least one of the groups of NSF and therefore you will need to either rely on speed, or take it slow and hope that you will remain undetected.
In actuality the sensory range of the NSF is surprisingly low, it is unlikely you will be spotted by any of them even if you decide to run across the middle of this area. Without experimentation this is not a known factor, as Liberty Island marks your first encounter with the NSF (and if this is your first experience of Deus Ex) it is unlikely you will have had the opportunity to experiment enough with their sensory abilities to be that brazen.
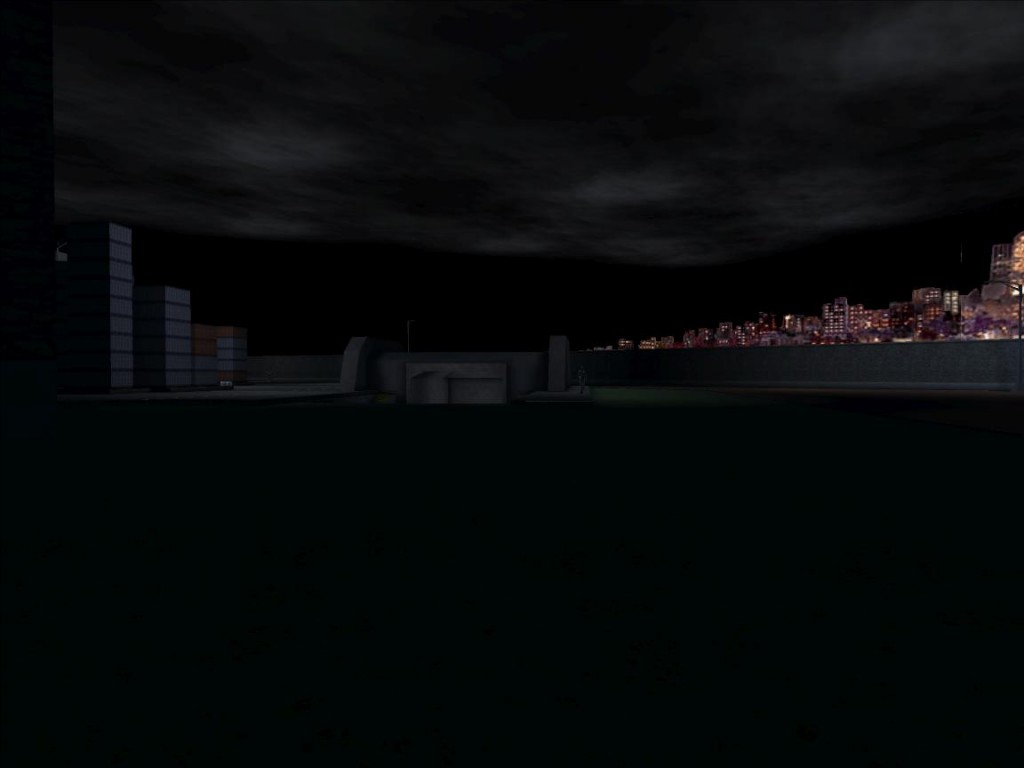
Nearing the eastern shore of the Island you will approach what appears to be a bunker with a ramp leading below the surface. There is also a large stack of, well illuminated, shipping containers and a patrolling NSF.
There are no stated objectives that require exploration of this bunker and it could just be ignored, though I suspect few would be willing to do that. It clearly serves some function and therefore it is worth at least a cursory examination. Doing so is a potentially risky proposition, either the NSF patrolling in this area will need to be dealt with or you will need to risk allowing him out of your sight by moving down the ramp. From the top of the ramp it’s possible to make out the footsteps of a second NSF somewhere within the bunker, stealth focused players will need to ensure that they are not spotted by either of these two NSF; there are of course other options available such as killing both or using a noise to distract one while you focus on getting past the other. This latter option is complicated by the strange industrial pounding that grows louder as you descent the ramp, drowning out your footsteps. The source of this noise is never identified though the indication is that there is some large machinery under the surface of the Island.
The bunker is not very large and in order to explore it the NSF guarding it will need to be naturalised directly. With this done, in whatever fashion you feel is appropriate, you will find another problem, this one slightly different to any previously encountered.
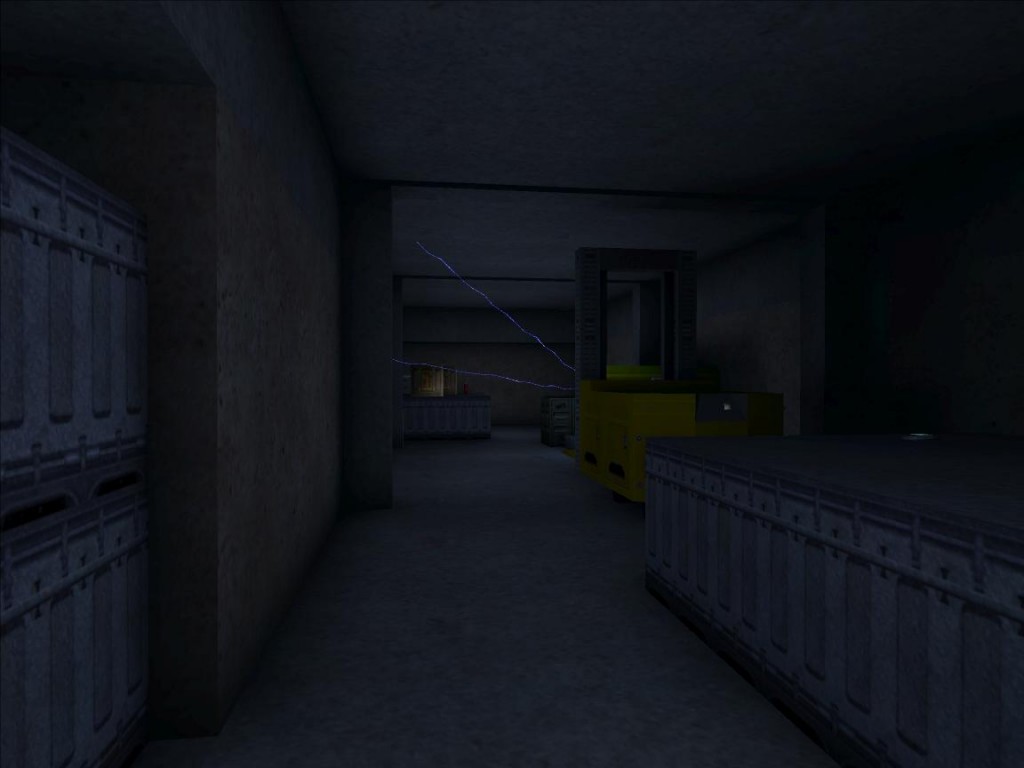
Rounding the corner large blue bolts of electricity can be seen arcing from a damaged “power box”, while on the far side a number of crates are visible, the logos on two of them indicating they contain munitions of some form.
The subterranean location and droning industrial noise serve to isolate this problem from the rest of Liberty Island. Unlike the patrolling Security Bot outside the Statue entrance there is little likelihood of any stray NSF finding their way down here and disrupting your attempts to get past the sparking power box. Entirely optional, this is a problem unlike any others you may have been faced with previously. Even the Security Bot encounter, challenging though it is was foreshadowed somewhat by the final stage of the your Training.
In a similar fashion to the Comm Van there are a number of possible ways to overcome this problems using tools that can be found in the vicinity. The electrical discharge can be mitigated through the use of the Environmental Suit which is clearly visible at the base of the ramp. An examination of the top of the adjacent container will provide you with a Multitool that can be used to bypass the power box and shut down the discharge. The forks on the forklift can be used to allow you to climb over the power box avoiding the electricity entirely however some thought is required if this is the method you choose, getting across to the crates is one thing, getting back is another. Much as with the patrolling NSF, sometimes avoiding the problem simply leads to it becoming another problem later on.
Whatever method you choose to reach the crates the reward is significant, the crates contain a Bioelectrical Cell and two Weapon Mods (Laser Sight and Clip Size increase); the use of the latter have yet to be identified however an analysis of their description in the Inventory will explain their use. Along with the contents of the crates there is the opportunity to pick up a Fire Extinguisher, the primary purpose of which is obvious, the potential secondary uses not so much; a cultural understanding of action films will reveal some possibilities. Even if these tools themselves were not a sufficient reward reaching the far end of the bunker leads to another ‘Exploration Bonus’, this time a not insubstantial 250 skill points.
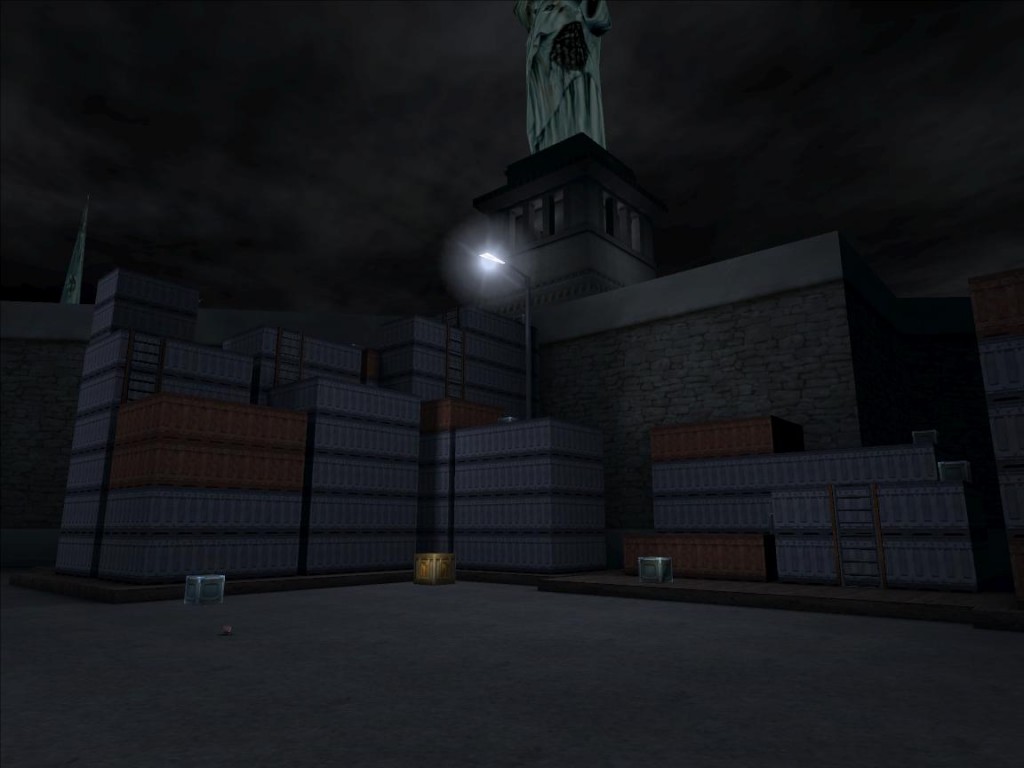
Leaving the bunker leads back to the large pile of shipping containers, some of which have ladders attached a clear indication that climbing them may prove beneficial. Doing so will lead to some further information from Alex Jacobsen informing you that it’s possible to use these shipping containers to “avoid some of the security”. Alex now seems far less strict about the UNATCO orders requiring all NSF to be shot “on sight” and instead encourages a more subtle approach. There is apparently more to Alex than the ‘by the book’ approach he espoused when he first spoke to you. At this point you have still not met Alex in person and his somewhat flexible attitude towards your orders is handled with enough subtly that regardless of your actions he can be read as a supportive character. As Deus Ex progresses Alex becomes the only person you can reliably trust, he sees everything you do and even if he doesn’t always agree with some of the more extreme actions you can take he will still support you, even helping to cover up those extreme actions when necessary.
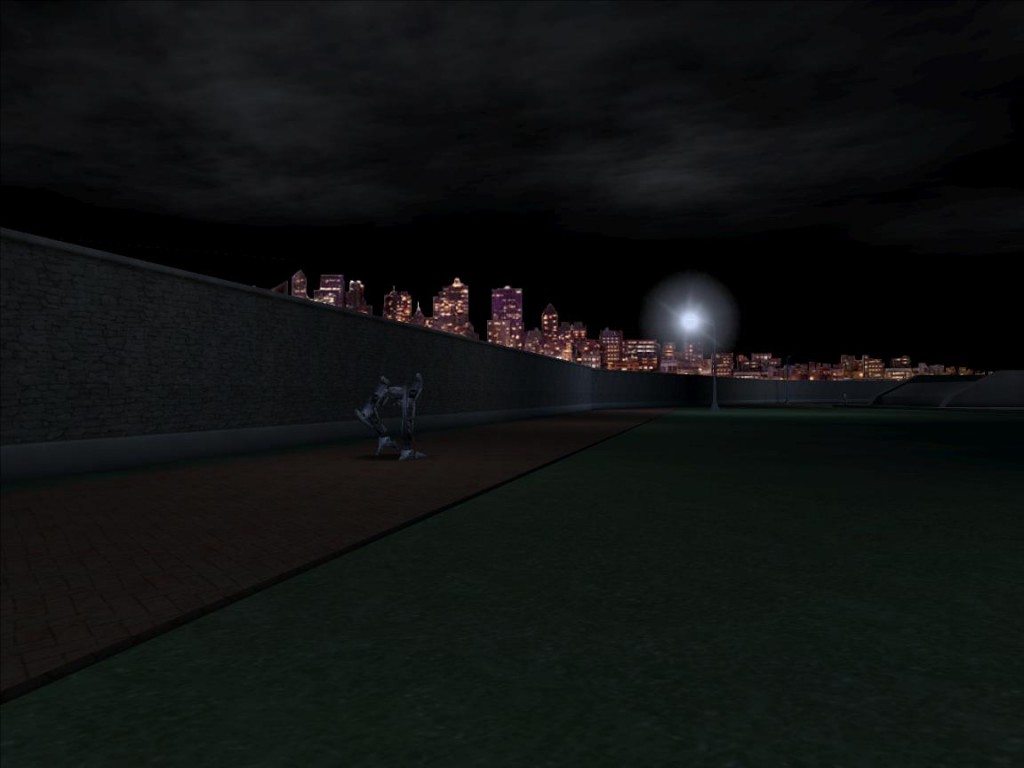
There are no NSF between the bunker and the North Dock itself, the presence of the UNATCO Security Bot no doubt a large part of that reason. A reassuring sight it is still a little odd that it merely patrols back and forth near the entrance to the North Dock when there are NSF on the dock itself and around the Statue. Even if the Bot is now operating under the same orders as the rest of UNATCO and leaving the situation to you it is still strange that he was not destroyed in the initial attack. If he has been patrolling there all night then how did the NSF on the North Dock infiltrate the island without his intervention? If he wasn’t there all night how did he reach the North Dock without either attacking or being attacked by the many patrolling NSF? A little mystery that is never entirely explained.
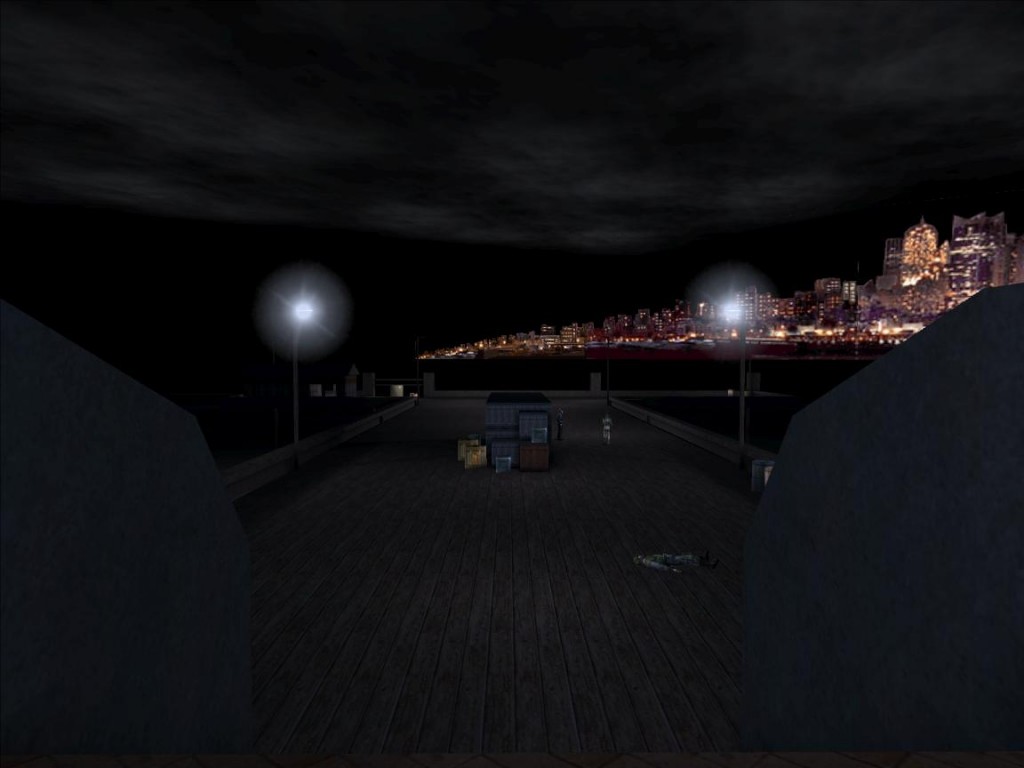
With the Security Bot serving to both physically and logically separate it from the other NSF on the island the North Dock is, like the bunker, another isolated problem encounter. One Mercenary ‘Thug’ standing guard and a single NSF ‘Terrorist’ patrolling around a collection of crates, this is a fairly basic problem which, as always, has a number of possible solutions.
If you can get a clear shot there’s a TNT crate that will make very short work of the patrolling NSF, though this is an exceedingly messy way to deal with the problem. Not to mention that the shipping containers will protect the Mercenary from the blast and his Tranquilizer Darts are not only effectively lethal to you but they can also greatly disrupt your aim. The manner in which Tranquilizer Dart are handled is an interesting one. Defined as non-lethal they can be used against NPCs inflicting damage over time before causing them to run way and eventually succumb to the effects. When used against you they will also deal damage over time alongside screen altering visual effects that can make aiming and combat particularly challenging. This secondary effect actually makes being hit with such darts more problematic than simply being shot with a firearm, the Mercenary Thugs who are only armed with Mini-Crossbows are in a number of ways more of a threat than their more overtly lethally armed NSF companions.
One possible approach to the problem on the North Dock is to avoid the two NPCs completely jump over the side of the dock and swim to the end. There is no way of knowing if it will be possible to gain access to the dock again once you have entered the water, but so far the logical presentation of locations on Liberty Island has been such that the assumption there will be some means of egress from the water is a sensible one. There is in fact a ramp at the end of the North Dock that will allow you to climb back onto land. If you take this approach you will be able to locate the sunken barge lying on the sea bed north of the dock.
If you can unlock the hatch a further two Weapon Mods (Reload speed and Accuracy increase) can be found inside along with a Sawn-Off Shotgun. The 50 skill point ‘Exploration Bonus’ seems a little small compared to the drowning risk associated with exploring the hold of the sunken barge. Of course the functional value of the items to be found within counter balances the limited skill point reward; though for a non-combat player nothing within the barge is of much use.
Choosing to avoid the NSF on the North Dock can lead to some interesting consequences such as one of them attempting to interrupt your conversation with Harley Filben.
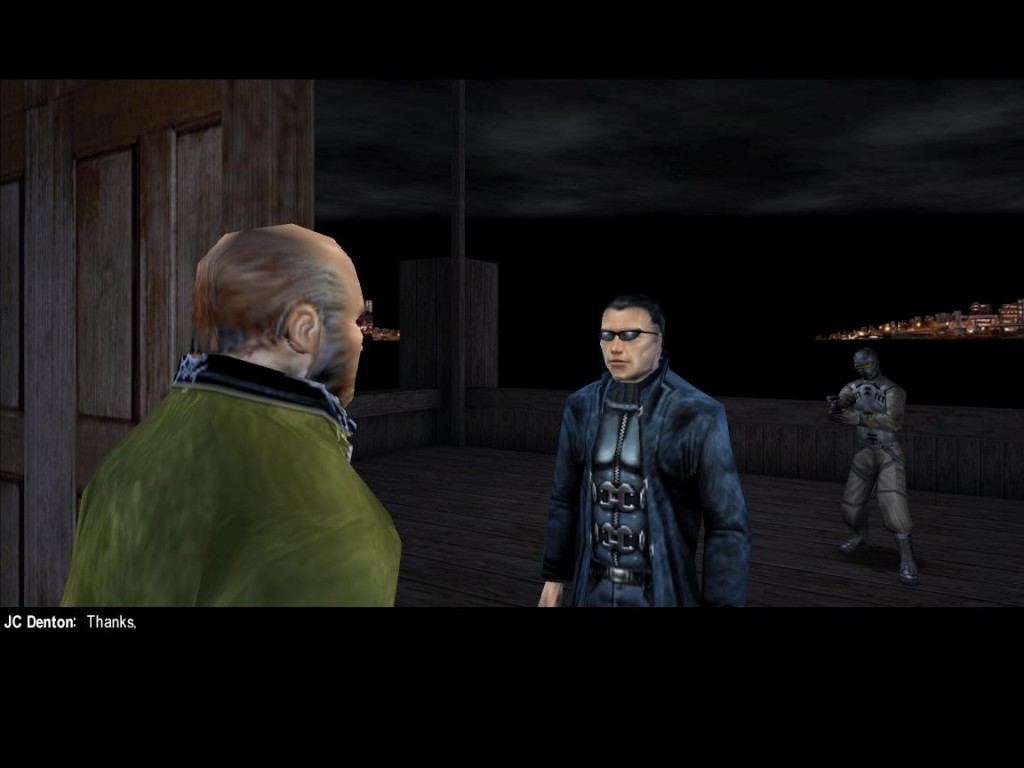
Filben might well be your “informant” but that doesn’t mean he’s on your side. The Commander of the NSF on the island is his main contact within that organisation and he wants him kept alive. Since your objectives are to question the Commander to see what he knows about the NSF attack agreeing to keep him alive is justifiable, but you may not see it that way. Telling Filben that you might not be able to keep the Commander alive means he’ll refuse to give you the key. As he is a character who turns up again later in Deus Ex for the moment there’s no way to just kill him and take the key. Talking to Filben further reveals that he’s no real fan of UNATCO whatever his motives for helping you; judging by his clothing those motives are likely monetary in nature, idealism is noble but it doesn’t put food in your mouth.
For somebody who doesn’t class herself as “high-level” Filben’s companion is apparently the only person you’ve found yet who can explain what the NSF are doing. If the attack on the UNATCO forces on Liberty Island was a diversion whatever the “more elite troops” stole from that ship must have been incredible important. Whoever the “drifter woman” is she has some ammunition for sales to complement her information.
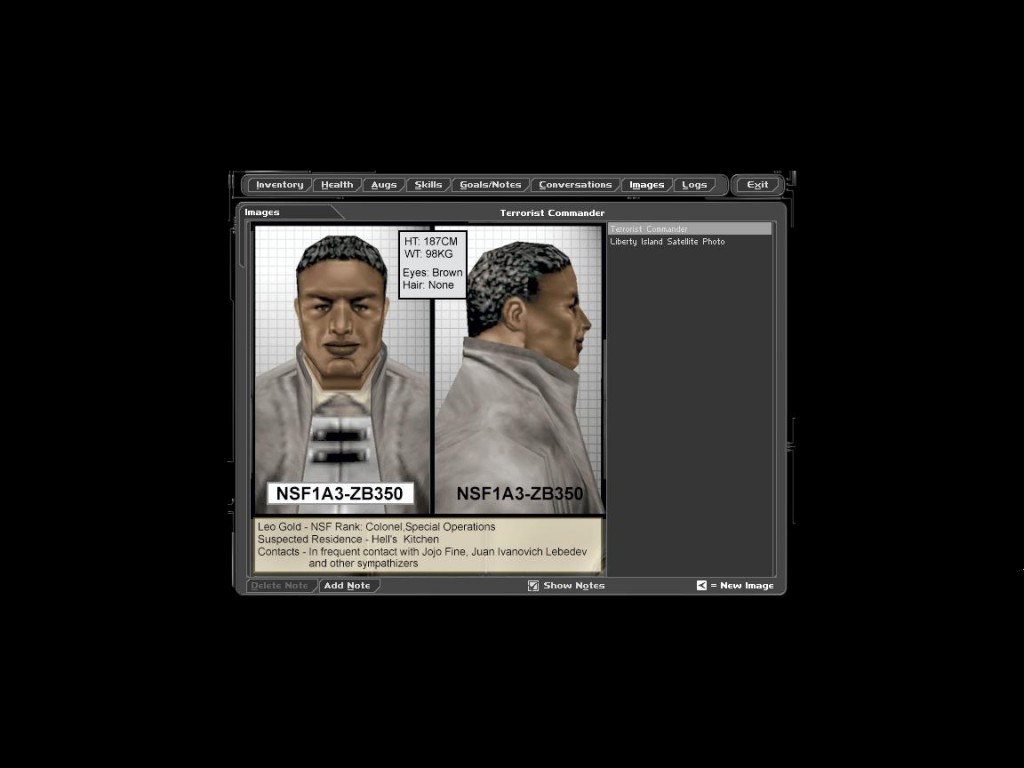
Agreeing to do what you can to avoid the death of the NSF Commander completes your secondary objective and along with a 150 skill point reward you will now have a means of directly unlocking the doors outside the Statue entrance. Whether you actually follow through on your promise to keep the Commander alive is up to you, after all sometimes you may “have to use force”.