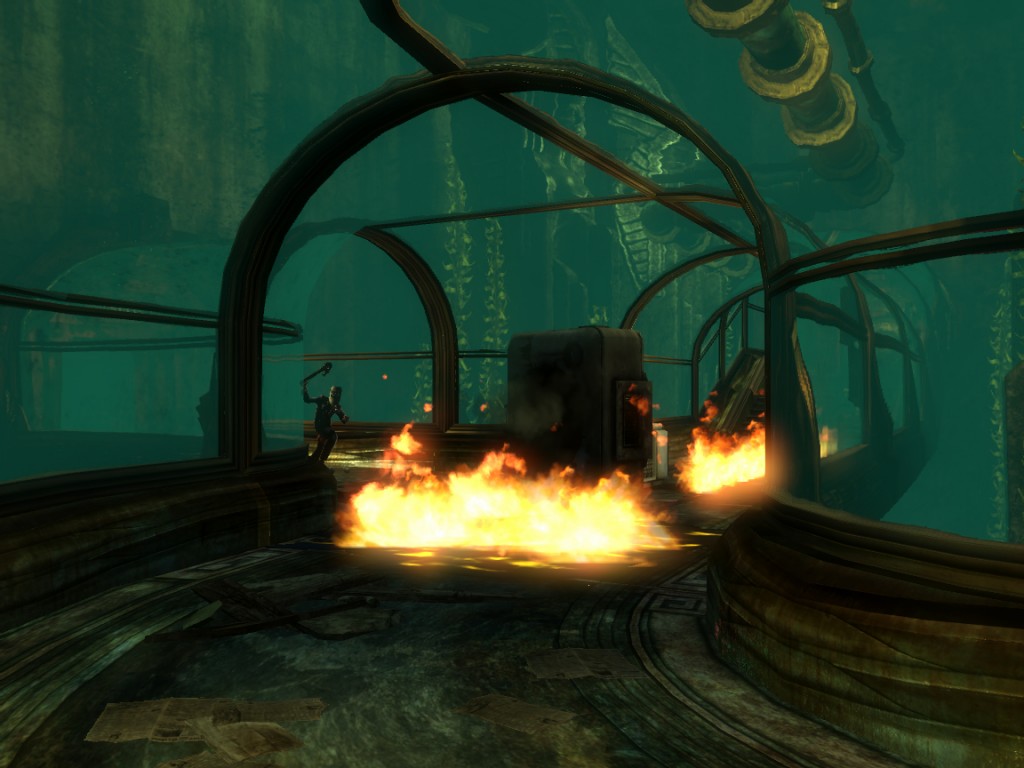
“‘Survival of the fittest’ that’s the rule in the Drop, the only rule.”

Combat in The Drop:
One of the themes at the heart of BioShock 2 is that of regaining your place in the world. You are Subject Delta, the first successfully pair bonded Big Daddy. You were once an important figure in the history of Rapture, possible the most important, but that was a decade ago. In order to find Eleanor you will need to regain that position of power, to once again become the most important individual in the city; the black sheep of the Rapture Family. Mechanically this ties to a core appeal of action games, the sense of empowerment. In order to regain your position of importance you will need to regain your power, your mastery.
In BioShock 2 the mastery you need to reclaim is not simply over the genetic powers at your disposal but over the environment itself. Much more than Jack in the original BioShock, as Subject Delta you need to be aware of your environment and how you can modify it to your advantage. Where other games are about the change in territory from Safe to Hostile, in BioShock 2 the important territorial change is from Unfamiliar to Familiar.
Nowhere is this more obvious than in the moments when you have to defend your Little Sister as she gathers the vital Adam needed to improve your genetic abilities. Mastery of your environment during these encounters leads to a resource reward, which fuels the mastery of your abilities. Abilities with grant access to a broader toolset through which you can modify the environment to your advantage.
In order to sustain this character growth you will find yourself spending the majority of your time in combat protecting a Little Sister as she performs her macabre ritual. Having only experienced two required Gathering Encounters so far the design of those within the The Drop can feel like a lesson on how best to use the game space, both physical and mechanical, to your advantage. Some locations have been designed with longer sight lines and sparse cover encouraging the use of Plasmids and long range weaponry such as the Rivet Gun or Machine Gun. While others take place in confined apartments requiring a focus on traps and melee attacks.

This focus on the modification of your environment to your own advantage is one familiar from the Thief series. A large number of the verbs available are used indirectly to modify the status of the environment instead of being used to directly affect any one character.
Before each Gathering Encounter it is important to use your understanding of the environment and the tools at your disposal, to change the territory around you from one that is Safe for the Splicers to one that is Hostile.
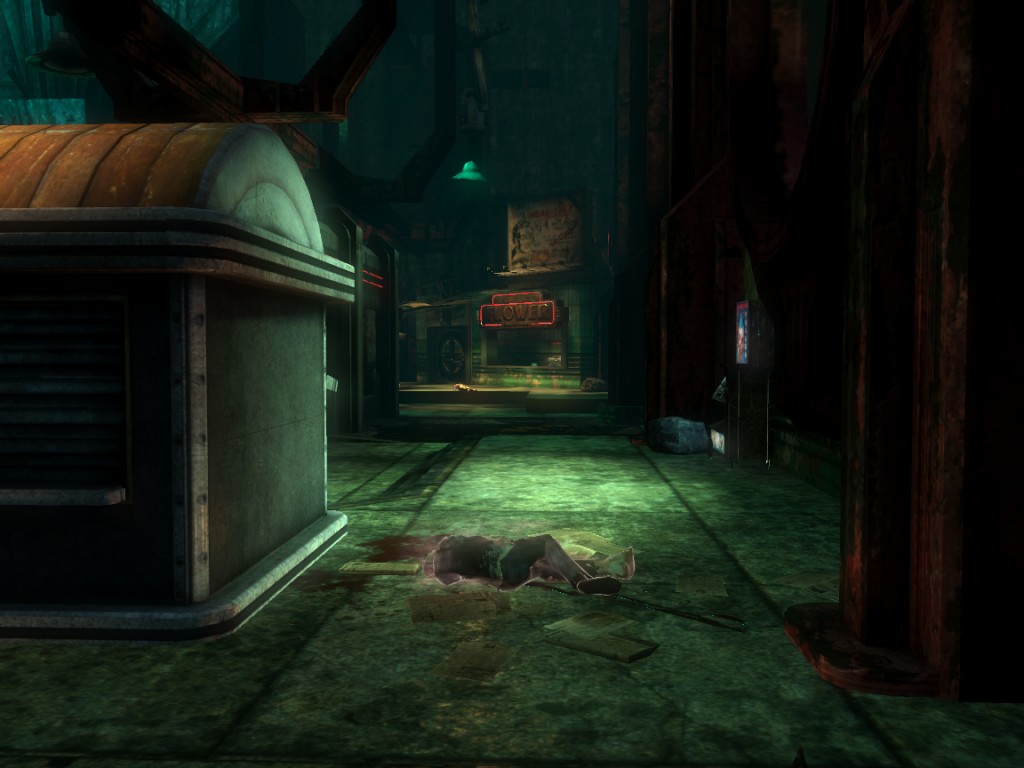
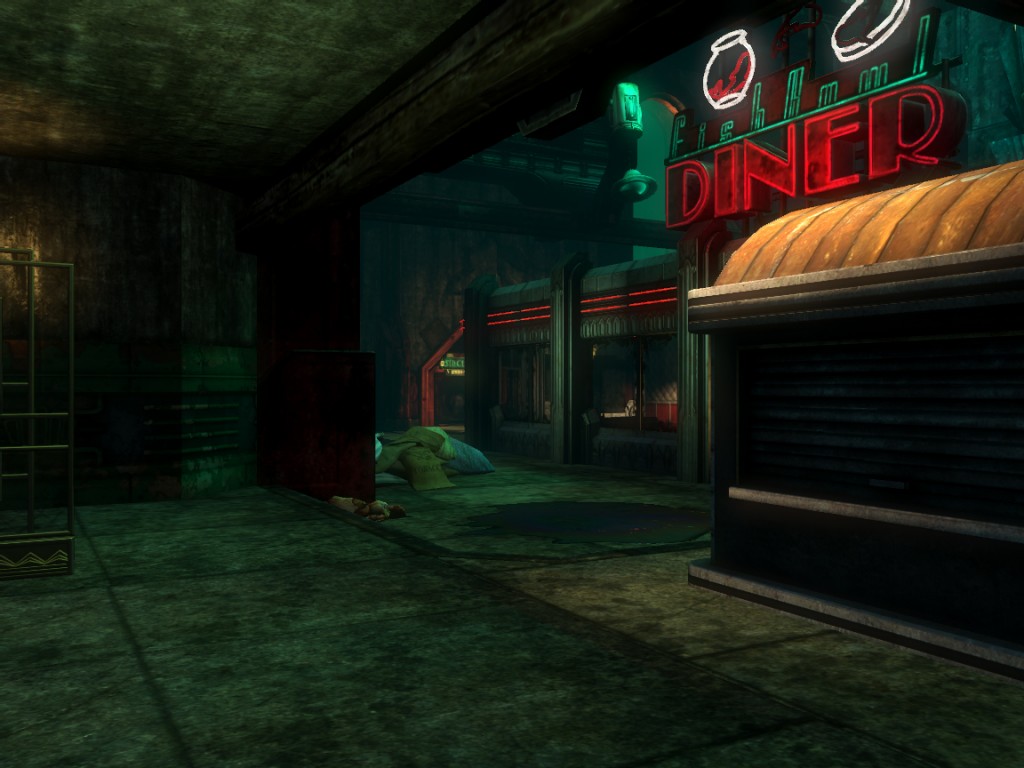
The Gathering Encounter outside the Fishbowl Diner is likely the first one players will experience and is designed to provide opportunities for using every one of the tools currently at your disposal.

Positioned behind a newspaper stall in the northwestern corner of the Diner area, this Gathering Encounter allows you to position yourself with your back to the wall, and provides sight lines to the south and east.
There is a doorway behind you on the north wall, which leads back to the platform, however it is an obvious choke point, therefore an ideal spot for the deployment of Trap Rivets. With your back to the wall, and the one weak point behind you protected, the only way in which you or your diminutive charge can be approached directly is from the south or east. In each direction there is an environmental element that can be exploited with your available Plasmids. There is even a bicycle near your Little Sister that can be wielded with Telekenisis. The obvious opportunities for Plasmid use in this Gathering Encounter help to encourage a mentality of rapidly switching between different Plasmids to make the best use of your environment, a skill that will prove useful in later levels.
The greater your willingness to explore the area around the Diner the more you can co-opt the environment to your cause. Throughout the area there are oil drums that can be brought back to the site of the Gathering Encounter to either be wielded with Telekenisis or rigged with Trap Rivets. On the roof of the Fishbowl Diner itself is a Machine Gun turret that if Hacked will provided protection against the few Splicers that will attempt to attack from that elevated position. On the southern wall of the Diner is a security camera that can serve a similar purpose with Splicers approaching from that direction.
Within this single encounter space there is an opportunity to use all the verbs guaranteed to be available at this stage. It is even possible to leave this Gathering Encounter until after you have visited the Fishbowl Diner and obtained the Shotgun. This will provided you with extra firepower to deal with any Splicers that do managed to get within close range. However with the Diner now accessible, a new avenue of attack is opened up. With the newspaper stall positioned between your Little Sister and the entrance to the Diner you will need to either deploy Trap Rivets across the entrance or keep moving so as to not allow Splicers to sneak up on you. Organically increasing the hostility of the environment in this way is a smart method of ensuring that even if the player has gained the Shotgun the increased firepower it provides is offset by an increase in the challenge of the Gathering Encounter. Even if you have been able to increase your toolset the environment itself changes to compensate.
Using all the tools available to you for this single Gathering Encounter is significant overkill, however the option to use any of them in combination or isolation, makes it easy to experiment and learn how they all interact with each other. From this single encounter you can start to develop an idea of which Plasmids and Weapons will prove most compatible with your particular play style.

The concept of mastery over your environment isn’t limited to the Gathering Encounters, though this is it’s clearest manifestation. The general rule while playing BioShock 2 is that players will be the ones to initiate combat encounters. Splicers will attack when they spot you, however in most circumstances they will announce their presence in a variety of ways making it easy to get The Drop on them (Sorry). Each level features some notable exceptions to this general rule, yet all of these apparently exceptional occurrences follow a similar trend; areas that previous been made Familiar and Safe, are turned Unfamiliar and Hostile. Players need to make use of their existing knowledge of the game space, both physical and mechanical, to return these areas to a state of Familiarity and Safety.
When obtaining the Shotgun inside the Fishbowl Diner you will find the roof collapsing inward and experience a close range attack from multiple Splicers. I have discussed previously, that this encounter is an ideal place to make use of the newly acquired Shotgun. Since you have been granted the perfect weapon to deal with the sudden threat the ambush itself does not feel like so much of a cheap trick. Upon entering a number of audio and visual ques help indicate that you are likely to come under attack while inside the Diner or soon after leaving, therefore observant players will be able to plan for the coming encounter. As you will have been required to move through the area once in order to trigger the encounter you will not be forced to fight in Unfamiliar territory.
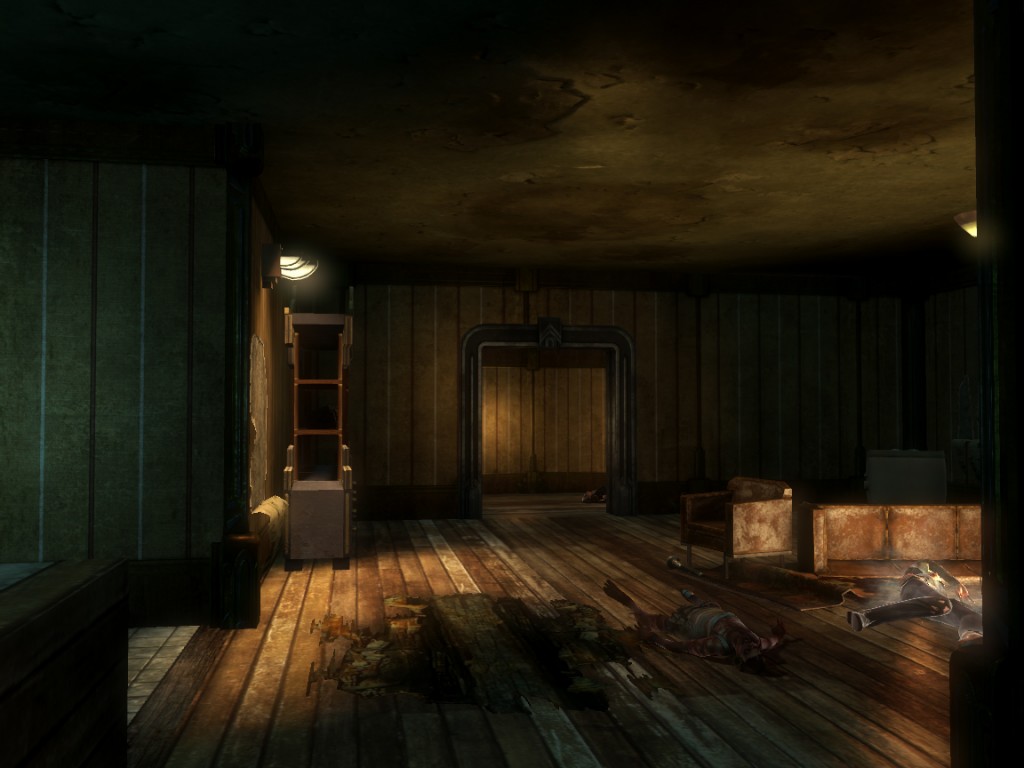
On the first floor of the Sinclair Deluxe you can follow a Splicer through an abandoned apartment, past a hanging Splicer corpse in the living room, and through into a deserted kitchen. Upon returning to the living room you will be ambushed by Splicers ‘playing dead’ on the floor. Having already passed through the living room if you were paying attention you will quickly realise that something is wrong. With a moment of pause between reentering the living room and the Splicers leaping to their feet, you will have time to prepare if you have been observant enough to spot the trap.
These are small examples of being encouraged to use knowledge of the environment to your advantage, a further instance of this can be seen when you leave the Sinclair Deluxe after confronting Grace Holloway. From here until the end of the level it is impossible to avoid combat fortunately every encounter from this point on takes place in a location you have already explored. Though there are additional objects within these locations, the physical layout of the encounter space, and the environmental elements within, is largely unchanged. Forewarned by either Grace, or Sofia Lamb, as to the coming attack you will have a good idea of your potential options before combat begins.
The range of Plasmids and GeneTonics available within Pauper’s Drop is such that it’s unlikely two players will leave with exactly the same load out making this the last level in which the player’s starting toolset can be accurately determined. Using the encounters within the level to promote experimentation and train players in the different tools available is an intelligent design decision, it serves to prepare them for the rest of the game.
Spatially Pauper’s Drop shows a marked increase in both vertical space and openness over previous locations in Rapture. This also serves to subtly train players in the type of encounters they will experience in the later stages of the game. Until this point the combat in BioShock 2 has been largely on par with that of the original BioShock, from now on that starts to change.